8 • HP Photosmart D7200 series
Mac: Windows:
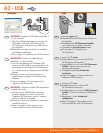
A1 - USB
/HP Photosmart série D7200
Allumez l’ordinateur, connectez-vous si
nécessaire et attendez que le bureau s’affi che.
Insérez le CD-ROM vert et suivez les instructions
à l’écran.
IMPORTANT : si l’écran de démarrage ne
s’affi che pas, double-cliquez sur l’icône
Poste de travail , puis sur l’icône du CD-ROM
ayant le logo HP, puis sur le fi chier setup.exe .
Passez à la Section A2 .
a.
b.
IMPORTANT : achetez un câble USB
séparément si aucun n’est inclus.
connectez le câble USB au port situé à
l’arrière de l’appareil HP Photosmart, puis à
n’importe quel port USB de l’ordinateur.
Passez à la Section A2 .
a.
b.
Encienda el equipo, inicie la sesión si es
necesario y, a continuación, espere a que
aparezca el escritorio. Introduzca el CD verde y
siga las instrucciones que aparecen en pantalla.
IMPORTANTE: Si no aparece la pantalla
de inicio, haga doble clic en Mi PC y en el
icono CD-ROM con el logotipo de HP y, a
continuación, vuelva a hacer doble clic en
setup.exe .
Continúe con la sección A2 .
a.
b.
IMPORTANTE: Compre un cable USB por
separado si no está incluido.
Conecte el cable USB al puerto ubicado en
la parte posterior del dispositivo
HP Photosmart y, a continuación, a cualquier
puerto USB del equipo.
Continúe a la sección A2 .
a.
b.
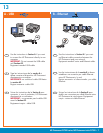
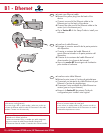
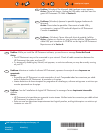
IMPORTANT: Purchase a USB cable separately
if it is not included.
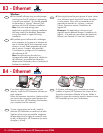
Connect the USB cable to the port on the
back of the HP Photosmart, and then to any
USB port on the computer.
Continue to Section A2 .
a.
b.
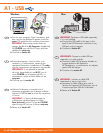
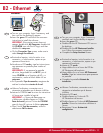
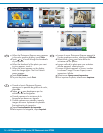
Turn on your computer, login if necessary, and
then wait for the desktop to appear. Insert the
green CD and follow the onscreen instructions.
IMPORTANT:
If the startup screen does not
appear, double-click My Computer , double-click
the CD-ROM icon with the HP logo, and then
double-click setup.exe .
Continue to Section A2 .
a.
b.
EN EN
ES
ES
FR
FR


