5
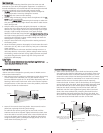
Congratulations on your purchase of an Ikelite Digital Camera
Housing Ikelite has over years of experience in the underwater
photographic and lighting market Our products are designed and
built in the USA by Ikelite for both the professional and amateur
photographer
The clear housing permits instant visual inspection of the camera
and all sealing surfaces as well as complete monitoring of controls
and camera LCD screens
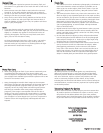
Ikelite Digital Housings are slightly negative in salt water for
stability This housing has been water pressure tested at the
factory Housing is pressure tested to ’ (m)
Ikelite Digital Housing
instruction manual
#6112.20 for Sony DSC-P200 Camera
C
C
l
l
o
o
s
s
i
i
n
n
g
g
t
t
h
h
e
e
H
H
o
o
u
u
s
s
i
i
n
n
g
g
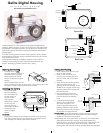
Place housing face down in your
lap or on flat surface
Check to see that there is an
o’ring on the housing back and
that it is clean and in its proper
location
Guide the back onto the housing
The o’ring should touch the
housing all the way around There
should be an even gap all the way
around between the housing and
the housing back
Lift the lid snaps so they are
extended and place the lid snap
into the hook on the housing
back
To close the housing push
down on the lid snaps until
they snap into place Lid
snaps on opposite sides of the
housing should be closed at the
same time Be sure they are down
far enough to engage the lock
D
D
o
o
u
u
b
b
l
l
e
e
c
c
h
h
e
e
c
c
k
k
Once the housing is closed check the o’ring seal
Check the gap between the housing back and the housing it
should be even all the way around
Look through the clear plastic back at the o’ring You should see a
darkened area where the o’ring is compressed against the
housing back If you do not see an even black compression seal
all the way around the back open the lid snaps reseat the
housing back and close the lid snaps Visually check the seal again
o’ring
housing back
housing back
housing
housing
o’ring
ev
en gap
all 4 sides
2
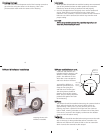
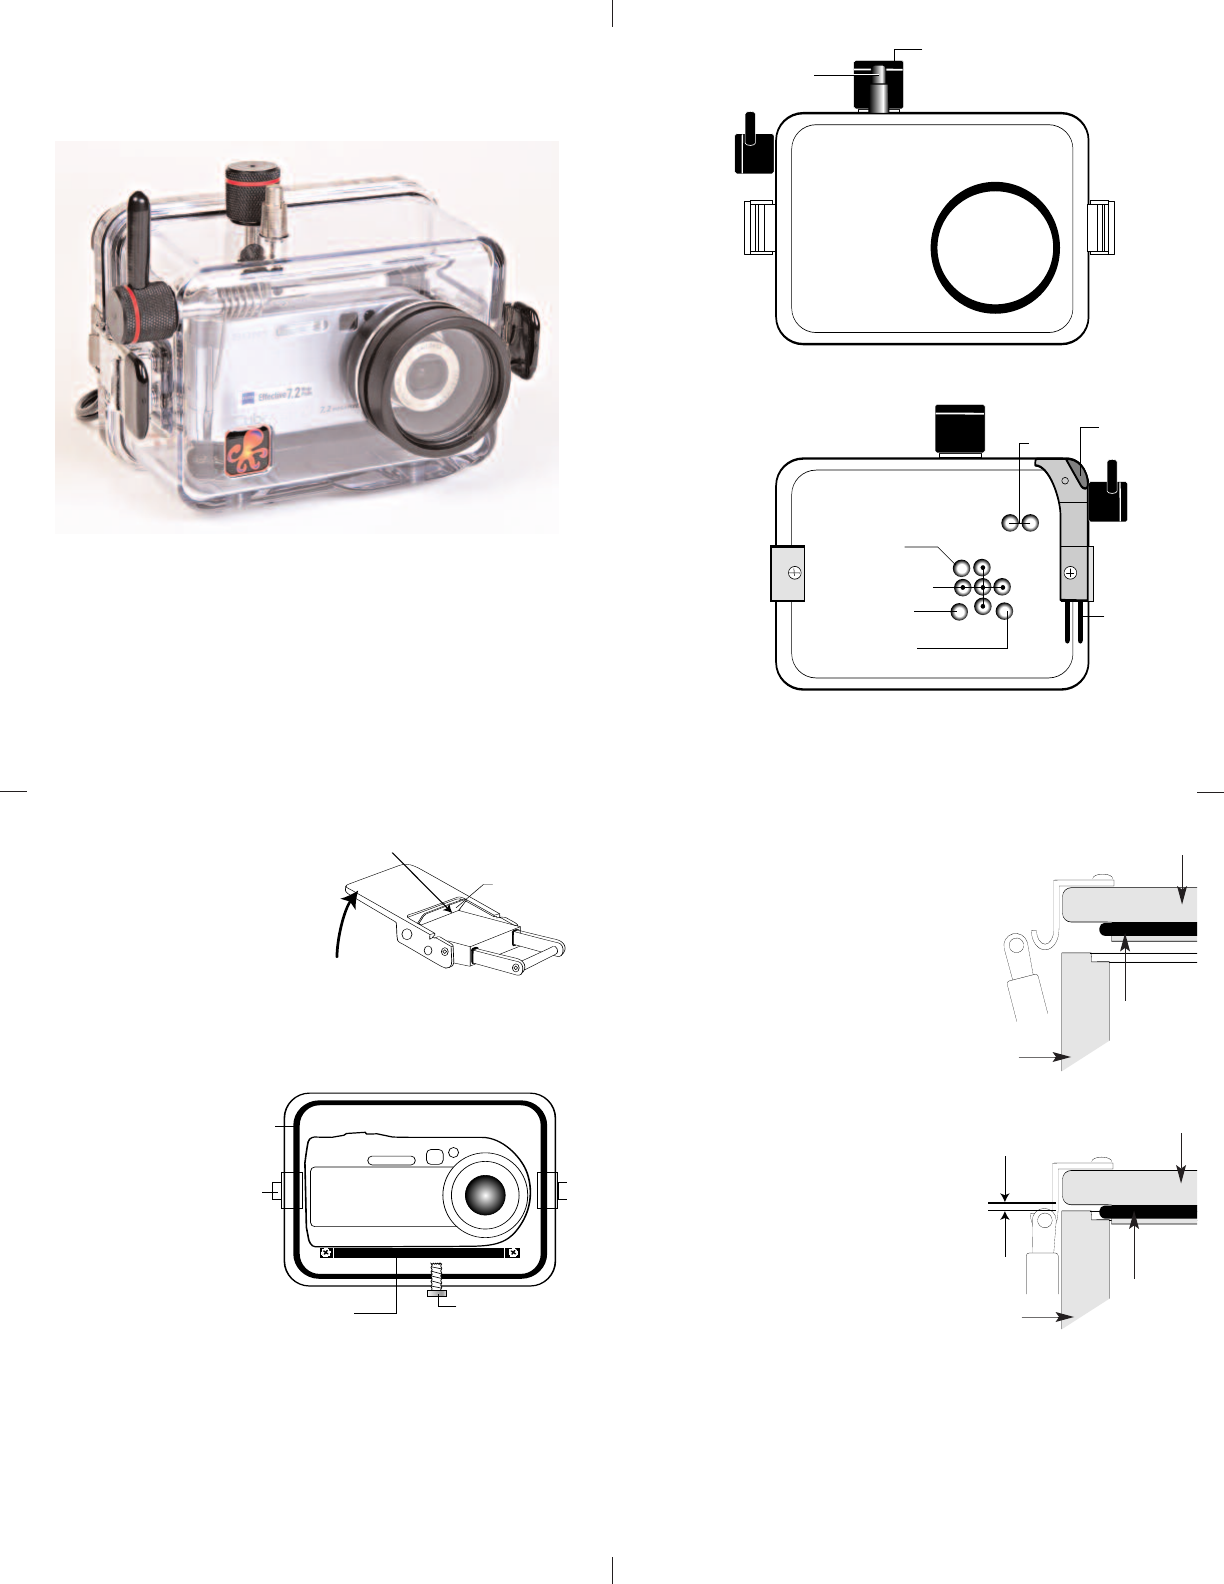
Front View
Shutter
Release
Lid
Snap
Zoom
Display
Menu
Delete
Control Buttons
Lid
Snap
Lens
Port
Back View
P
ower
Mode
Lanyard
Thumb
Rest
4
O
O
p
p
e
e
n
n
i
i
n
n
g
g
t
t
h
h
e
e
H
H
o
o
u
u
s
s
i
i
n
n
g
g
Lid Snaps have a
L
L
o
o
c
c
k
k
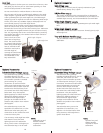
To open push Lid Snap Lock
forward and lift as shown
Keep pressure on the Lid
Snap so it does not fly open
quickly
Some lid snaps have a lot of
spring tension once they go over center have a firm grip on the
lid snap Lid Snaps may be opened one at a time
I
I
n
n
s
s
t
t
a
a
l
l
l
l
i
i
n
n
g
g
t
t
h
h
e
e
C
C
a
a
m
m
e
e
r
r
a
a
Remove the back
from the housing
The mounting tray
for the camera is
secured to the
housing back
Position the camera
on the tray and
secure it with the
mounting bolt which
threads into the
camera’s tripod
socket
C
C
A
A
U
U
T
T
I
I
O
O
N
N
:
:
Some camera tripod socket threads are plastic The mounting
tray bolt is metal Do not cross thread or over tighten as you
may damage the camera tripod socket threads
Lift
Push Forward
Lid Snap Lock
CAMERA / MOUNT
Lid
Hook
O' Ring
Mounting
Bolt
Mounting
Tray


