


38 EN
OFFFADER/ IPE
AM A EPROGR
ACAMER
LMANUA
MSYSTE
DSC
END
AYDISPL
C
AN E
W
W
.BAL
RE NEON SC LCD / TV
UAOTIMETDATE /
T I ME CODE
CLOCK
ADJ .
–
–
–
FF
O
12 01
02
17
30
:
..
NRETUR
TYQUALI
VGA
FINE
–
–
EELREC CTS–
NRETUR
MODESNAP
ODEREC M SP
I
12
BTMODESOUND
ZOOM
UPGAIN
–
–
–
–
–
40
x
LFUL
AGC
NRETUR
DIS –
ON
OFF
BEEP MELODY
NOTALLY
ID N MU BER
–
–
–60
DEMO MODE – NO
S
O
UND
I–
MIC
CAM ERSET
NRETUR
FADER/ W IP E
AM AEPROGR
ACAMER
LMANUA
MSYSTE
DSC
END
AYDISPL
C
AN E
W. BAL
IMAGE SIZE
N
P
L
A
Y
O
F
F
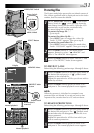
Display
Menu Screen
MENU Wheel
Lock Button
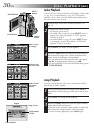
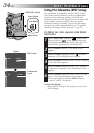
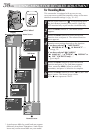
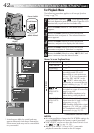
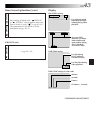
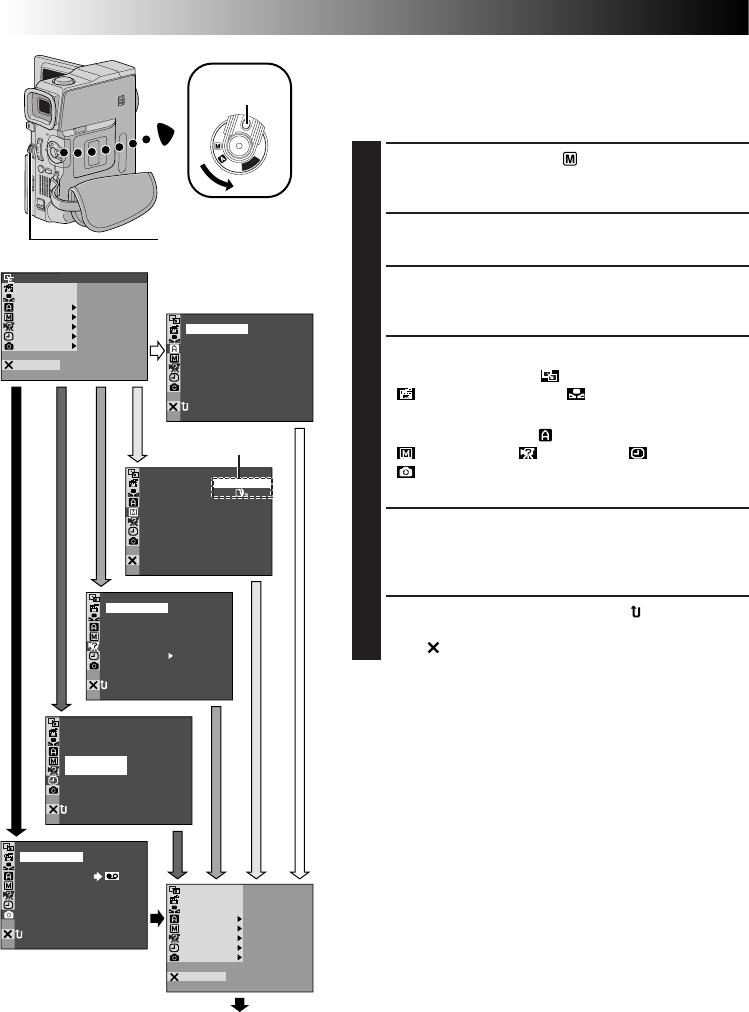
USING MENUS FOR DETAILED ADJUSTMENT
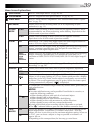
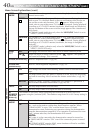
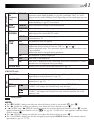
For Recording Menu
This camcorder is equipped with an easy-to-use,
on-screen menu system that simplifies many of the more
detailed camcorder settings (੬ pg. 39 – 41).
1
Set the Power Switch to “ ” while pressing down
the Lock Button located on the switch. Open the
LCD monitor fully or pull out the viewfinder fully.
2
Press the MENU Wheel in. The Menu Screen
appears.
3
Rotate the MENU Wheel to select the desired
function icon, and press it. The selected function
menu appears.
4
Function menu setting depends on the function.
If you have selected “ WIPE/FADER”,
“ PROGRAM AE” or “ W. BALANCE” . . .
…see pg. 39.
If you have selected “
CAMERA”,
“ MANUAL”, “ SYSTEM”, “ DISPLAY” or
“ DSC” (GR-DVX78 only). . .
…go to step 5.
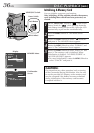
5
Rotate the MENU Wheel to select the desired
function and press it. The Sub Menu appears.
Then, rotate the MENU Wheel to select the
parameter, and press it. Selection is complete.
6
Rotate the MENU Wheel to select “ RETURN” and
press it twice. The Menu Screen closes.
•The icon represents “END”.
Sub Menu
Normal Screen
Power Switch
* Actual menus differ by model and may appear
differently from these illustrations. Some menu
items may not be unavailable on your model.