Operation Method
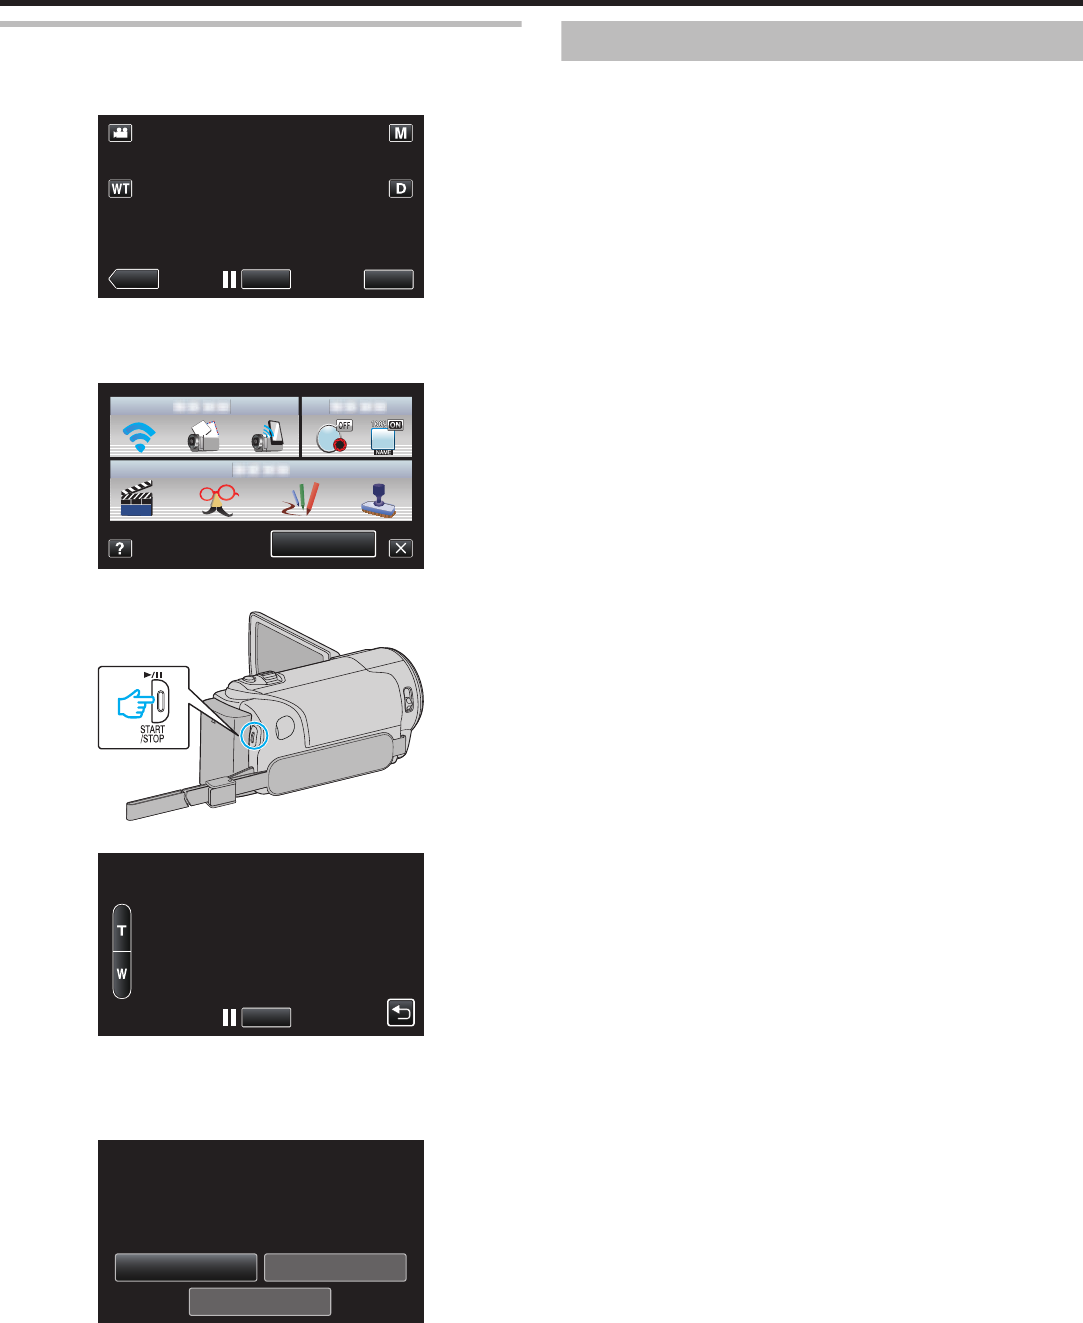
1
Tap “MENU”.
(Operation on this camera)
.
REC
PLAY
MENU
0
The shortcut menu appears.
2
Tap “VIDEO MAIL” (R) in the shortcut menu.
(Operation on this camera)
.
MENU
3
Start recording.
.
0
Recording starts after the countdown (5 seconds).
.
REC
0:00:15
VIDEO MAIL
0
You
can allow the recording to be performed for 15 seconds or press
the START/STOP button to stop.
4
Tap “SEND”.
(Operation on this camera)
.
PLAY TO CHECK
STOP
SEND
SEND THIS VIDEO?
VIDEO MAIL
0
Sending of the video mail starts.
0
To check the file, tap “PLAY TO CHECK”.
0
When it is complete, tap “OK”.
Changing the Settings
To
use the Wi-Fi function, it may be necessary to perform some settings on
the camera and smartphone (or computer).
0
Registering the access points to connect (wireless LAN router)
“Registering the Access Points to Connect (“ACCESS POINTS”)”
(A p. 35)
0
Obtaining a dynamic DNS account
“Obtaining a Dynamic DNS (DDNS) Account” (A p. 29)
0
Setting the account on this camera
“Setting Dynamic DNS (DDNS) on this Camera (OUT MONITORING SET)”
(A p. 29)
0
Setting the sender’s e-mail address
“Setting the Sender’s E-mail Address” (A p. 30)
0
Registering the recipient’s e-mail address
“Registering the Recipient’s E-mail Address” (A p. 33)
Using Wi-Fi
26


