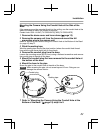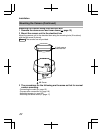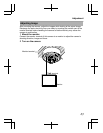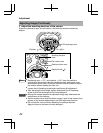
Adjusting the Auto White Balance
Each light source has its own color temperature. Therefore, when the main light
source lighting the subject is changed, adjust the white balance again.
1
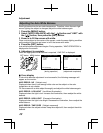
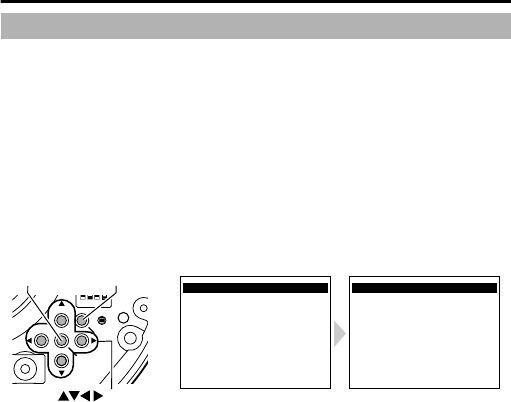
Press the [MENU] button.
2
Select [WHITE BALANCE] with the [J/K] button and "AWC" with
the [H/I] button, then press the [SET] button.
3
Zoom in to fill the screen with white.
Place a white object at the center of the screen, under the same lighting condition
as the subject to be shot and zoom in to fill the screen with white.
4
Press the [SET] button.
Auto white balance adjustment begins. During operation, "AWC OPERATION" is
displayed on the screen.
5
Adjustment is complete.
When the appropriate white balance is acquired, "AWC OK" is displayed.
.
1
F ADJ
MENU
MONITOR
SET
AWC OPERATION
WHITE BALANCE CONTROL
E
AWC SET
R GAIN
B GAIN
AWC OK
WHITE BALANCE CONTROL
E
AWC SET
R GAIN
B GAIN
160
160
160
160
SET button
MENU button
AWC OPERATION
(during operation)
AWC OK
(adjustment completed)
button
m
Error display
If auto white balance adjustment is not successful, the following messages will
appear on the monitor.
AWC ERROR : NG
(Subject error)
Displayed when there is not enough white color on the subject or the color
temperature is not suitable.
Fill the screen with a white object thoroughly and adjust the white balance again.
AWC ERROR : LOW LIGHT
(Insufficient Illumination)
Displayed when the light is low. Increase the illumination, then readjust the white
balance.
AWC ERROR : HIGH LIGHT
(Excessive Illumination)
Displayed when the light is too bright. Decrease the illumination, then readjust the
white balance.
AWC ERROR : TIME OVER
(Subject movement)
Displayed when the subject moves. Keep the subject still, then readjust the white
balance.
Adjustment
28


