


4 5
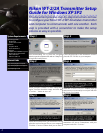
Wireless Setup Guide
Windows XP Service Pack 2 or Later
4 5
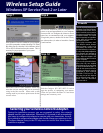
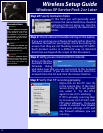
Windows XP wireless networking
subsystem allows you to maintain
a list of preferred networks. This
list allows you to control the priority
of different access points that
you typically connect to. Once a
network has been added to this
list you can select it and move
it up and down with respect to
the other networks.
Preferred Networks
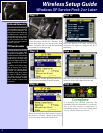
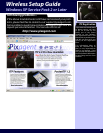
In order to connect to an FTP server,
the camera must supply login
information to identify itself. The
installation process will create the
rst user for you, however if you
would like you can create more
users by clicking the Add User link
in the red section of the Control
Centre.
In addition to providing a basic
layer of security, user accounts
also allow you a greater degree
of control. For instance, the les
transmitted using each account
are saved in different locations.
This allows you to easily keep
images from different cameras
and/or shooters separate from
one another.
ITP User Accounts
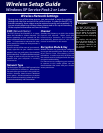
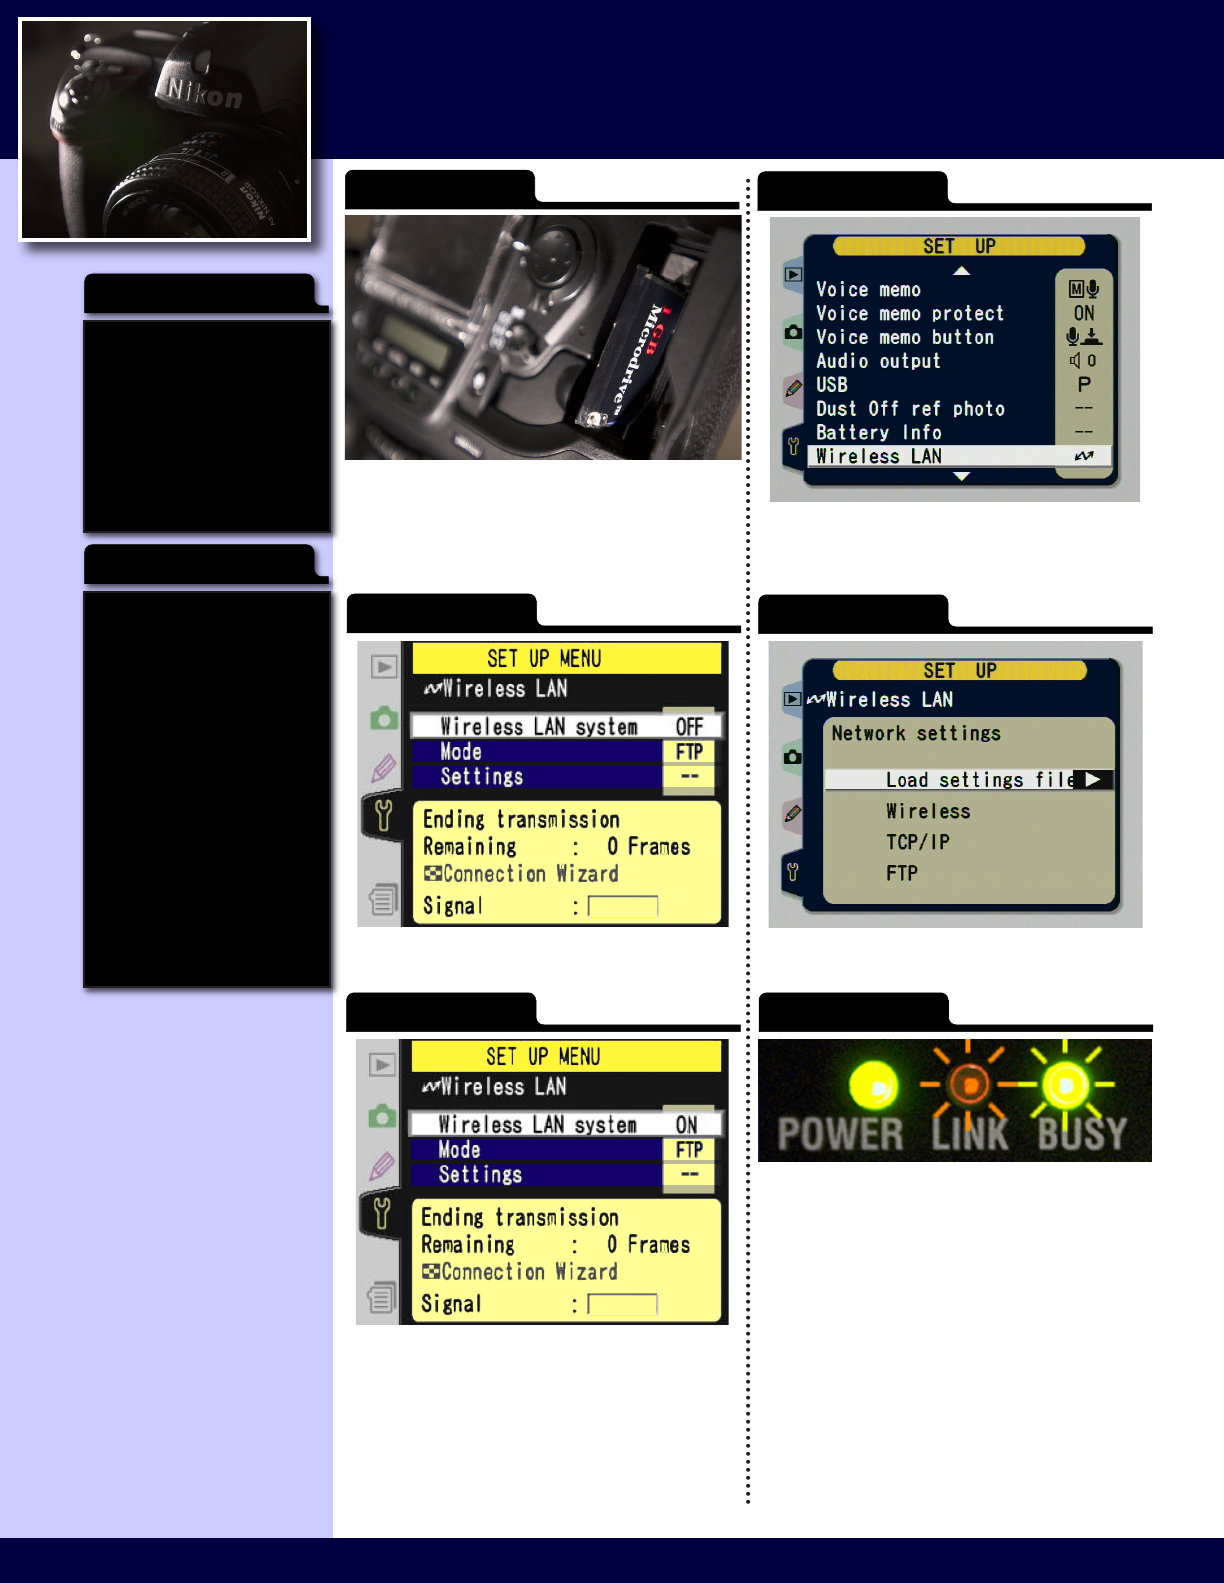
Step 11
Step 12
Remove the CF card from your computer and insert
it into the camera with the WT-2 attached. Wait
for the green light to go out, then press the Menu
button. Navigate to the Set Up tab (the bottom tab)
and continue on to the next step...
Select the Wireless LAN entry and press the
controller pad right to configure the WT-2
transmitter.
Step 13
Once the Wireless LAN menu appears select the Wireless
LAN system entry and switch it to the OFF position.
Step 14
Select the Load settings le entry and instruct the
camera to retrieve the settings from the card.
Step 15
When the settings have been loaded, return to
the Wireless LAN menu. Return to the Wireless
LAN system entry and switch it back to ON.
Step 16
Complete
If everything has worked correctly, the
transmitter will now be functional. If you haven’t
done so yet, take a picture to ensure that it is
transmitting correctly. If it is not working, please
see the troubleshooting section.