5m
10m
50
50
°
100
100
°
50
50
°
30
30
°
30
30
°
60
60
°
50°
100°
50°
30°
30°
60°
37
EN
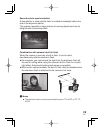
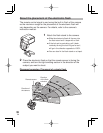
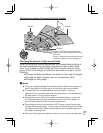
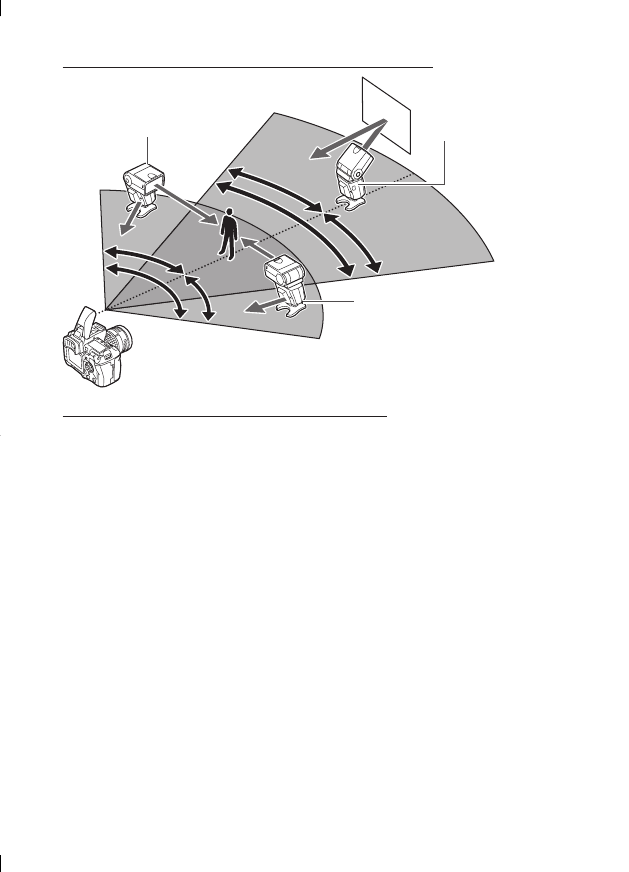
Placement examples: Placement of three flashes
Changing the amount of light of each flash
When shooting with multiple flashes you can create different effects of
the flash photography by changing the amount of light of each flash.
First, try to change the flash mode and flash intensity value for each
group. If that is not enough to create the expression you want, try the
following.
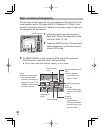
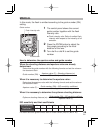
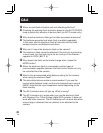
Change the distance between the electronic flash and the subject.
Change the flash intensity value on the electronic flash.
Change the firing angle.
x
Notes
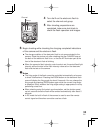
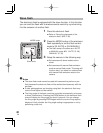
If there is an object between the camera’s built-in flash and the electronic
flash it may obstruct the light signal and the flash may not be emitted.
If enough light can be reflected back from the subject or from the
background (for example a wall when shooting indoors), the arrangement
will work even if it is not perfectly aligned.
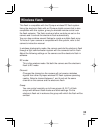
Although there is no limit to the number of wireless flashes you can use,
it is recommended that each group have no more than three flashes to
prevent flash malfunction due to mutual interference.
Place flashes that are to be emitted in AUTO mode so that the auto light
receptor will face the subject. In such case, the remote sensor will not face
the camera so the flash will be emitted making use to reflected light from
the subject or background.
After you finish placing the electronic flash, be sure to perform a test shot.
Group A
Groups A, B: Placed at the sides of the
subject to bring out perspective and avoid
a flat look.
Group C: Directed at the wall and bounced
to diffuse shadows from the background.
Group B
Group C


