


EN
23
Dubbing Still Images Recorded On A
Tape To A Memory Card
Still images can be dubbed from a tape to a memory
card.
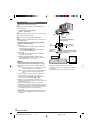
1 Load a memory card (੬ pg. 11) and cassette
(੬ pg. 9).
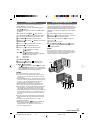
2 Set the VIDEO/MEMORY Switch t to “VIDEO”,
then set the Power Switch @ to “ ” while pressing
down the Lock Button $.
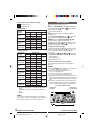
3 Press MENU 4. The Menu Screen appears. Press +
or – 5 to select “ VIDEO” and press SELECT/SET
3.
4 Press + or – 5 to select “ COPY” and
press SELECT/SET 3. The Sub Menu appears. Press
+ or – 5 to select “ON” and press SELECT/SET 3.
Selection is complete.
5 Press + or – 5 to select “ RETURN” and press
SELECT/SET 3 twice. The normal playback screen
reappears.
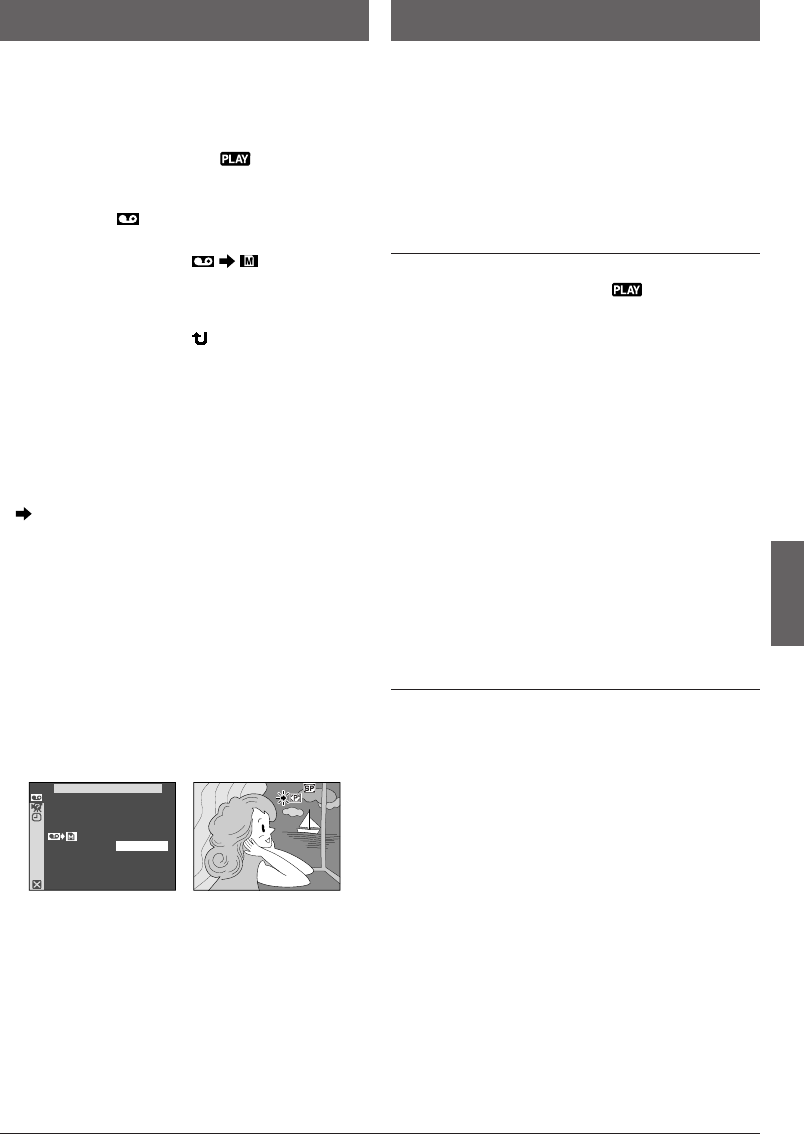
6 To select a video image to be dubbed, start
playback by pressing
4
/6 !. At the moment you find
the image you wish to dub, press it again to engage
Still Playback.
7 To start dubbing, press SNAPSHOT 9. The
selected image is stored on the memory card.
•“ ” blinks during dubbing.
NOTES:
● If SNAPSHOT 9 is pressed in step 7 when a memory
card is not loaded, the message “COPYING FAILED” is
displayed.
● To change the Snapshot mode for dubbing,
੬ pg. 29.
● If an image recorded on the tape using the WIDE mode
(੬ pg. 33) is dubbed to a memory card, the WIDE mode
identifying signal is not dubbed with it.
● To use Playback Special Effects with a video image you
wish to dub, perform up to step 7 using the remote control
(
੬ pg. 39).
● Images are dubbed in 640 x 480 pixels.
Setting Print Information
(DPOF Setting)
This camcorder is compatible with the DPOF (Digital
Print Order Format) standard in order to support future
systems such as automatic printing, which records
information about the still images you wish to print
(such as the number of prints to make). There are 2
print information settings available: “TO PRINT ALL
STILL IMAGES (ONE PRINT FOR EACH)” explained
below and “TO PRINT BY SELECTING STILL IMAGES
AND NO. OF PRINTS”.
TO PRINT ALL STILL IMAGES
(ONE PRINT FOR EACH)
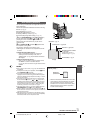
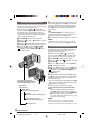
1 Set the VIDEO/MEMORY switch t to “MEMORY”,
then set the Power Switch @ to “ ”, while pressing
down the Lock Button $ located on the switch.
• Make sure an IMAGE file is displayed (੬ pg. 18,
“Normal Playback”).
2 Press MENU 4. The Menu Screen appears.
3 Press + or – 5 to select “DPOF” and press
SELECT/SET 3. The Sub Menu appears.
4 Press + or – 5 to select “ALL 1” and press
SELECT/SET 3. Selection is complete. The DPOF
Screen appears.
5 Press + or – 5 to select “EXECUTE” and press
SELECT/SET 3. The normal playback screen
appears.
• To cancel selection, press + or – 5 to select
“RETURN” and press SELECT/SET 3.
To Reset The Setting . . .
..... select “RESET” in step 4. The setting is reset to 0
for all still images.
TO PRINT BY SELECTING STILL IMAGES AND
NO. OF PRINTS
1 Perform steps 1 through 3 of “TO PRINT ALL STILL
IMAGES (ONE PRINT FOR EACH)”.
2 Press + or – 5 to select “CURRENT” and press
SELECT/SET 3. Selection is complete. The DPOF
Screen appears.
3 Turn the SHUTTLE SEARCH Ring #
counterclockwise (
2
) or clockwise (
3
) so that the
image you wish to print appears.
4 Press + or – 5 to move the highlight bar to the
SHEETS number indication and press SELECT/SET
3.
Continued on next page.
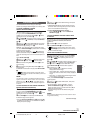
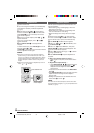
Display
Menu Screen
ADVANCED FEATURES
44
–
IVDE
O
COPY
OFF
ON
66
01 DX300/100/95/75EK_EN 17-24 2/26/03, 7:12 PM23