


VQT4F46 109
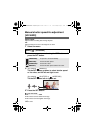
2 Select the white balance using the SET button, and
press the SET button.
≥ To return to auto setting, select (AUTO).
∫ To set the White Balance manually
1 Point the unit at a white subject that fills the screen.
2 Select the (WHITE SET) and press the SET button.
≥ The LCD monitor display will go dark for a moment and then return to
the recording menu. When the icon appears on the recording
menu, the white balance has been set.
≥ When the brightness changes or the recording location changes and
the color balance is no longer correct, check whether the white balance
setting is suitable for the light source.
≥
If you turn on the unit with the lens cap still fitted, the auto white
balance will not be set correctly. Always remove the lens cap before
turning on the unit.
≥ [SCENE MODE] will be set to (OFF) when the [WHITE BALANCE]
is set to other than (AUTO) while the [SCENE MODE] (l 90) is set
to (BEACH), (SUNSET), or (FIREWORKS).
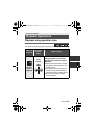
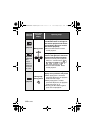
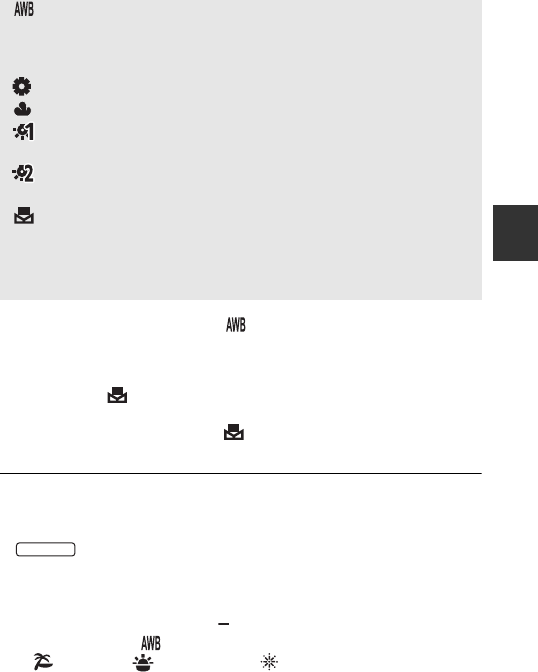
(AUTO): The unit distinguishes the weather and
lighting at the recording location and
automatically adjusts the white balance.
(Auto)
(SUNNY): Outdoors under a clear sky
(CLOUDY): Outdoors under cloudy sky
(INDOOR 1): Incandescent light, video lights like in the
studio, etc.
(INDOOR 2): Color fluorescent lamps, sodium lamps in
gymnasiums, etc.
(WHITE SET): ≥ Mercury-vapor lamps, sodium lamps,
some fluorescent lights
≥ Lights used for wedding receptions at
hotels, stage spotlights in theaters
≥ Sunrise, sunset, etc.
HX-DC2
HX-WA20PPPCPU-VQT4F46_mst.book 109 ページ 2012年2月14日 火曜日 午後5時10分