26 C309M-J (9/04)
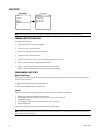
LIMIT STOPS
NOTE: Limit stops are inactive while setting items in the program menu (e.g. azimuth zero, scan limits, manual pan limits).
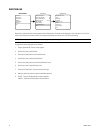
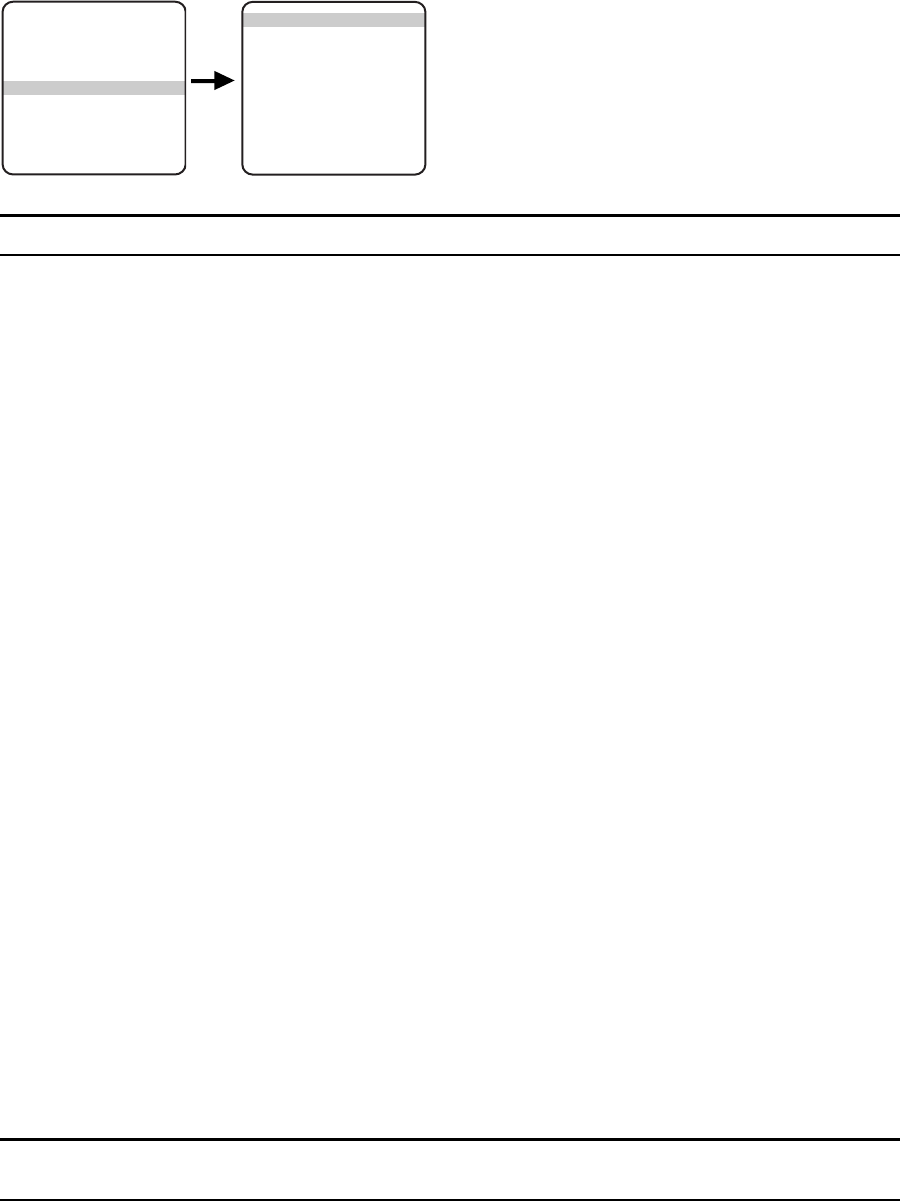
TURNING LIMIT STOPS ON OR OFF
To change the limit stop mode:
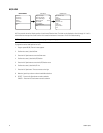
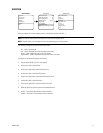
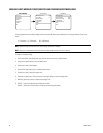
1. Program preset 95 (28). The main menu appears.
2. Position the cursor (>) beside Limit Stop.
3. Press the Iris Open button to enter the Limit Stop menu.
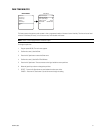
4. Position the cursor (>) beside Limit Stops.
5. Press the Iris Open button. The cursor moves to the right, beside the word On or Off.
6. Move the joystick up or down to toggle between On and Off.
7. SELECT – Press the Iris Open button on your keyboard to select your choice.
CANCEL – Press the Iris Close button if you do not want to change the setting.
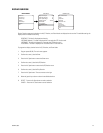
PROGRAMMING LIMIT STOPS
Manual Limit Stops
When manual limit stops are set, a (joystick/pan and tilt keys) pan operation stops when a limit stop is reached. The manual limit stops
can be set in one of two ways:
At the controller by programming presets 90 (23) and 91 (24)
or
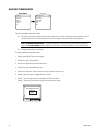
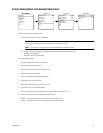
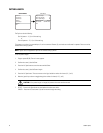
At the controller by programming the Limit Stops menu
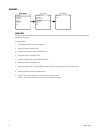
PRESETS
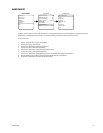
Refer to the documentation for your control system for programming presets, and then do the following:
1. Make sure limit stops are turned ON, then exit the menu.
2. Push the joystick left until you reach the limit you want the camera to go to on the left.
3. Program preset 90 (23).
4. Push the joystick right to the limit you want the camera to go to on the right.
5. Program preset 91 (24).
Setting presets 90 (23) and 91 (24) to the same point disables manual limit stops.
NOTE: Programming preset 90 (23) disables the manual limit stops until preset 91 (24) is set. Preset 90 (23) is the left manual limit and
preset 91 (24) is the right manual limit.
<Camera>
<Line Sync>
<Power Up>
<Wiper>
<Limit Stop>
<Other>
Exit
MAIN MENU
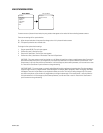
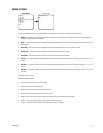
Limit Stops Off
Set Man Limits
Clear Man Limits
Set Scan Limits
Clear Scan Limits
Exit
Limit Stop Menu


