8 Pelco Manual C373SM-A (8/01)
RESETTING POTENTIOMETERS
Models with Preset Positioning (PP)
Models with preset positioning (PP) use potentiometer switches that are factory set to the
full range of pan and tilt travel. Under normal operating conditions and at routine service
intervals they do not need adjusting.
Should your pan/tilt require any work on the drive mechanism other than routine mainte-
nance, perform the following procedure to reset the potentiometers.
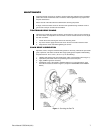
To begin, remove the cover to gain access to the pan and tilt motor assemblies.
1. Remove the potentiometer gears and position the pan/tilt to the middle of its maximum
pan and tilt travel, regardless of the position of the adjustable limit stops. That is, the
tilt table should be level and the fixed limit stop should be opposite the limit switch.
2. Turn a potentiometer all the way in
one direction until it stops, then
observing the number of turns, turn it
back the other way until it stops.
Rotate the potentiometer half the
number of turns the other way to
reach the center.
3. Replace the potentiometer gear.
4. Perform steps 2 and 3 for the other
potentiometer.
➛
➛
➛
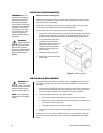
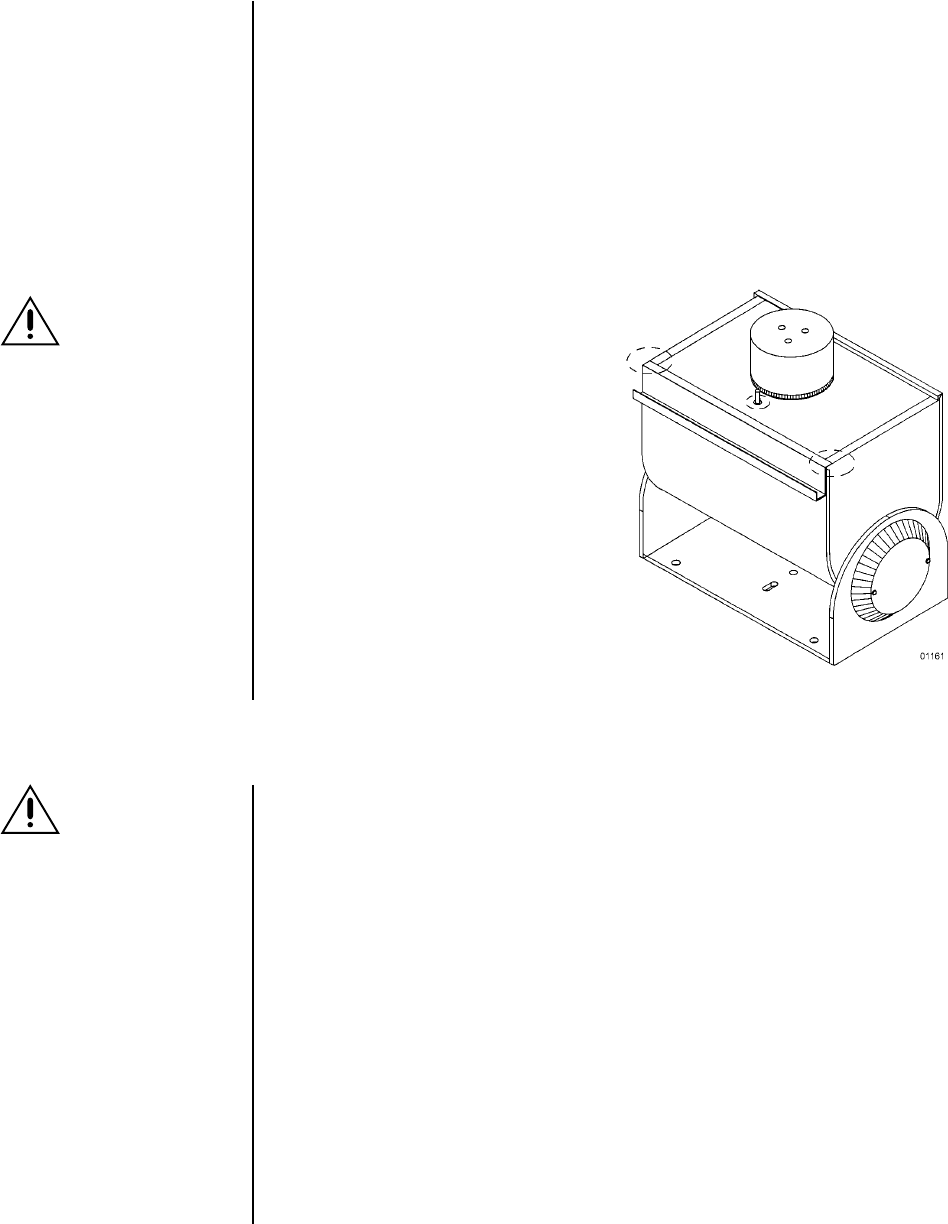
Figure 2. Sealant Locations
MOTOR BRAKE REPLACEMENT
To order replacement motor brakes, specify part number 1250BRAKE. The kit consists of
four springs, four Teflon pads, two screws, and a small knife-blade for removing the old
brake pads.
1. Remove the large rectangular heat sink from the back of the pan motor. Remove the
four springs. Do not disturb the silicone heat sink compound. It ensures the transfer of
heat to the heat sink and MUST be present when the heat sink is replaced.
2. Use the knife blade to remove the worn pads, as follows:
a. Insert the knife blade into the opening and press firmly into the brake pad.
b. Before trying to remove the brake pad, twist the knife-blade. This will loosen the
worn pad and make removal easier.
c. Gently twist the blade as you pull the worn pad out.
3. Insert the four new brake pads and four springs. Replace the heat sink using the new
screws.
Reinstall the cover. If your pan/tilt is installed outdoors in an inverted position, apply RTV
silicone sealant to the areas circled in Figure 2 (except PT1250EX/AMS and PT1260EX
Series).
IMPORTANT:
Be very
careful when resetting po-
tentiometer switches. Be
sure that the pan/tilt has
been centered between
maximum pan and tilt travel,
regardless of the adjustable
limit stops. Failure to ob-
serve caution when reset-
ting potentiometers could
result in damage to the
preset positioning ability of
the pan/tilt.
WARNING:
NEVER reposition
the pan fixed limit
stop. Doing so WILL DAM-
AGE the wiring harness
and, if the pan/tilt has preset
positioning, COULD cause
the pan potentiometer to
BREAK.
WARNING
: The
knife-blade in-
cluded in the brake
kit is very sharp. It should be
handled carefully and dis-
posed of properly after use.
NOTE
: This section does
not apply to the PT1250DC
Series.


