


8
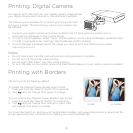
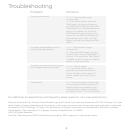
Printing: Digital Camera
For specific print directions for your digital camera, please review
your digital camera user’s manual or manufacturer’s website.
The following is an example for connecting to the printer and
print your images. The terminology used in your camera may
be dierent.
1. Connect your digital camera and printer to determine if a print option or printer icon is
automatically displayed on the camera screen.
2. If no print option appears, select “menu” and navigate to confirm that PictBridge is enabled. Note:
if “USB” is displayed under “settings” then PictBridge is NOT enabled.
3. Once PictBridge is enabled, select the image you want to print and follow the on-screen
instructions to print.
Notes:
• Do not disconnect the USB cord until entire printing process is complete.
• Do not turn o the printer while printing.
• Do not open ZINK Paper® tray door while printing.
• To print the date on your photo, ensure the Date Stamp feature on your digital camera is enabled.
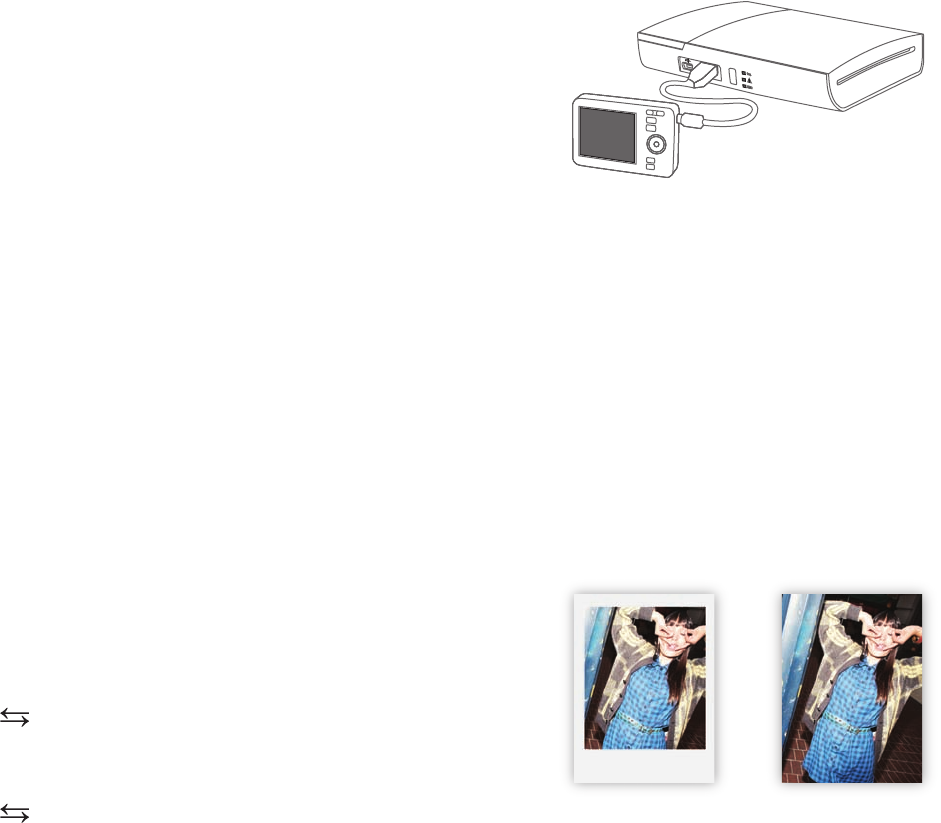
The GL10 prints full bleed by default.
To enable the Polaroid Classic Border Logo format:
1. Press and hold the “Reprint” button for 5 seconds.
2. The LED will change from green to orange.
To print without the Polaroid Classic Border Logo format:
1. Press and hold the “Reprint” button for 5 seconds.
2. The LED will change from orange to green. LED
will change from green to orange.
For more information on printing with customizable borders, visit www.polaroid.com to download the
printer application and instructions for creating your customized border.
Printing with Borders
border no border