Practical Hints
[Return to Manual index] [Previous page] [Next page]
9. Correct exposure
As a basic rule, always point the camera while taking exposure readings exactly in the direction of the
subject. Inadvertent tilting of the camera - for example, into the sky while taking landscape views - can
falsify the reading and in this case lead to under-exposure.
The exposure meter evaluates the average brightness of the measured subject field. With.subjects of
average contrast it automatically indicates the correct exposure. But even with shots of considerable
brightness range you can take the readings in such a way as to ensure correct exposure for the main
subject.
Normal subjects: the view is lit from the front or at an angle from the side. There are no heavy shadows,
and dark and bright areas are balanced. (This uniform front lighting also yields the most saturated colours
in colour shots).
Result: The measured exposure is correct for the whole field of view.
A special case: The main subject contrasts strongly in brightness against
the background. For example, with a portrait of a suntanned face against
bright clouds an average reading would give too much importance to the
sky. Yet it is the head which matters for the exposure.
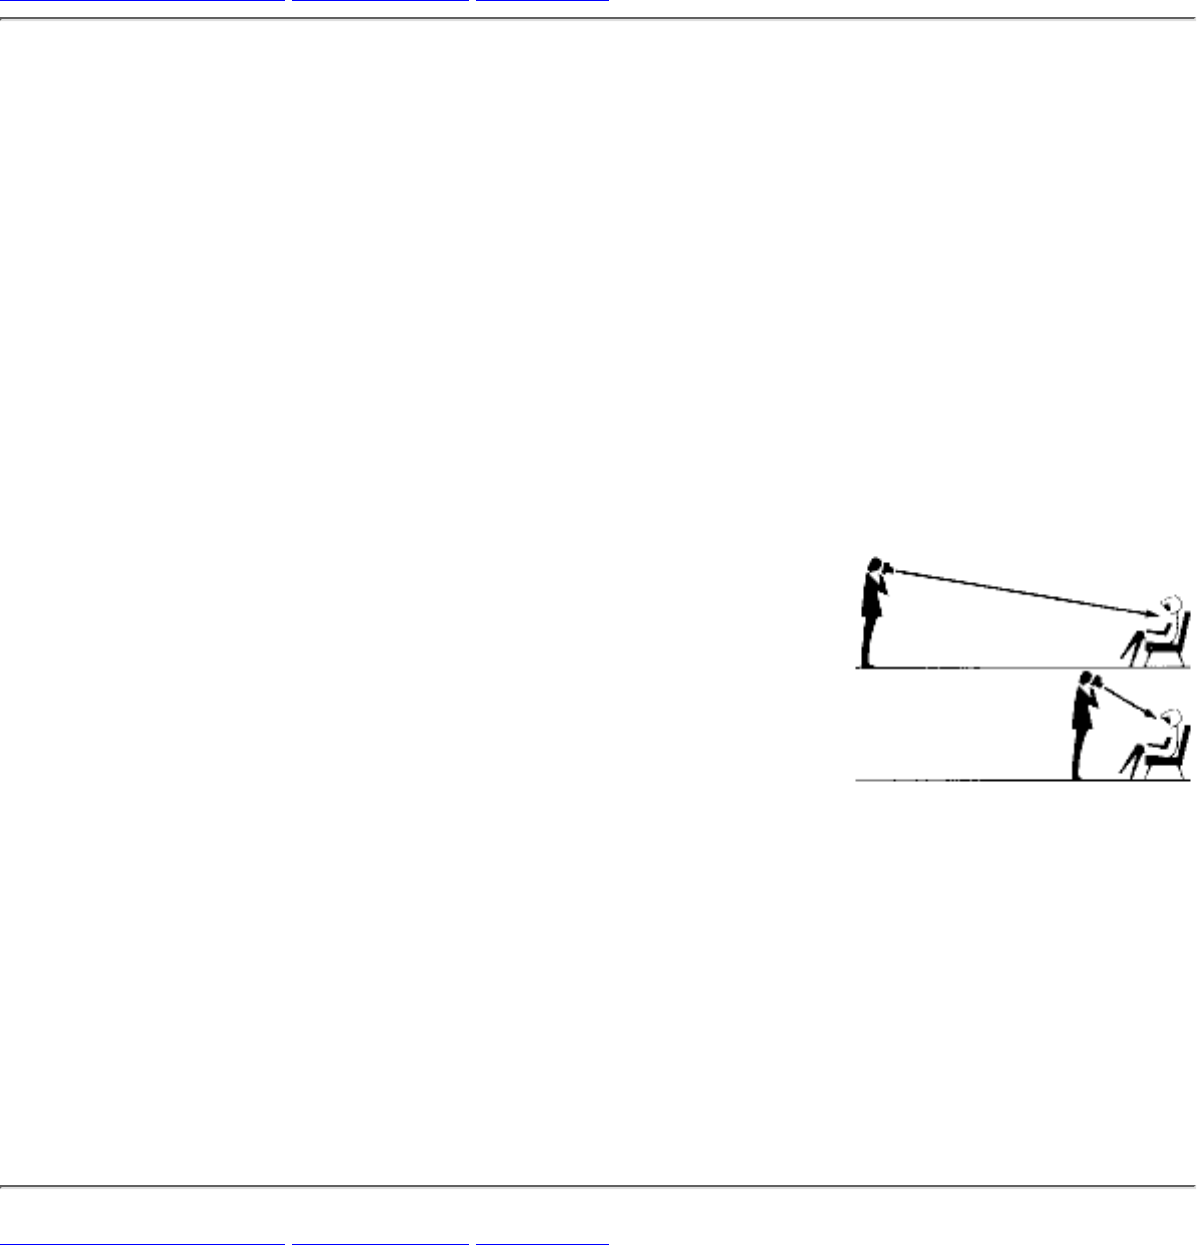
The right way: Take a close-up reading with the camera near the subject
until the main object completely fills the finder. After setting the exposure
go back for shooting to the previous viewpoint.
Substitute reading: If a close-up reading is not possible, point the camera
at a substitute object of average contrast and under the same lighting. Use the setting obtained for the
exposure.
Against the light: When shooting against the light open the lens aperture by one stop (next lower
f/number) .
For colour subjects to be taken on reversal colour film: Avoid very great brightness differences. A
close-up reading of the shadow areas usually leads to excessive exposure for the sunlit image portions,
which then appear too light and burnt out when you project the slide. An average brightness reading (as
with normal subjects) here again yields pictures which correspond most closely to the natural colour
impression.
[Return to Manual index] [Previous page] [Next page]
All this informations, texts, and Images were extracted from the "Rollei 35/35T/35S In Practical Use" and
only intends to give some orientation to new users that didn't had access to the original manual. (c)
Rollei-Werke Franke & Weidecke


