User GuideUser Guide
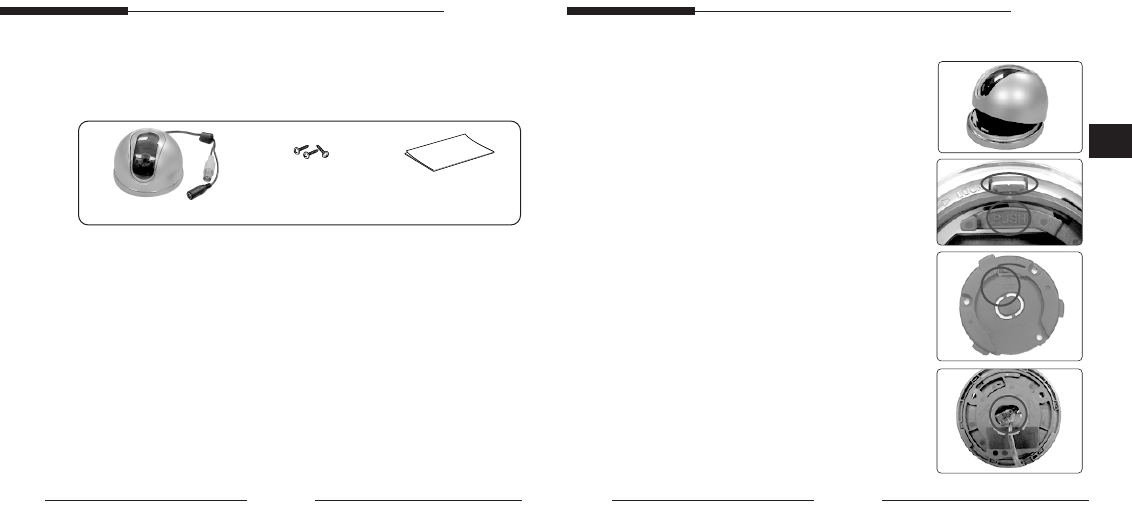
1. Raise the COVER-DOME towards the FRONT
direction to separate from the product.
2. Keep the arrow on the Push in line with the arrow on
the Bottom and press the Push. While pressing the
Push, turn the bracket ceiling in a counterclockwise
direction from the bottom side.
3. Install the bracket-ceiling in a desired place by using
the tab screw supplied as an accessory.
(Set the direction in a way that the bracket-ceiling
can detect the direction of the camera front)
4. Depending on installation space, you can install the
product using either process 1) or 2).
Create a hole in the ➀ installation position.
If the CAMERA wiring comes from the bottom,
remove a part of the centre and remove the cable
from the hole.
■
Installation
➞
➞
➞
6 7
4. Installation
■
Check what is inside the package
• Check to see if the following parts are included in the purchased package.
User's guide
Camera
tab screw
■
Notes on installation and usage
1. Users should not disassemble the camera from the front direction.
2. Always handle the camera with care. Please do not apply a shock or vibration
as much as possible and take cautions not to cause damage or make a
scratch on the camera due to careless storage.
3. Please do not install the camera with the rainy place or highly humid areas.
And do not operate the camera in the wet place.
4. Do not clean the camera body with the strong abrasives or soaps. When the
camera becomes dirty, clean it with the dry rugs. Especially, make sure to use
the dedicated rugs for lens to clean the dome cover.
5. Please keep the camera at the cool area that is not exposed to the direct
sunlight. If you do, it can cause bad effects on the product.
E