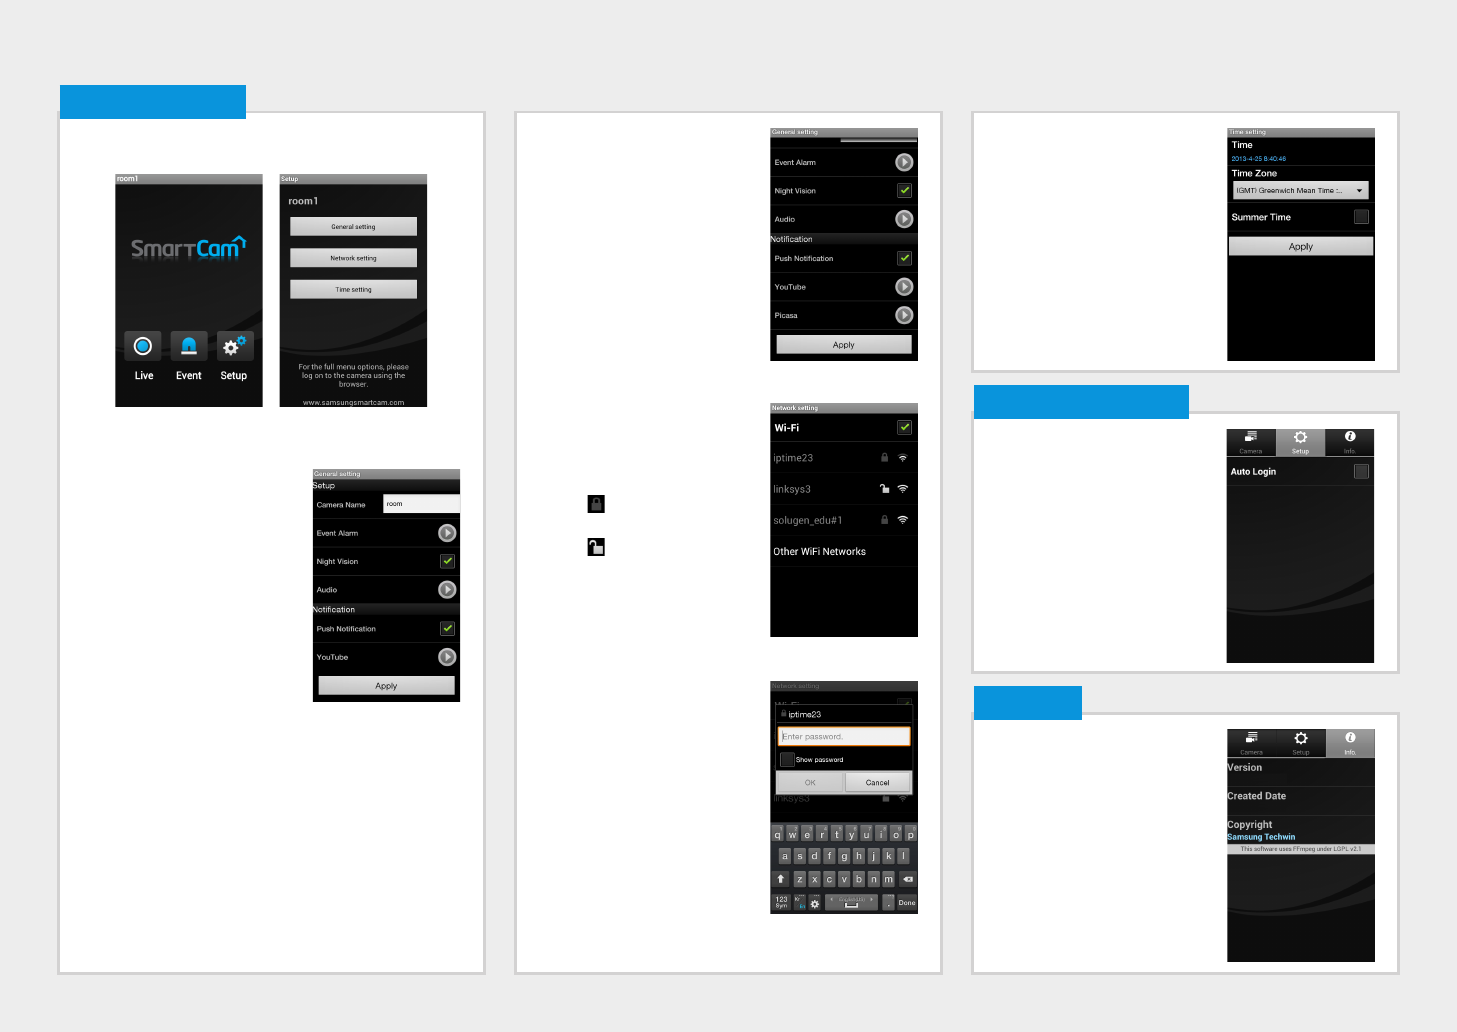
3. Configure the notification.
• Push Notification : Notifies alarm
events.
• YouTube : Creates 30 seconds
long footage and uploads onto
the user’s YouTube account.
• Picasa : Sends event images to
the user’s Picasa account.
4. Tap <Apply>.
Network setting
1. Tap the <Network setting>.
2. Configure the wireless network.
• WiFi : Shows the list of available
access points.
- : Connecting to the AP
requires password.
-
: Connecting to the AP
requires no password.
- Show password : The
password entered by user
is displayed on the screen
when selecting encryption
Wifi.
• Other WiFi Networks : Enter the
SSID name and password to
connect to the network.
If selected, it shows guide
on SSID and networking
procedures.
M
` The camera LED will change from
flashing blue to solid green within
30 seconds. This confirms the
camera is connected to your WiFi
network. You can now unplug the
camera and place the camera
anywhere within your wireless
network range. If the camera LED did not change to solid green,
please contact our tech support.
1. Move to the <Info.> item.
2. Shows the information on
Samsung Techwin Smartcam
Application.
10. Info.
vX.XX
XXXX, XX, XX
Tap the <Setup> icon to configure a camera to be monitored.
General setting
1. Tap <General setting>.
2. Configure the basic camera
settings.
• Camera Name : Camera name
is used to easily identify the
camera when you have more
than one. i.e., Living room,
Kitchen, Bedroom.
• Event Alarm : Specify whether
to trigger the alarm or not, and
specify the sensitivity.
The higher the sensitivity is, the
subtler motion/audio events will
be detected.
• Night Vision : Set the IR lighting.
Check <Night Vision> to set the camera to switch to the
night vision mode automatically.
• Audio : Adjust the volume of the built-in microphone and
speaker of the camera as appropriate.
8. Camera Setup
Time setting
1. Tap <Time setting>.
2. Set the camera’s clock.
• Time Zone : Select your region.
• Summer Time : Check this
option if you live in a country
or region where DST(Daylight
Saving Time) is applied.
1. Move to the <Setup> item.
2. Check <Auto Login> to login
automatically from the next
application running.
9. Auto Login Setup


