


9
SPEED DOME CAMERA ACCESSORIES
8
SPEED DOME CAMERA ACCESSORIES
Installation Guide Installation Guide
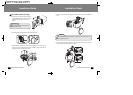
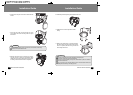
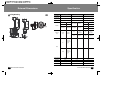
6. Connect the AC 24V power cable to the fan heater PCB cable
terminal.
7. Connect the video cable, the controller cable, the camera
power adapter cable and the ID setting cable to the speed
dome camera.
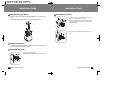
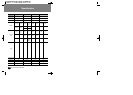
8. Install the speed dome camera on its holder in the housing,
and make sure that it is facing in the right direction. (When
installing the camera, push the cables into the empty space of
the housing to make sure that the cables are not pinched.)
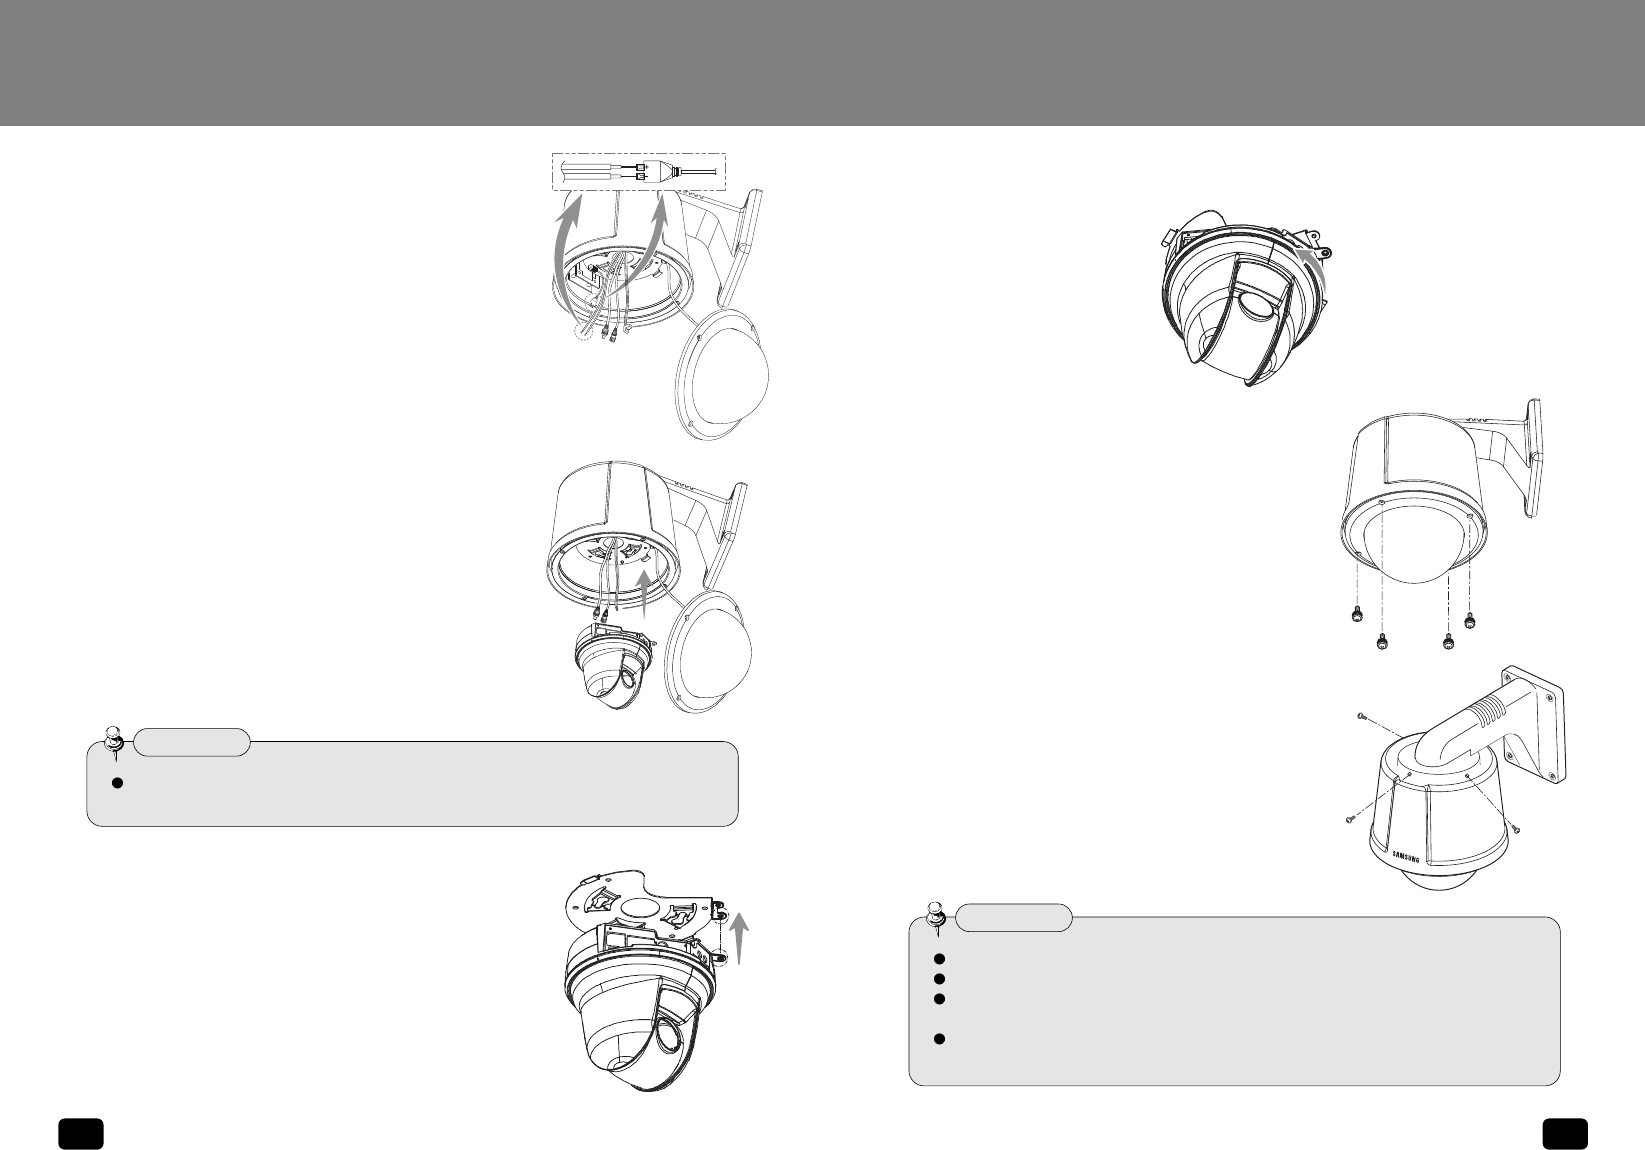
9. Assemble the speed dome by turning it in the direction of the arrow.
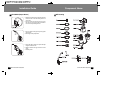
10. Install the dome cover for the speed dome’s outdoor
housing.
11. Make sure that all the devices are connected correctly to
the camera and then check the functions of the camera. If
there are no problems, affix the housing onto the wall
mount using the three screws.
Check out the input voltage of the power adapter before connecting the power.
It is necessary to tighten the screw to prevent unfastening.
If the screw to prevent unfastening is not tight, the camera installed may fall due to vibration or
shock from the environment.
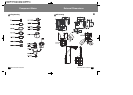
Set up the Camera ID, the Termination Resistance and the Protocol Selection Switch before
installing the outdoor housing on the ceiling type mount.
Cautions
Before installing the outdoor housing on the wall mount, set the camera ID, the terminating
resistance and the protocol selection switch.
Cautions