


13-GB
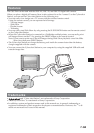
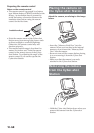
Printing still images
Even if you do not have a computer, you can
easily print still images by connecting your
camera via the Cyber-shot Station to a
PictBridge compliant printer.
•Refer to the operating instructions supplied
with the camera for details on the printer
settings, such as the number of printing
images, paper size, and USB setting.
•The available print functions may differ
depending on the printer.
1 Turn on your camera.
2 Set the USB mode on your camera.
– For further details, refer to the operating
instructions supplied with the camera.
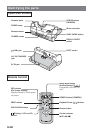
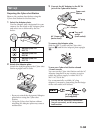
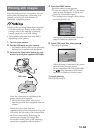
3 Connect the Cyber-shot Station to your
printer by using the supplied USB cable.
After the connection is established, the
image select screen appears.
* About the image select, refer to the
operating instructions supplied with the
camera.
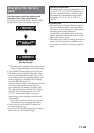
When the Cyber-shot Station is
communicating with your printer using the
USB cable, do not remove the camera from
the Cyber-shot Station. Removing the
camera may damage the image data.
For further details, refer to the operating
instructions supplied with the camera.
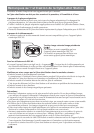
4 Press the PRINT button.
The print setting screen appears.
* If you are using the DSC-N1, the image
select screen disappears at this point.
Press the Print button again.
* The setting screen images shown below
are from the DSC-N1.
– Setting items that the printer does not
support cannot be displayed.
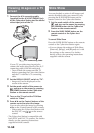
5 Select [OK] with V/B, then press .
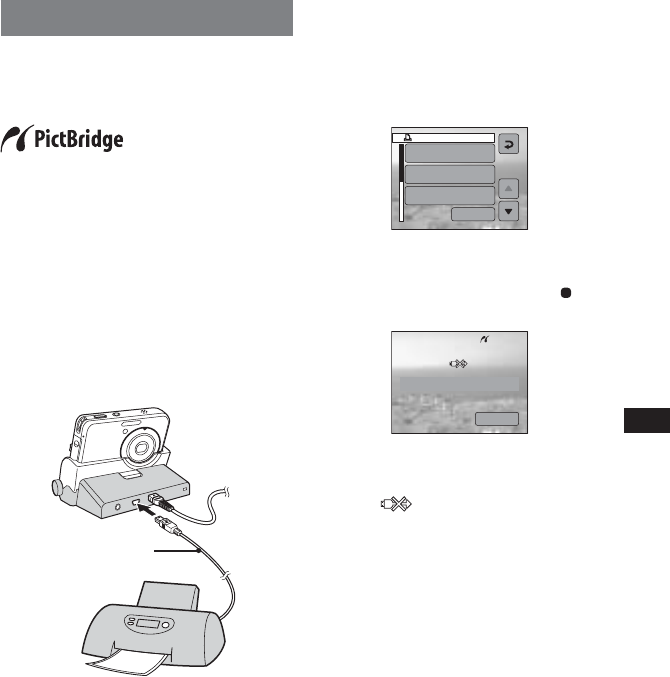
The image is printed.
– When printing is completed, the screen
returns to the previous screen.
– Do not disconnect the USB cable while
the
(Not disconnect USB cable)
indicator is displayed on the screen.
To cancel printing
Select [Exit] in step 5.
USB ca
bl
e
Print
Quantity
1
Date
Off
Size
Default
OK
Printing
Exit