


4 Disconnect the USB cable.
For details, see page 80 or 86 of Operating Instructions supplied with the
camera.
When using a computer with a
Memory Stick slot
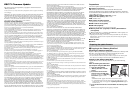
1 Mount the just formatted
“Memory Stick Duo” into a
Memory Stick Duo Adaptor, then
insert it into the Memory Stick
slot.
• If you insert the “Memory Stick Duo”
without first mounting it in a Memory
Stick Duo Adaptor, you may be unable
to remove the “Memory Stick Duo”.
2 Copy the DSCT1V2.ash file in the CD-ROM to the “Memory Stick
Duo”.
3 Remove the “Memory Stick Duo”.
2 Preparing the camera
1 Insert the “Memory Stick Duo” into the camera.
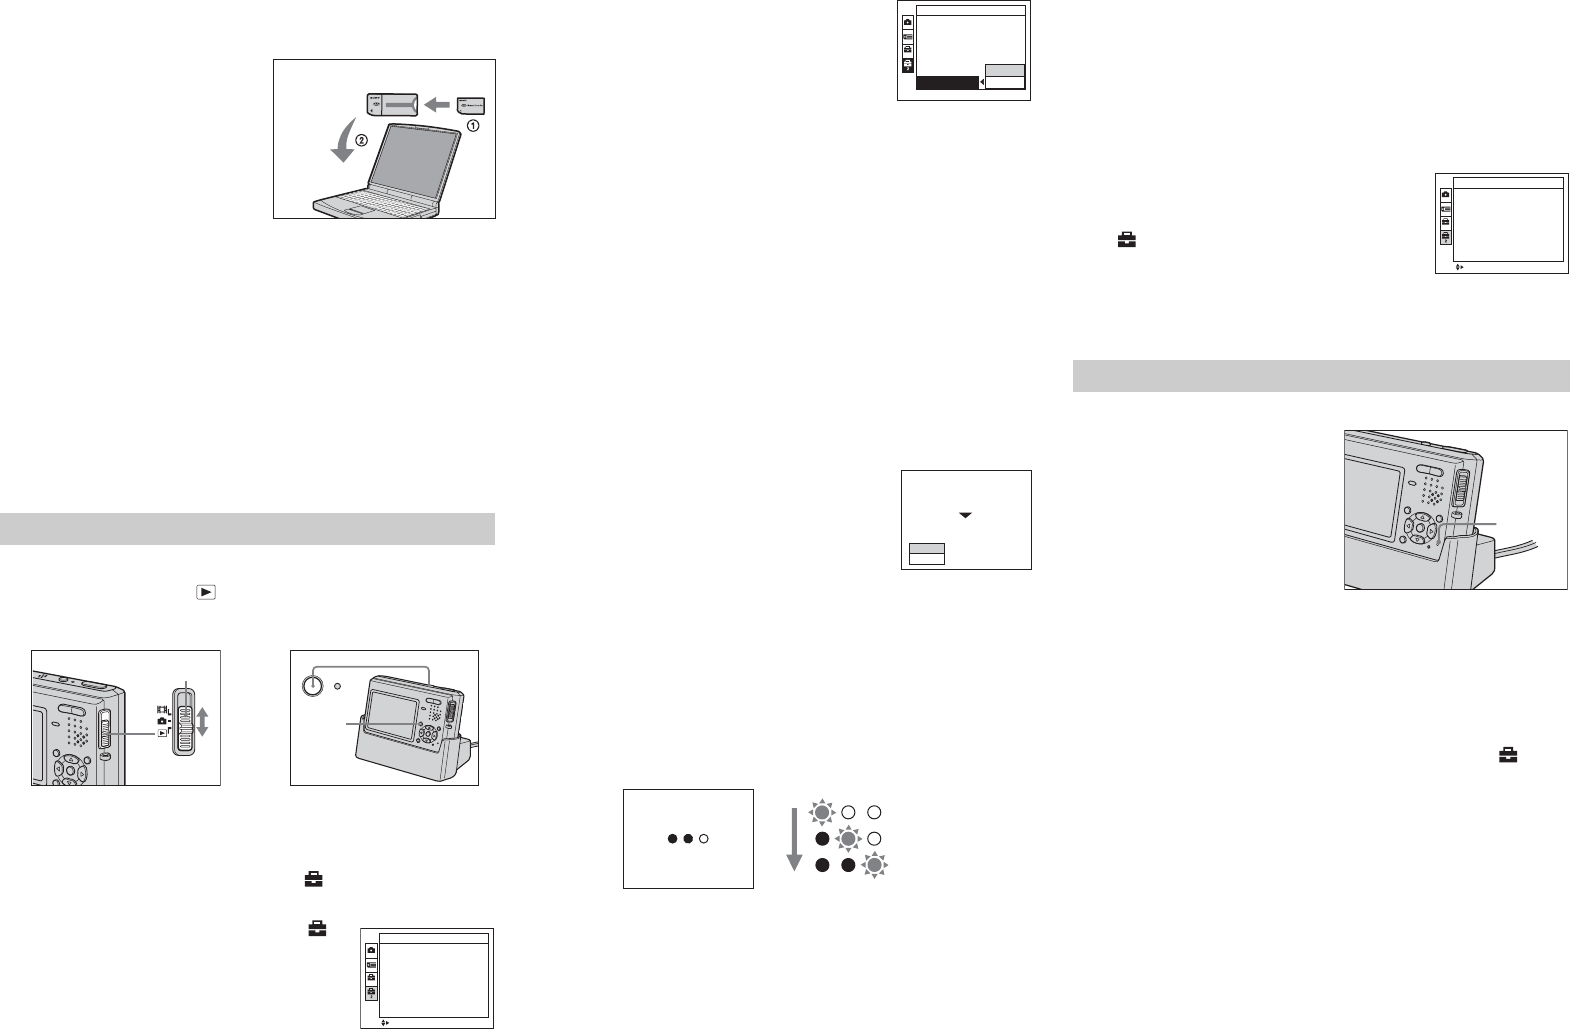
2 Connect the AC Adaptor (supplied) to the USB cradle (supplied)
and a wall outlet (wall socket).
3 Connect the camera to the USB cradle.
• Disconnect the USB cable if it is connected.
• Use the AC Adaptor to prevent the power from cutting off partway through the
procedure.
• The battery pack cannot be used for this procedure.
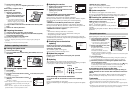
1 Setting the update mode
1 Set the mode switch to .
2 Press the POWER button while holding down MENU, and turn on
the camera.
2 Checking the update mode
1 Press MENU.
The menu appears.
2 Press B on the control button to select in the menu, then press
B again.
The Setup screen appears.
3 Press V on the control button to select
(Setup 2).
“Version: 1” appears.
• When “Version: 1” does not appear, turn off the camera, then
perform the procedure again starting from “Setting the
update mode”.
• When “Version: 2” appears, the camera has already been
updated and there is no need to update the version.
3 Updating the version
1 Press B/V on the control button to select
[Version], then press B.
2 Press v/V on the control button to select
[Update], then press z.
“Access” appears.
If the following errors occur at this time:
“ERROR 20: No software file” appears.
Cause: The file is not present in the “Memory Stick Duo”.
Remedy: Check the contents of the “Memory Stick Duo” with the computer,
then perform the procedure again starting from “Software updating
instruction”.
“ERROR 30: Format Memory Stick before use” appears.
Cause: There are multiple files and folders in the “Memory Stick Duo”.
Remedy: Format the “Memory Stick Duo” with the camera and perform the
procedure again starting from “Preparing the update firmware”.
“ERROR 40: Invalid file” appears.
Cause:
– The file in the “Memory Stick Duo” is not correct.
– The firmware version is the same or older than the existing one.
– The update target model is different.
Remedy: Check the current version, then return to the top page, select and
download the correct firmware, and perform the procedure again starting from
“Software updating instruction”.
4 Checking the version before
updating
Check the current version and the updated
version, then press v on the control button to
select [OK], and press z.
The “Software Update” screen appears.
Select [Cancel] to return to the Setup screen.
5 Update the program
Press v on the control button to select [OK], then press z.
Updating starts.
6 Updating
The “Updating” screen appears and the a indicators flash.
When all three indicators change from flashing to lit, the updating is complete.
• Updating takes a number of minutes (normally about 1 minute).
If the following errors occur at this time:
aaa do not flash for 30 seconds or more at the “Updating”
screen.
Cause: Version updating may have failed.
Remedy: Follow the steps in “Re-update procedure” and perform the update
again.
“ERROR 10: Error” appears.
Cause: Version updating may have failed.
Remedy: Follow the steps in “Re-update procedure” and perform the update
again.
7 Update completion
The “Finished” screen appears. Turn off the camera.
Be sure to press the RESET button after turning off the power. (When you
press the RESET button, the date/time and other settings are canceled.)
8 Checking the updated version
Press the POWER button while holding down
MENU, and turn on the camera.
Check (Setup 2) at the Setup screen to make sure
that the version has been updated.
If the version has been updated to “2”, the procedure is
complete.
After finishing the update, format the “Memory Stick Duo” to delete the
update file.
When updating fails, follow the procedure below and perform re-update.
1 Turn off the camera and check
that the “Memory Stick Duo” is
inserted into the camera.
• You cannot use a “Memory Stick PRO
Duo” for this re-update procedure.
2 Wait for 5 seconds or more, then
turn on the camera.
Re-update starts, and the access lamp
on the camera lights up.
After about one minute, the access
lamp turns off and the update is complete.
• When performing re-update, nothing appears on the LCD screen, but the update
is being performed.
3 Turn off the camera.
Be sure to press the RESET button after turning off the power. (When you
press the RESET button, the date/time and other settings are canceled.)
4 Follow the procedure in “Checking the updated version” and
check the firmware version.
Press the POWER button while holding down MENU, then check (Setup
2) at the Setup screen to make sure that the version has been updated.
If the version has been updated to “2”, the procedure is complete.
If the following error occurs at this time:
The access lamp on the camera flashes or lights up during re-
update, but does not turn off even after 3 minutes or more have
passed.
Cause: Trouble occurred with the “Memory Stick Duo” during updating.
Remedy: Consult your nearby Sony service center or service facility.
Trademarks
• Microsoft and Windows are either registered trademarks or trademarks of the U.S.
Microsoft Corporation in the United States and/or other countries.
• Macintosh and Mac OS are trademarks or registered trademarks of Apple Computer,
Inc.
• In addition, system and product names used in this manual are, in general, trademarks
or registered trademarks of their respective developers or manufacturers.
Software updating instruction
Memory Stick Duo Adaptor
POWER
Mode switch
MENU
m
Setup 2
File Number:
USB Connect:
Video Out:
Clock Set:
2004 1 1 10:30:00
AM
Version: 1
1
<
MENU SELECT
2
Setup 2
File Number:
USB Connect:
Video Out:
Clock Set:
Version:Version:
1
Cancel
Update
Software Update
Current Version: 1
New Version : 2
Cancel
OK
Updating
Don’t turn off
If not blink the circles more than 30sec,
see the “Software updating instruction”
Flashing
Start
1/3 complete
2/3 complete
Re-update procedure
Setup 2
File Number:
USB Connect:
Video Out:
Clock Set:
2004 1 1 10:30:00
AM
Version: 2
1
<
MENU SELECT
2
Access
lamp
2