19
Recording
US
In the default setting, white frames appear around detected faces, and the image quality in and around
those faces is optimized automatically ([FACE DETECTION], p
. 52). You can specify the priority face by
touching it, and its image quality is adjusted accordingly. A double-lined frame appears around the face
you want to record as priority. Touch the face with the double-lined frame again to cancel.
In the default setting, a photo is recorded automatically when the camcorder detects the smile of a person
during movie recording (Smile Shutter). An orange frame appears around a face targeted for a possible
smile detection shot.
You can increase the zooming level by using the digital zoom. Set the zooming level by touching
(MENU)
[OTHER REC SET] (under [SHOOTING SET] category) [ DIGITAL
ZOOM] a desired setting
.
When viewing movies on an x.v.Color-compliant TV, record movies with the x.v.Color function. Touch
(MENU) [OTHER REC SET] (under [SHOOTING SET] category)
[
X.V.COLOR] [ON] . Some settings may be required on a TV to
view the movies. Refer to the instruction manuals of the TV.
Shooting photos
In the default setting, photos are recorded on the internal memory (p. 47).
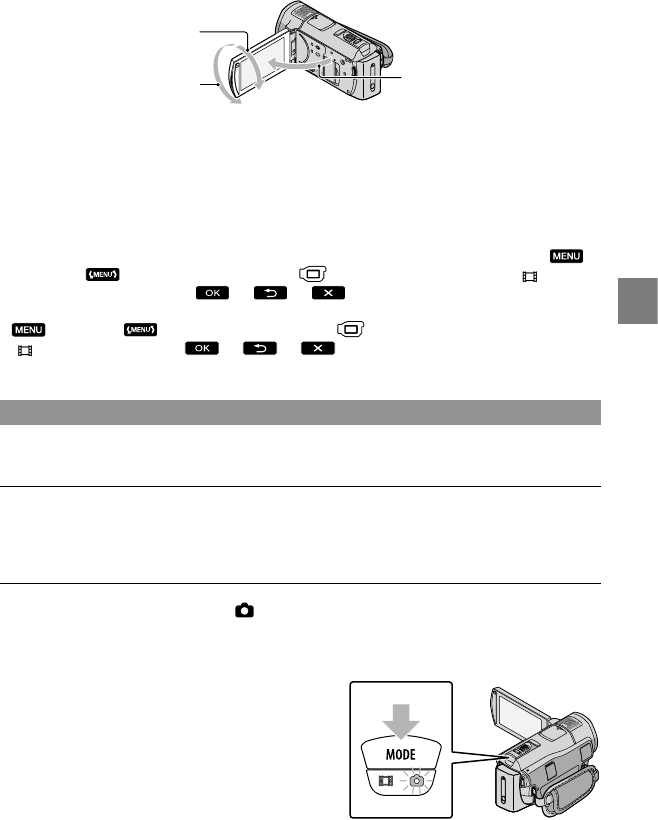
Open the LCD screen of your camcorder.
The lens cover is opened and your camcorder is turned on.
To turn on your camcorder when the LCD screen is already open, press POWER (p. 15).
Press MODE to turn on the (Photo) lamp.
The LCD screen display switches for photo recording mode, and the screen aspect ratio
becomes 4:3.
90 degrees (max.)
90 degrees to
the camcorder
180 degrees (max.)


