100
Troubleshooting (Continued)
The movies freeze for a while, or the sound breaks off.
• This occurs if the tape or video head is dirty (p. 116).
• Use the Sony mini DV cassette tape.
“---” is displayed on the screen.
• The tape you are playing back was recorded without setting the date and time.
• A blank section on the tape is being played back.
• The data code on a tape with a scratch or noise cannot be read.
• The tape you are playing was recorded with the gain set to -6dB.
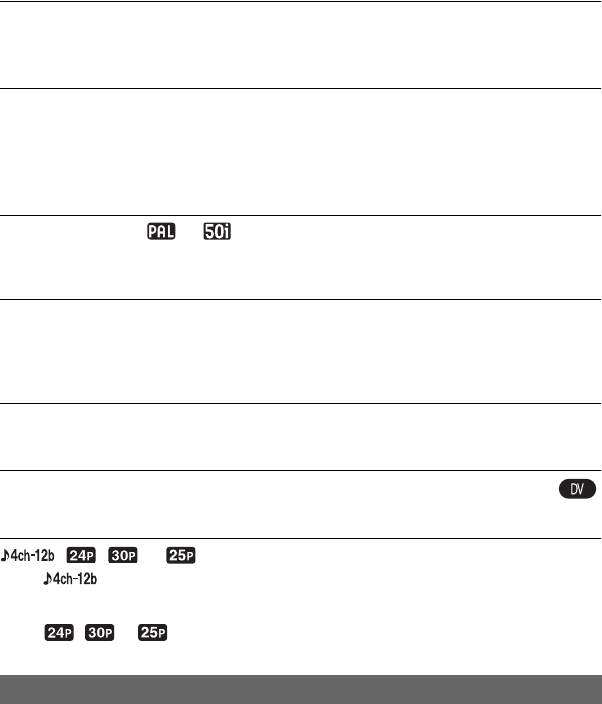
Noises appear and or is displayed on the screen.
• The tape was recorded in a TV color system other than that of your camcorder (NTSC). This
is not a malfunction.
Date Search does not work correctly.
• Be sure to record more than 2 minutes after the date changed. If one day’s recording is too
short, your camcorder may not accurately find the point where the recording date changes.
• There is a blank section between recorded sections of the tape. This is not a malfunction.
No picture appears during End search or Rec review.
• The tape was recorded in both HDV and DV formats. This is not a malfunction.
New sound added to a recorded tape on another camcorder is not heard.
• Change the [DV AUDIO MIX] setting from [ST1] (original sound) to [MIX] or [ST2].
, , or appears on the LCD screen.
• appears when you play back a tape recorded on another device using a 4ch
microphone (4CH MIC REC). This camcorder does not comply with the 4ch microphone
recording standard.
• , or may appears when you play back a tape recorded on another device in
progressive recording mode. Your camcorder does not have progressive recording capability.
You cannot view the picture on the TV connected with the i.LINK cable.
• You cannot view the picture in the HD (high definition) quality on the TV if an i.LINK jack
of the TV is not compatible with the HDV1080i specification (
p. 56). Refer to the instruction
manuals supplied with your TV.
• Down convert the pictures recorded in HDV format and play back in DV format (SD image
quality) (
p. 79).
• Connect the TV with another connecting cable, and play back pictures (p. 56).
Connecting to TV


