52
Table of Contents Useful Recording Techniques Index
Capturing a photo
from a movie
Select the recording media which contains
movies and the image quality, and the
recording media where you want to save
p
hotos before the operation (p. 62, 74).
1
Touch (MENU) [PHOTO
CAPTURE] (under [EDIT]
category).
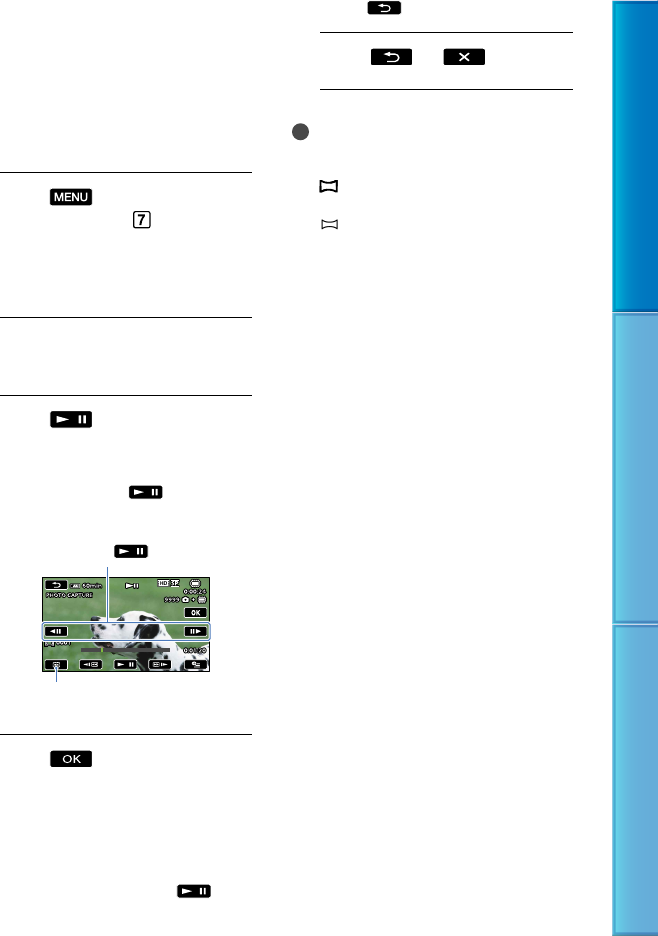
The [PHOTO CAPTURE] screen
appears.
2
Touch the movie to be captured.
The selected movie starts playback.
3
Touch at the point where
you want to capture.
The movie pauses. Play and pause
toggles as you press
.
4
Touch .
The captured photo is saved on the
recording media selected in [PHOTO
MED
IA SET] (p. 62).
When capturing is finished, the screen
returns to pause.
To continue capturing, touch , then
repeat steps from step 3.
To capture a photo from another movie,
touch , then repeat steps from step 2.
5
Touch .
Notes
The image size is fixed depending on the image
quality of the movie:
[
2.1M] with high definition image quality
(HD)
[
0.2M] in 16:9 (wide) with standard
definition image quality (SD)
[VGA(0.3M)] in 4:3 with standard definition
image quality (SD)
The recording medium where you want to save
photos should have enough free space.
The recording date and time of captured photos
is the same as the recording date and time of
the movies.
If the movie you are capturing from has no data
code, the recording date and time of the photo
will be the date and time you captured from
the movie.
You cannot capture a photo from a movie
recorded on “Memory Stick PRO Duo” media
(HDR-TG7VE).
Adjust the capturing point with
more precision after you selected
the point with
.
Returns to the beginning of the selected
movie
