


50
DCR-DVD92E/DVD202E/DVD203E/DVD403E/DVD602E/DVD653E/DVD703E/
DVD803E 2-587-623-11 (1)
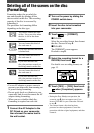
Recording additional scenes after finalizing
You can record additional material on the
finalized DVD-RWs (VIDEO mode)/
DVD+RWs by following the steps below if
there is space to record on the disc.
When using the finalized DVD-RW (VR
mode) disc, you can record additional
material on the disc without any additional
steps.
•
Use an AC Adaptor as power source to prevent
your camcorder from running out of power
during operation.
•
Do not apply shock or vibration to your
camcorder, and do not disconnect the AC
adaptor during operation.
•
A DVD menu and a Photomovie created during
finalizing are deleted.
•
When you use a double-sided disc, following
procedures are required on each side.
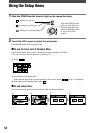
When using a DVD-RW (VIDEO
mode) disc (Unfinalizing)
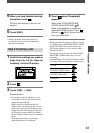
1 Connect the AC Adaptor to the
DC IN jack on your camcorder,
then connect the mains lead to
the wall socket.
2 Turn on the power by sliding the
POWER switch down.
3 Insert the finalized disc into your
camcorder.
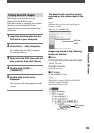
4 Touch [SETUP].
5 Touch DISC SET
[UNFINALIZE].
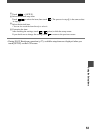
6 Touch [YES] [YES], then touch
when [Completed.] appears.
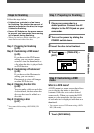
When using a DVD+RW
If you have created a Photomovie or a
DVD menu in finalizing (p.44), the
following steps are required.
1 Connect the AC Adaptor to the
DC IN jack on your camcorder,
then connect the mains lead to
the wall socket.
2 Slide the POWER switch down to
light up the (Movie) or (Still)
lamp.
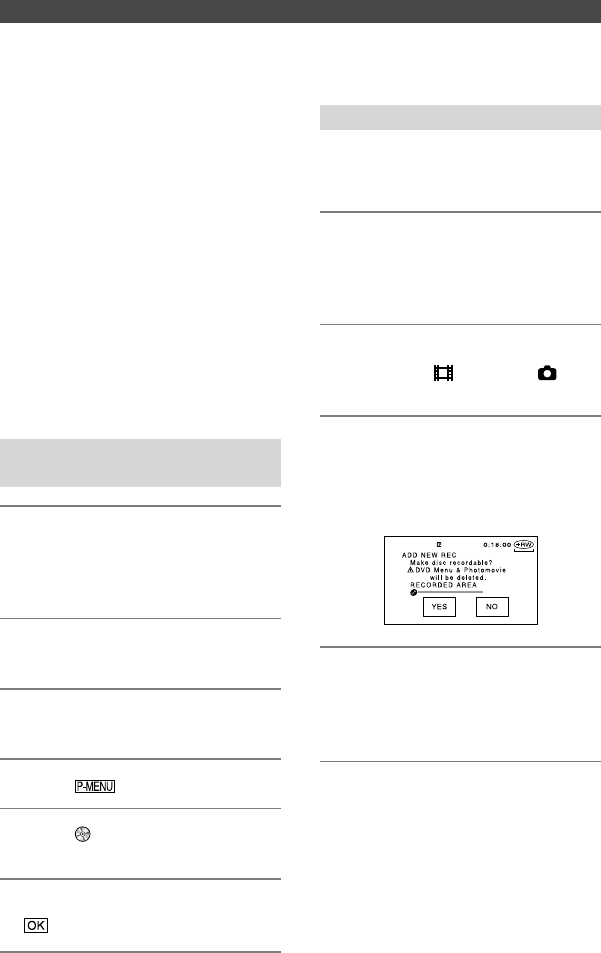
3 Insert the finalized disc into your
camcorder.
A confirmation dialog asking if you
record additional scenes appears.
4 Touch [YES] [YES].
[Completed.] appears, then the
screen returns to the recording screen.