


SVAT ELECTRONICS
now you can see
VU5 2
IMPORTANT INFORMATION
While this camera is weatherproof, it is not waterproof. Please do not install it in areas that receive direct rain or under eaves trough
draining spots. Do not cut the DC power cable of this camera to t with another power source. Do not cut the video connection wire
to t with a dierent video connection type. Any unauthorized modications will void your warranty.
INSTALLATION
THINGS TO CONSIDER BEFORE YOU INSTALL YOUR CAMERA
• Thecamerashouldbeinstalledbetween8and13ftabovetheareatobemonitored.
• Ensuretherearenoobstructionsinthecamera’sview,tomaximizeviewingarea.
• Ensurethatthesunshadeispositionedtoavoidglareandpositioncameraawayfromdirectsunlight.
• Decidewhetherthecamerawillbewall-mountedorsitonadesk/tabletop.Ifwallmounting,usethemountinghardwarein
the package. We recommend that the mounting bracket is secured using the included screws for all installations.
• Thiscameracomeswith60ftofvideo/powerwire.Pleasemakesurethatyoumountthecamerasnomorethan60ftfromthe
TV/monitor/VCR/DVR.
• Werecommendusingasurgeprotectedpowerbartoprotectthecamerasinternalcircuitry.
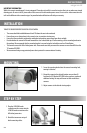
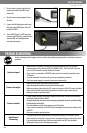
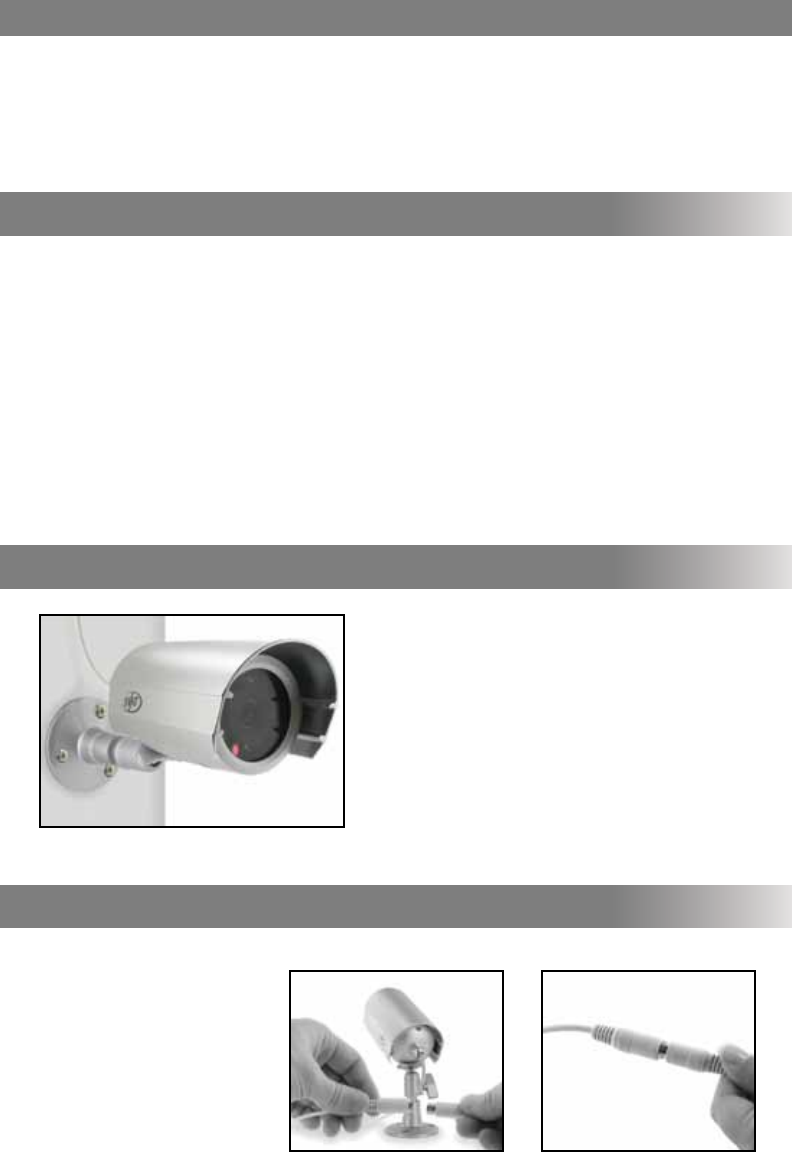
STEP BY STEP
1. Screw the mounting bracket into the camera’s mounting hole,
turning it clockwise.
2. Mount the camera in the desired location no more than 60
feet from the TV/Monitor/VCR/DVR unless you have purchased
additional wiring. You may wall mount or desk mount these
cameras.
3. Adjust cameras to the desired viewing angles.
1. Plug the 4 PIN DIN female
connection on the camera into the
4 PIN DIN male connection on the
60ft video/power wire.
2. Match the two arrows on top of
both connecting cables.
1 2
MOUNTING
1