VIVOTEK
User's Manual - 47
Exposure control:
■
Exposure level: You can manually set the Exposure level, which ranges from -2.0 to +2.0 (dark
to bright). You can click and drag the pointers on the Exposure time and Gain control slide
bars to specify a range of shutter time and Gain control values within which the camera can
automatically tune to an optimal imaging result. You may prefer a shorter shutter time to better
capture moving objects, while a faster shutter reduces light and needs to be compensated by
electrical brightness gains.
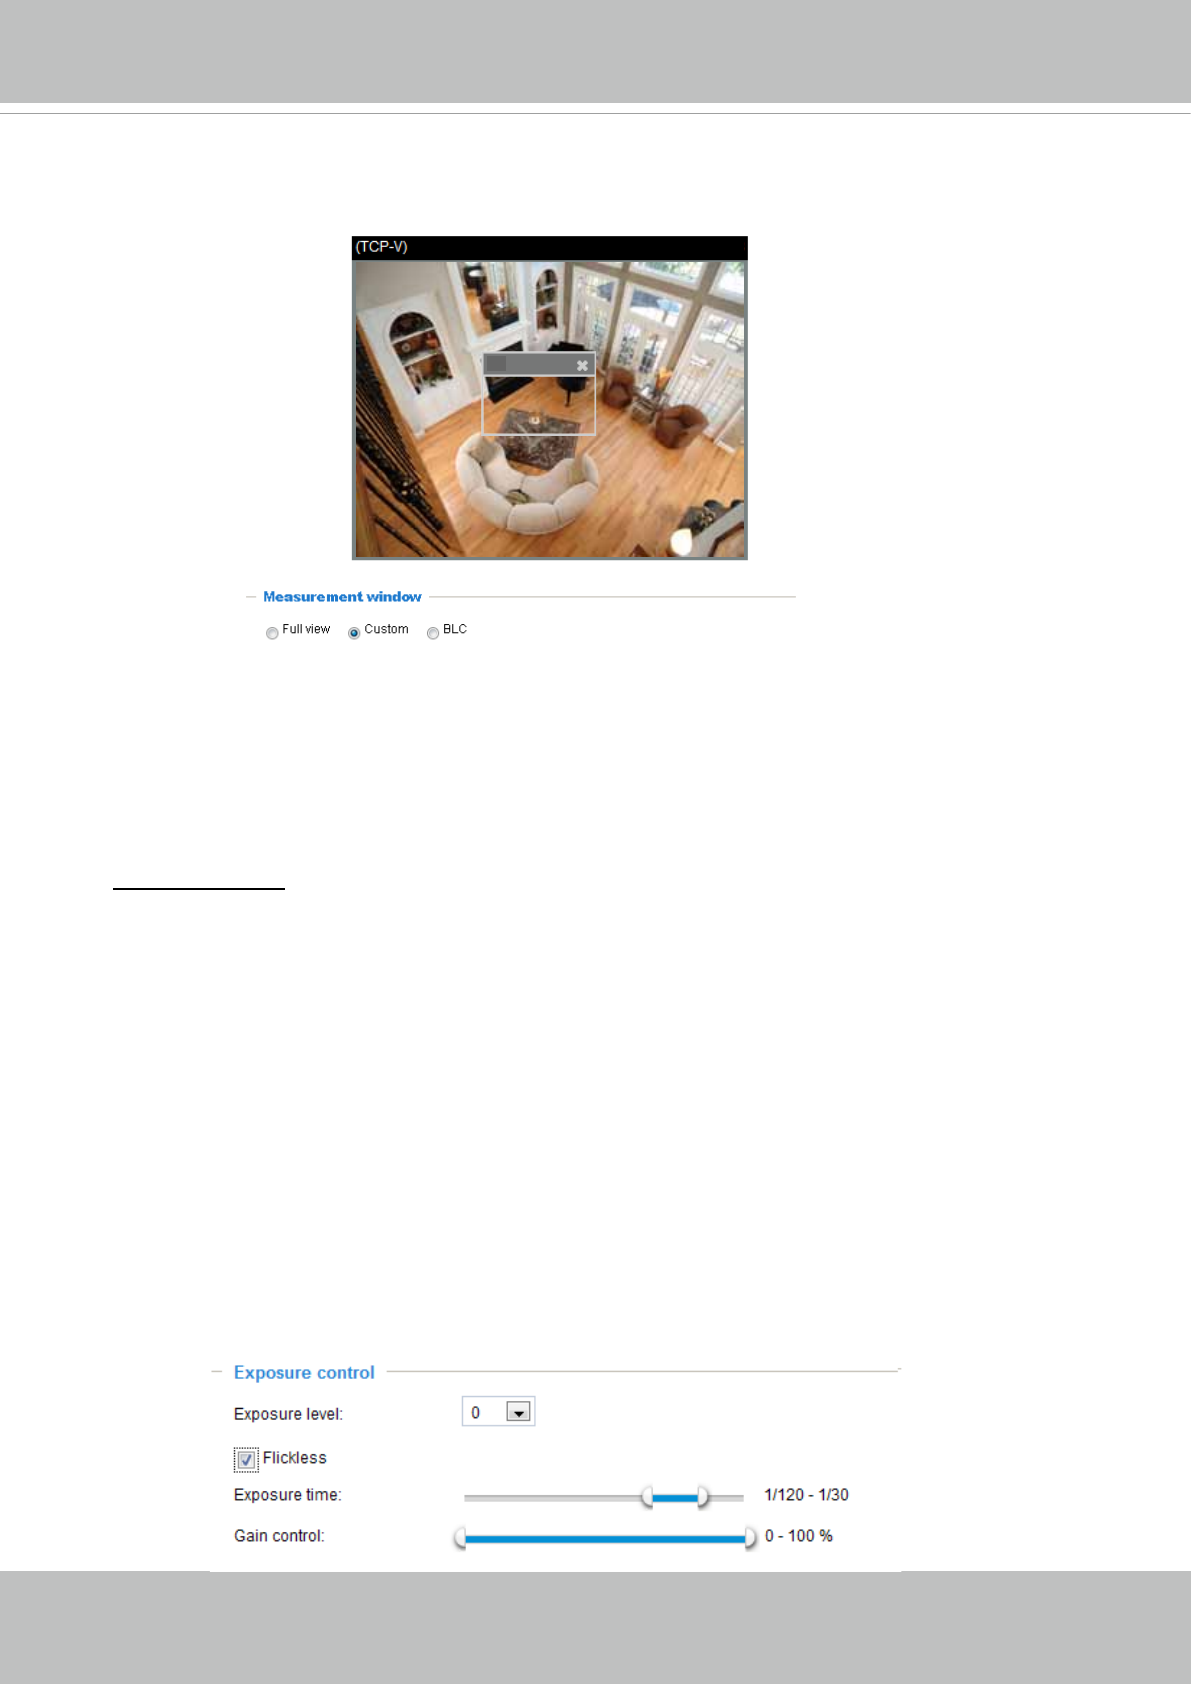
■ Custom: The inclusive window refers to the “weighed window.” It adopts the weighed averages
method to calculate the value. The inclusive windows have a higher priority. An exposure value
will then be calculated out of the inclusive window.
2014/1/13 11:07:18
Include
■ BLC: When selected, a BLC window will appear on screen meaning that the center of the scene
will be taken as a weighed area. This option enables light compensation for images that are too
dark or too bright to recognize; for example, for the dark side of objects that is posed against
bright sunlight.
■
Flickerless: Under some circumstances when there is a difference between the video capture
frequency and local AC power frequency (NTSC or PAL), the mismatch causes color shifts or
ickering images. If the above mismatch occurs, select the Flickerless checkbox, and the range
of Exposure time (the shutter time) will be limited to a range in order to match the AC power
frequency. See the screen capture below.
You can click and drag the semi-circular pointers on the Exposure time and Gain control slide
bars to specify a range of shutter time and Gain control values within which the camera can
automaticallly tune to an optimal imaging result. For example, you may prefer a shorter shutter
time to better capture moving objects, while a faster shutter reduces light and needs to be
compensated by electrical brightness gains.


