


55
55
5
44
44
4
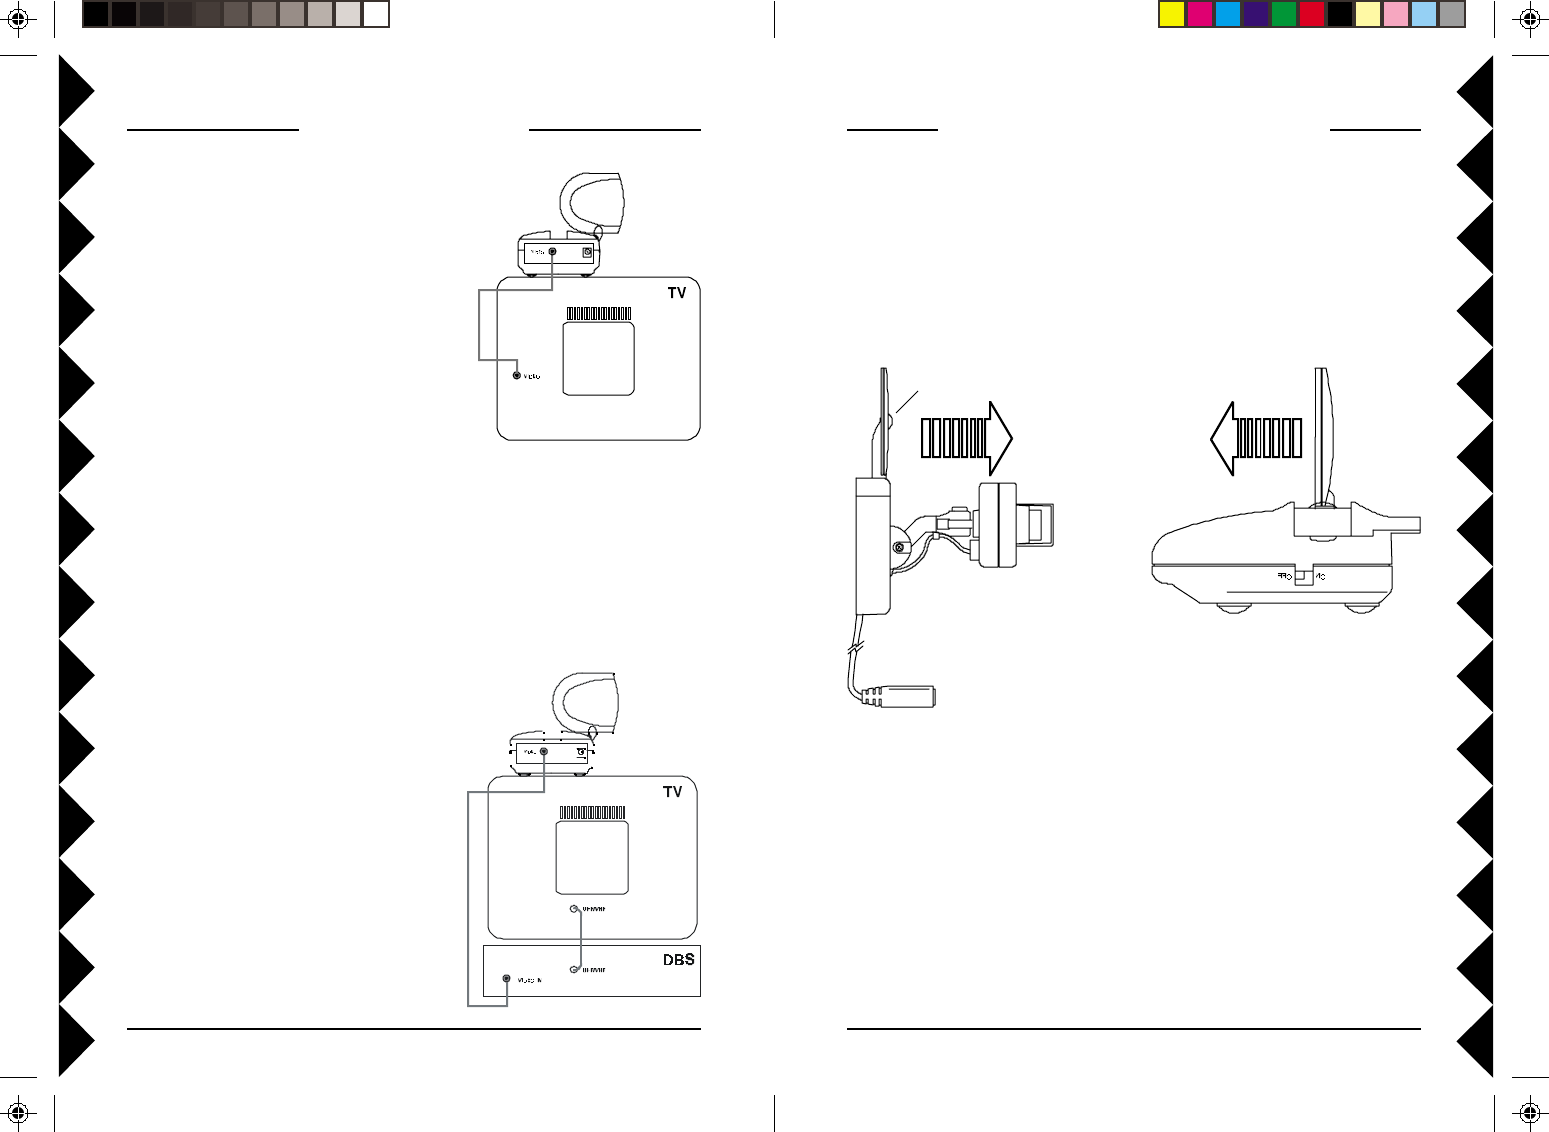
FINE TUNING YOUR SYSTEM
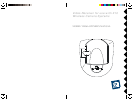
The system usually works best with the "pip" on the Camera's antenna
facing the flat side of the Receiver's antenna (see diagram below).
Sometimes, however, reflections and other effects in the home may affect
the signal so that some adjustment of either the Camera or Receiver
antenna may be necessary to get the best signal. If you have more than one
Camera, sometimes pointing the Receiver's antenna up towards the ceiling
works best.
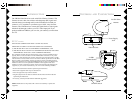
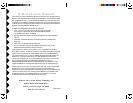
CONNECTING UP
1. Connect a Video cable to the VIDEO
OUT jack on the Video Receiver.
Connect the other end to your TV's
VIDEO IN jack. If your TV does not
have a Video IN jack, you will need to
purchase an RF modulator, or connect
as shown in the diagram below.
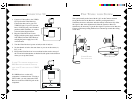
2. Plug the Video Receiver's Power
Supply jack (the power supply with NO
code wheels) into the Video Receiver
and plug the power supply into a 120
volt wall outlet.
3. Turn the Video Receiver's power switch (on side of unit) on.
4. Set the channel switch to the same letter as you set on the camera, A,
B, C, or D.
5. Position the Video Receiver in a convenient location such as on top of
the TV and orient the antenna so that the flat side points in the direction
where you set up the Camera.
CAMERA/SENDER
SOLD SEPARATELY
VIDEO RECEIVER
pip
IF YOUR TV IS ALREADY HOOKED UP TO A
DBS RECEIVER OR OTHER A/V DEVICE,
OR IF YOUR TV DOES NOT HAVE A VIDEO
IN
JACK.
If a DBS Receiver or other A/V
component is connected to the TV using a
COAX cable, you can connect the Video
Receiver to the free LINE IN jack on the
component.