65
DVD Editing
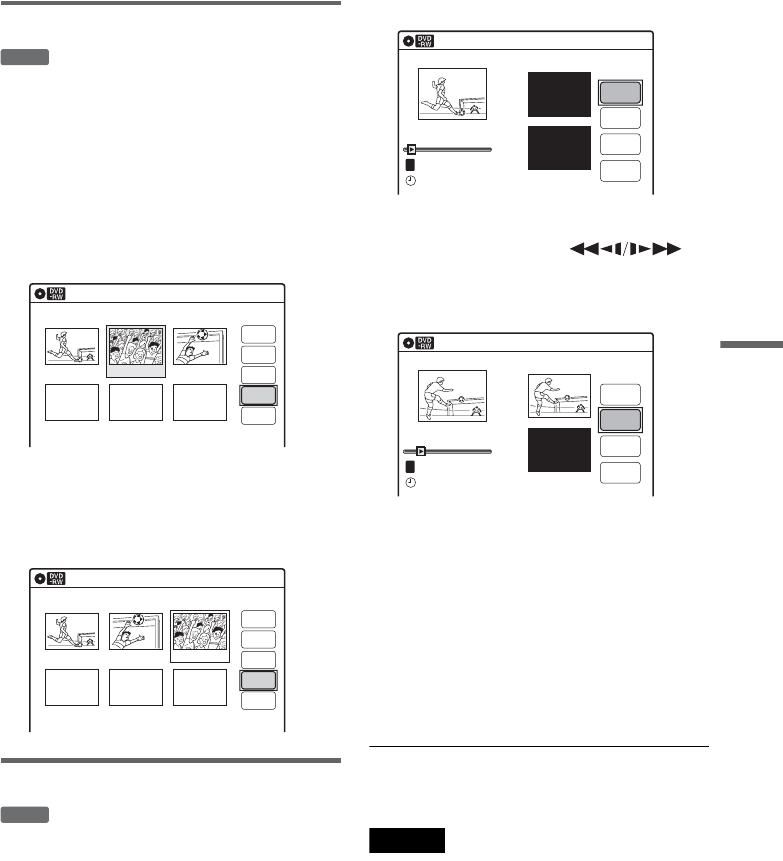
Moving a scene (Move)
You can change the scene order within the Playlist
title.
1 Follow steps 1 to 7 of “Editing a Playlist”
(page 62).
2 Select a scene in the “Edit Scene” display
and press ENTER.
3 Select “Move,” and press ENTER.
4 Select a new location using </,, and
press ENTER.
The selected scene moves to the new location.
To move other scenes, repeat from step 2.
Adding a scene (Add)
You can add a scene before the selected scene.
1 Follow steps 1 to 7 of “Editing a Playlist”
(page 62).
2 Select a scene in the “Edit Scene” display,
and press ENTER.
3 Select “Add,” and press ENTER.
“Start” is selected.
4 Press ENTER at the start point.
You can use H PLAY, ,
./>, x STOP, and X PAUSE to find
the point.
“End” is selected.
5 Press ENTER at the end point.
“Add” is selected.
To reset the start or end point, select “Start” or
“End” and repeat step 4 or 5.
6 Press ENTER.
The display returns to the “Edit Scene”
display.
The selected section is added before the
selected scene.
To add other scenes, repeat from step 2.
To cancel adding
Select “Cancel,” and press ENTER.
Note
The start and end point of a scene may be different from
what you have set.
-
RWVR
Edit Scene
10:10 AM
Scene No. 2 / 3
Check
Erase
Modify
Move
Add
03 00:04:2002 00:00:1001 00:00:34
Playlist No.01
Edit Scene
10:10 AM
Scene No. 3 / 3
Check
Modify
Add
Erase
02 00:04:20 03 00:00:1001 00:00:34
Playlist No.01
Move
-
RWVR
Add
10:10 AM
T
00:00:07
Playlist No. 01
Scene No.01
Add
Cancel
End 00:00:00
Start 00:00:00
Start
End
May/02/2005 03:25 PM
Add
10:10 AM
Scene No.01
T
00:00:10
Playlist No. 01
Add
Cancel
End 00:00:00
Start 00:00:10
Start
End
May/02/2005 03:25 PM
