46 Chapter 5—Input Channels
01V—Owner’s Manual
Muting Input Channels
Input channels can be turned on and off (i.e., muted) using the [ON] buttons.
When a channel is on, its [ON] button lights up.
To turn on or off an input channel from 1 through 16, select a fader mode
other than Option I/O or Remote, and then press an [ON] button from 1
through 16.
To turn on or off an input channel from 17 through 24, press the [OPTION
I/O] button, and then press an [ON] button from 17 through 24.
The [ON] buttons on input channels 13 and 14 (likewise 15 and 16) are per-
manently linked. When input channels 1 through 12 are paired (“Pairing
Input Channels” on page 52), their [ON] buttons are linked.
ON buttons can be grouped together for multi-channel muting using a single
[ON] button. See “Grouping Mutes” on page 56 for more information.
Setting Input Channel Levels
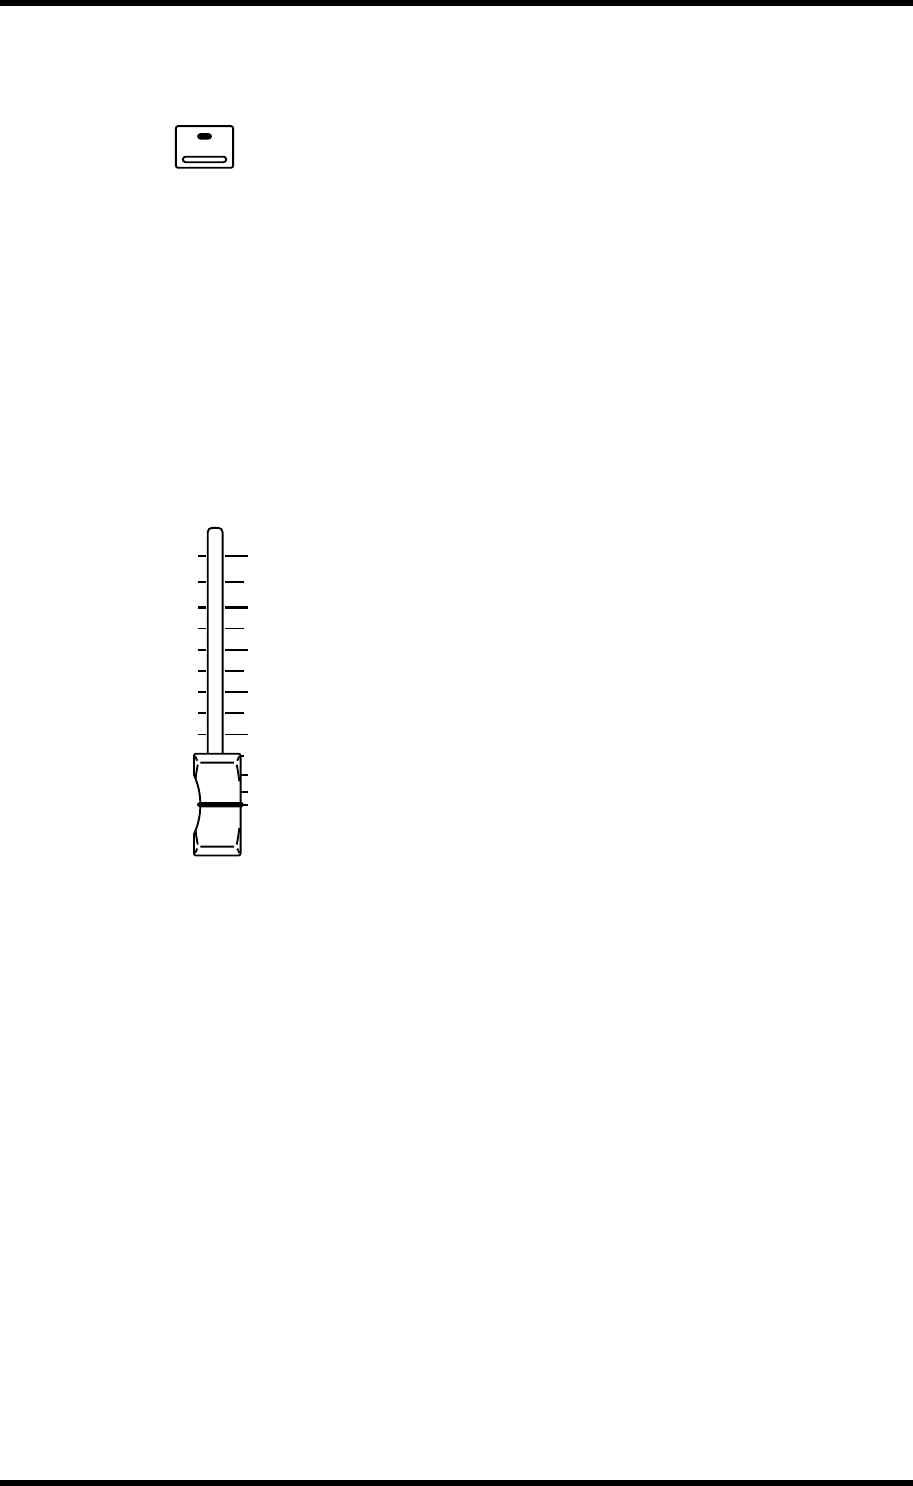
Input channel levels are controlled using the motorized 60 mm faders.
To adjust the level of an input channel from 1 through 16, press the [HOME]
button, and then operate a fader from 1 through 16.
To adjust the level of an input channel from 17 through 24, press the
[OPTION I/O] button, and then operate a fader from 17 through 24.
Faders operation depends on the selected Fader mode. See “Faders (plus
Return Rotary Controls)” on page 35 for more information. The selected
fader mode is shown on the display. See “Display” on page 28 for more infor-
mation.
The faders on input channels 13 and 14 (likewise 15 and 16) are permanently
linked. When input channels 1 through 12 are paired (“Pairing Input Chan-
nels” on page 52), their faders are linked.
Faders can be grouped together for multi-channel control using a single
fader. See “Grouping Faders” on page 55 for more information.
ON
6
0
5
10
20
40
60
∞
