164 Chapter 13—Dynamics Processors
01V—Owner’s Manual
Using the Dynamics Processors
Input channels 1 through 16, the aux sends, and the stereo output all feature dynamics
processors.
To recall a program from the dynamics library, see “Recalling Dynamics Programs” on
page 175. To edit a dynamics processor, see“Editing the Dynamics Processors” on
page 166.
For Input Channels 1–16
1. Use [SEL] buttons 1 through 16 to select channels.
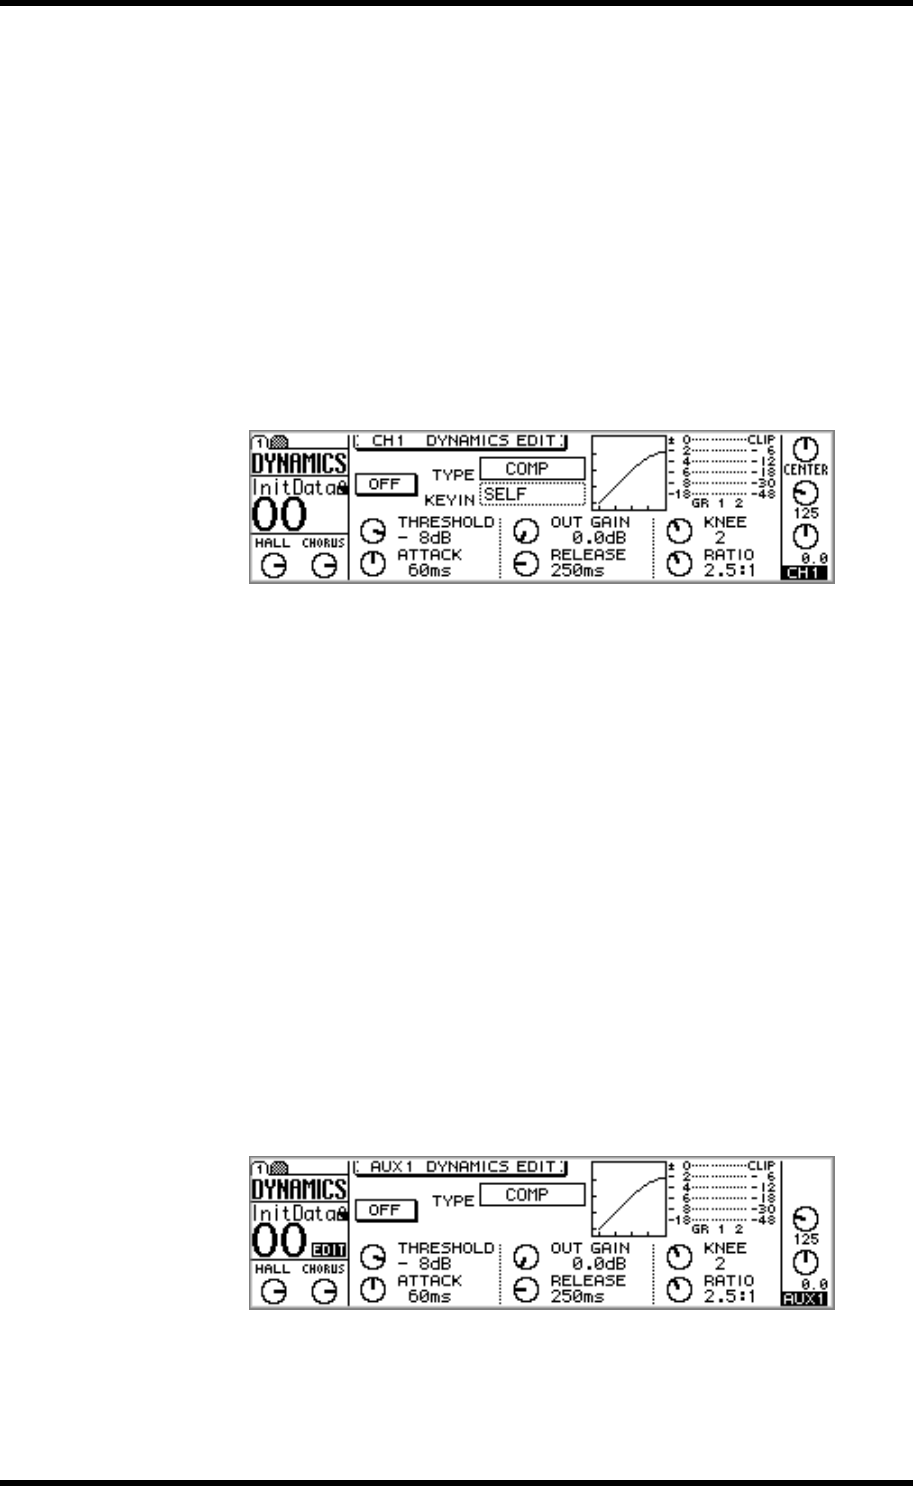
2. Use the [DYNAMICS] button to locate DYNAMICS page 1, as shown
below.
3. Press the [ENTER] button to turn on the dynamics processor.
The ON/OFF switch appears highlighted when the dynamics processor is on. While
DYNAMICS page 1 is displayed, the [ENTER] button turns the dynamics processor on
or off regardless of the cursor position.
4. Use the cursor buttons to select the parameters, and the PARAMETER
wheel or [–1/DEC] and [+1/INC] buttons to set them.
The dynamics processors on input channels 13 and 14 (likewise 15 and 16) are perma-
nently linked. When input channels 1 through 12 are paired (“Pairing Input Channels”
on page 52), their dynamics processors are linked, so adjustments can be made with
either channel selected.
For Aux Sends 1–4
1. Use the [AUX] buttons to select an aux send, and then press the MASTER
[SEL] button.
AUX appears on the display, indicating that an aux send is selected.
2. Use the [DYNAMICS] button to locate DYNAMICS page 1, as shown
below.
3. Press the [ENTER] button to turn on the dynamics processor.
The ON/OFF switch appears highlighted when the dynamics processor is on. While
DYNAMICS page 1 is displayed, the [ENTER] button turns the dynamics processor on
or off regardless of the cursor position.
