SPX2000—Owner’s Manual 21
Operation
The SPX2000 uses two ports to transmit and receive MIDI
data.
One port (“MIDI PORT GENERAL”) is used to transmit
and receive conventional MIDI data, and the other port
(“MIDI PORT EDITOR”) is used for communication
between the SPX2000 and the SPX2000 Editor. You cannot
use the same setting for both ports. A port you selected for
one setting will not appear as a selection for the other set-
ting.
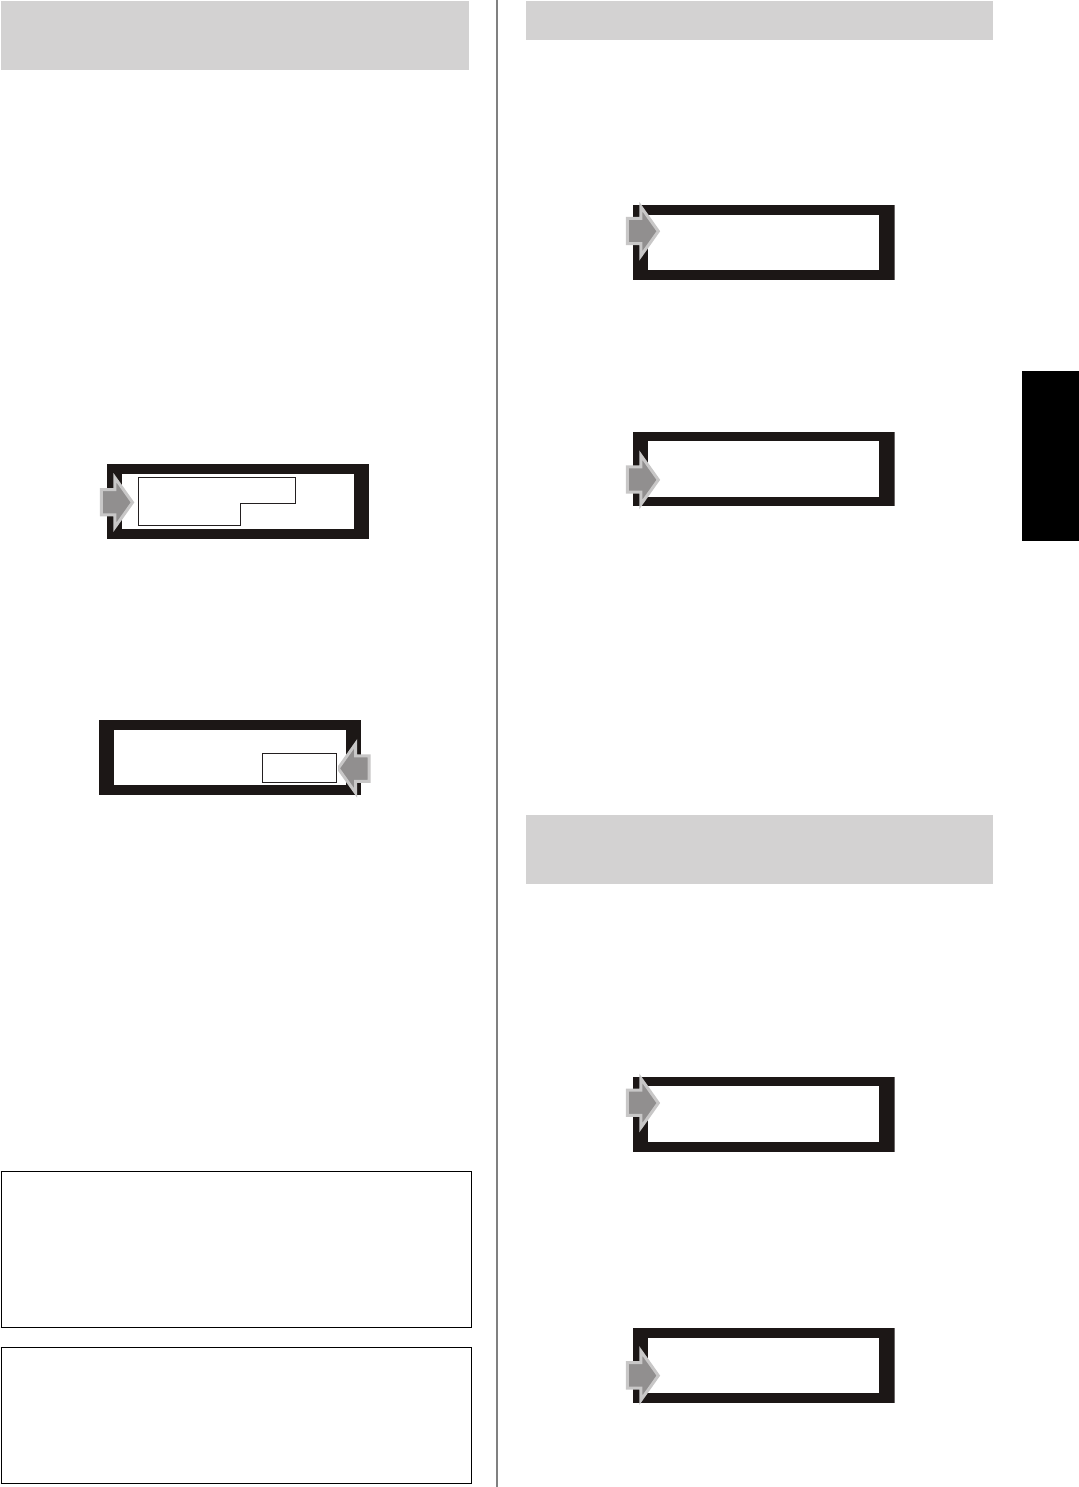
1 Select either the “MIDI PORT GENERAL” func-
tion or the “MIDI PORT EDITOR” function
Press the [UTILITY] button (L) several times to select
either “MIDI PORT GENERAL” or “MIDI PORT EDI-
TOR.”
2 Select the port you will use for MIDI transmis-
sion and reception
Use the [▲ INC]/[▼ DEC] buttons (G) to select a
port.
“MIDI PORT GENERAL” setting
You can select one of nine ports: MIDI (the [MIDI IN]
(T) and [MIDI OUT/THRU] (S) connectors), or USB
1–USB 8 (ports 1–8
(*)
of the [TO HOST USB] connector
(U)). If you select OFF, it will not be possible to trans-
mit or receive MIDI data.
“MIDI PORT EDITOR” setting
You can select one of eight ports: USB 1–USB 8 (ports 1–
8
(*)
of the [TO HOST USB] connector (U)).
If you select OFF, it will not be possible to transmit or
receive MIDI data.
(*) The [TO HOST USB] connector lets you use eight separate
ports on this single connector.
You can use the [MIDI OUT/THRU] connector (S) as
either MIDI OUT or MIDI THRU.
1 Select the “MIDI OUT SETUP” function
Press the [UTILITY] button (L) several times to select
“MIDI OUT SETUP.”
2 Select either “MIDI OUT” or “MIDI THRU”
Press either the [▲ INC] button (G) to select “MIDI
THRU” or the [▼ DEC] button (G) to select “MIDI
OUT.”
• MIDI THRU:
MIDI data entering the [MIDI IN] connector (T)
will be retransmitted without change. With this set-
ting, MIDI data from the SPX2000 itself cannot be
transmitted.
• MIDI OUT:
Internal data of the SPX2000 can be bulk-dumped,
or data can be transmitted in response to a request
received from an external device.
Here’s how to select the channel that will be used to trans-
mit/receive MIDI data on the port you chose for the
“MIDI PORT GENERAL” setting (page 21).
1 Select the “MIDI CHANNEL” function
Press the [UTILITY] button (L) several times to select
“MIDI CHANNEL.”
2 Select the channel
Use the [▲ INC]/[▼ DEC] buttons (G) to select the
channel used for MIDI transmission/reception.
You can choose one of 17 choices: CH1—CH16 (chan-
nels 1—16) or OMNI (all channels).
Selecting the port for MIDI
transmission/reception
NOTE: In order to connect the SPX2000 to your computer via
USB, you will need to install the Yamaha USB-MIDI driver on
your computer.
You can download the Yamaha USB-MIDI driver from the
following website.
Yamaha Pro Audio website:
http://www.yamahaproaudio.com/
NOTE: If the display indicates “MIDI OUT is NOT Selected!”
and you are unable to select the port, the [MIDI OUT/THRU]
connector (
S
) is set to “THRU.”
In order to select a port, you must first set the “MIDI OUT
SETUP” parameter so that the [MIDI OUT/THRU] connector is
set to “OUT.”
MIDI PORT
GENERAL = MIDI
MIDI PORT
GENERAL = MIDI
Switching MIDI OUT/THRU
Selecting the MIDI transmission/
reception channel
MIDI OUT SETUP
*OUT THRU
MIDI OUT SETUP
*OUT THRU
MIDI CHANNEL
CH 1
MIDI CHANNEL
CH 1
