


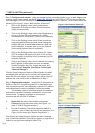
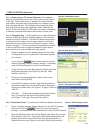
Step 4: Open ports on PC firewall (Optional). If the software
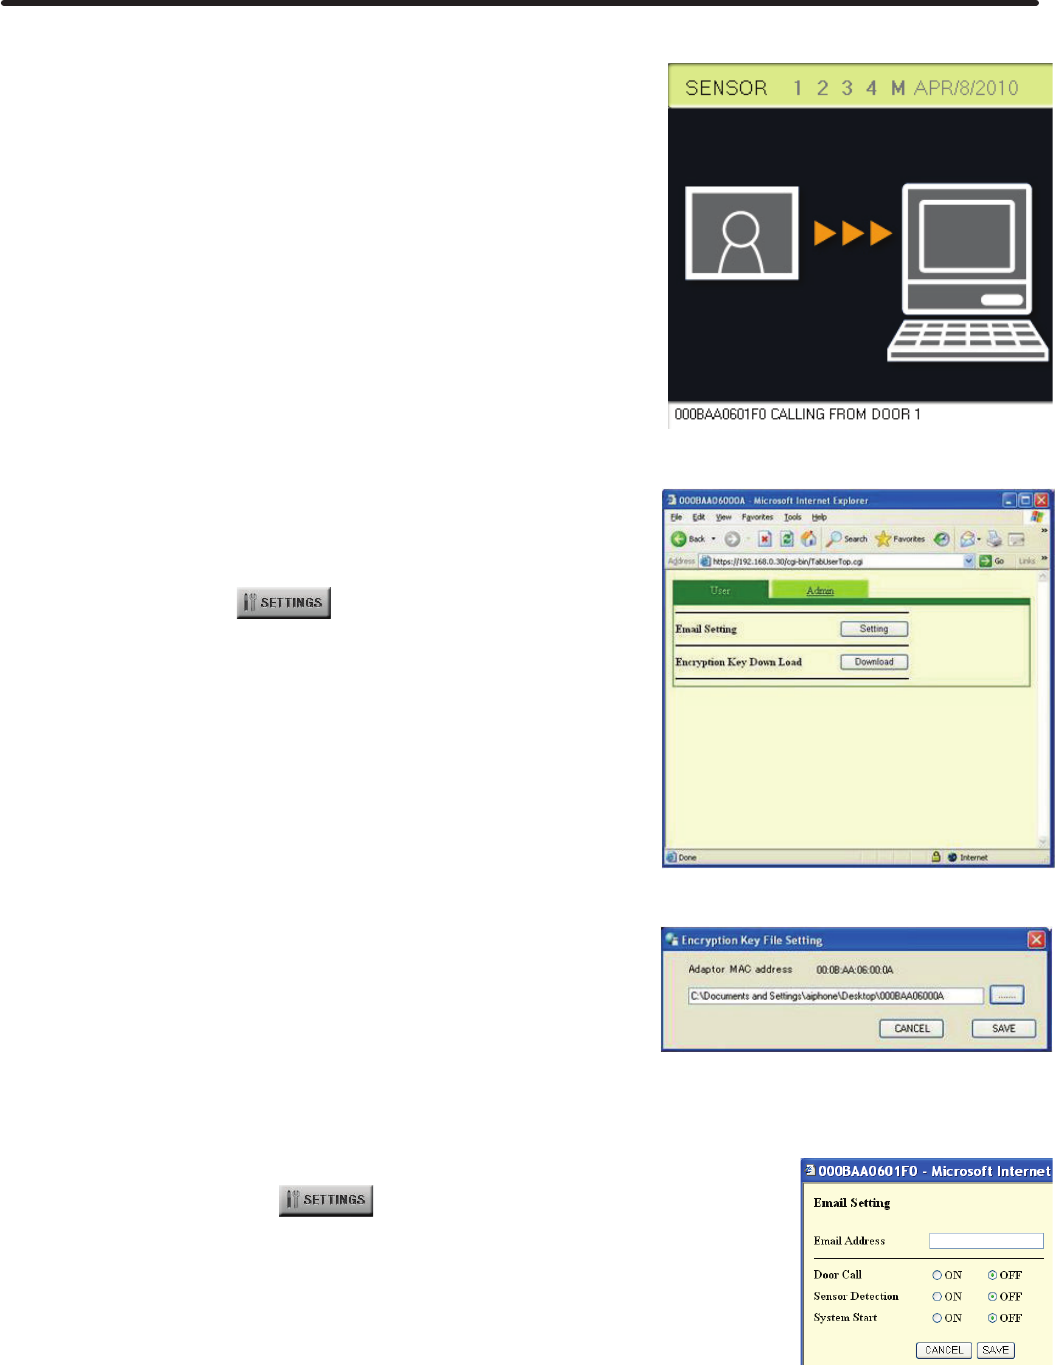
displays a ‘placeholder picture’ when a door calls in (see Figure 5
to the right “Placeholder picture”), instead of the video from the
door station, then there may be high latency or a firewall in place
that is blocking the data. Most firewalls will automatically allow
SSL (port 443) and open ports specified in Step 3 (defaults are
20100, 30100, and 40100) for UDP traffic, but it may be necessary
to manually configure the firewall to allow traffic on these ports.
Step 5: Encryption Key. The Encryption Key is a file downloaded
from the JKW-IP that allows Connected Users to unlock the door
through the JKW-IP software. The JKW-IP software should show
a gray square for the status icon for every adaptor for which the
encryption key has not been set (see Figure 9 on page 6 “Status
display messages”). To set a computer’s encryption keys to allow
a user to unlock the door or trigger the adaptor’s Option output,
do the following for each computer and each adaptor:
a. Select an adaptor from the Adaptor display list that needs
an Encryption Key or to update one if it has been updated
by an Admin.
b. Log in using the [Settings] button and accept any security
warnings (wording varies by browser version). If prompted
enter a valid Administrator or User ID and Password.
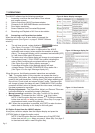
c. In the User tab, next to the Encryption Key Down Load click
the [Download] button (see Figure 6 to the right, “Web
Interface, User tab”).
d. Choose a memorable destination location on the user’s
hard drive and click [SAVE].
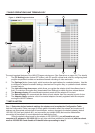
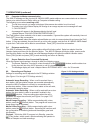
e. In the JKW-IP program’s window, right click the adaptor in
the Adaptor display and choose the Encryption Key option
from the drop down menu (see Figure 1 on page 3 “Aiphone
JKW-IP”).
f. Click the [……] button and navigate to the location saved in
step “d” and choose the file and click [SAVE] button
(see Figure 7 to the right “Encryption Key dialog”).
Step 6: Destination Email. To specify which email the adaptor will send to:
a. Select an adaptor from the Adaptor display list in the JKW-IP program
window and click the [Settings] button and accept any security
warnings. If prompted enter valid Administrator or User ID and Password.
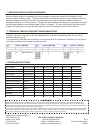
b. Press the [Setting] button next to Email Setting (See Figure 6 to the right
“Web Interface, User tab”). Specify the email address and whether the
adaptor should send an email for a Door Call, Sensor Detection, or
System Start event (see Figure 8 to the right “Email Setting window”)
.
Pg. 5
5 INSTALLATION (continued)
Figure 5: Placeholder picture
Figure 6: Web Interface, User tab
Figure 7: Encryption Key dialog
Figure 8: Email Setting window