


Page 4 AXIS 206W Quick Installation Guide
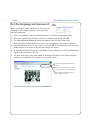
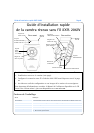
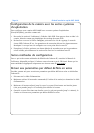
Mounting
1. If required, use the 3 supplied screws to fix the base plate to a
flat surface.
2. To use the shorter stand, e.g. for wall mounting, unscrew the
lock ring to release the camera, and remove the extension
section.
3. Re-attach the camera, adjust the angle and gently tighten the
lock ring.
Important!
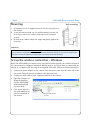
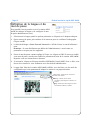
Set up the wireless connection - Windows
Before the AXIS 206W can connect to an encrypted wireless network, the wireless settings in
the camera must be configured and an IP address must be set. This is done by connecting the
camera to a computer with the help of the supplied USB cable. Follow the instructions below.
1. Connect the power adapter to the camera. Press the power cable into the cable clip on the
rear panel. This will prevent accidental cable disconnection.
2. Connect the USB cable to your computer and then to the camera.
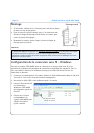
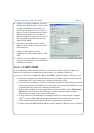
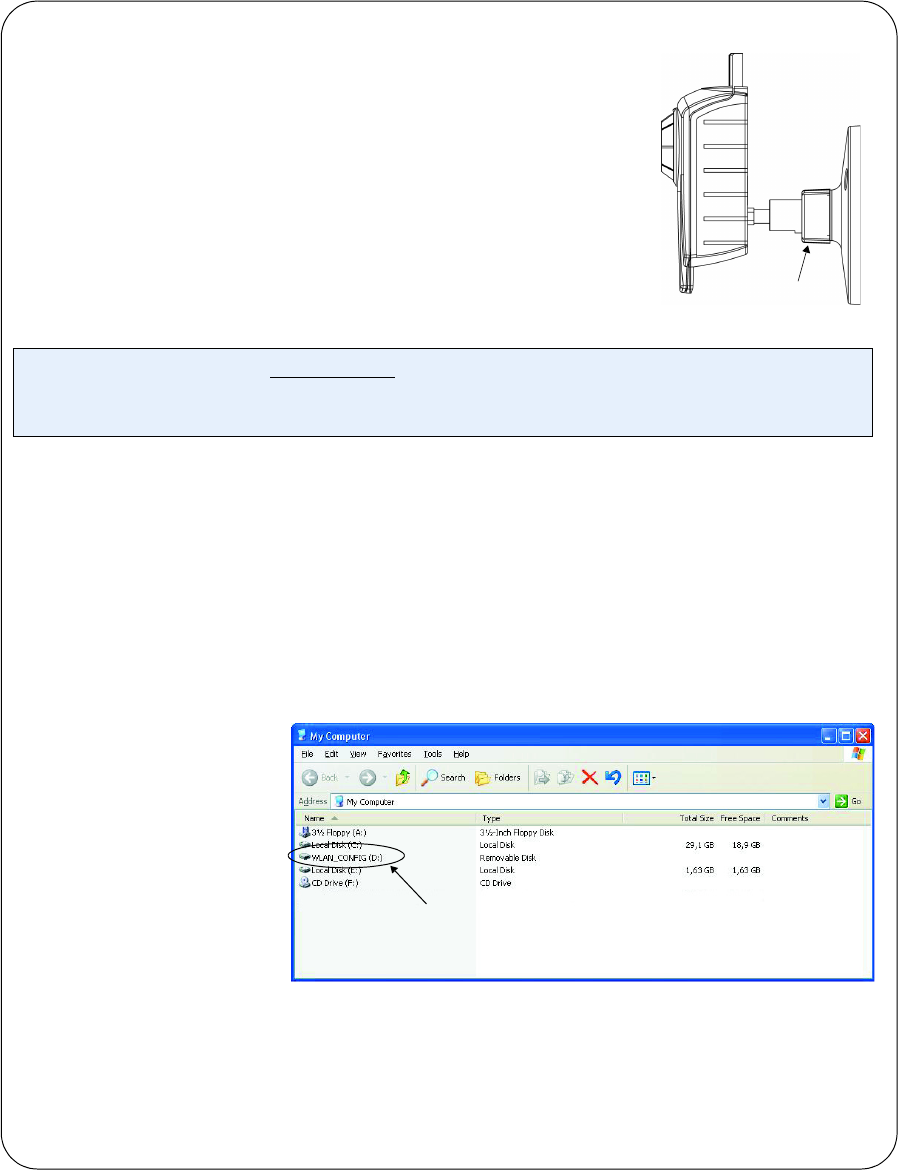
3. Open My Computer or
Windows Explorer,
and the AXIS 206W
should be displayed
as a new drive.
4. Click on the drive for
the AXIS 206W to see
the files contained in
the camera.
The AXIS 206W is designed for indoor use only, and must always be positioned where it is not exposed to
direct sunlight or strong halogen light, which can cause permanent damage to the camera’s image sensor.
Damage as a result of exposure to strong light is not covered by the Axis warranty.
Lock ring
Wall mounting
The AXIS 206W displays
as a drive