


AXIS 206W Quick Installation Guide Page 5
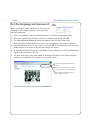
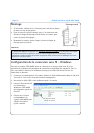
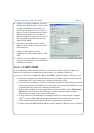
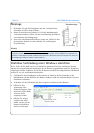
5. Click on the file setup.exe. This starts the
AXIS Setup Tool, which lets you configure
the wireless settings. See the online help in
the setup tool for more information. Note
that you should first configure your
wireless access point and then duplicate
those settings in the AXIS 206W.
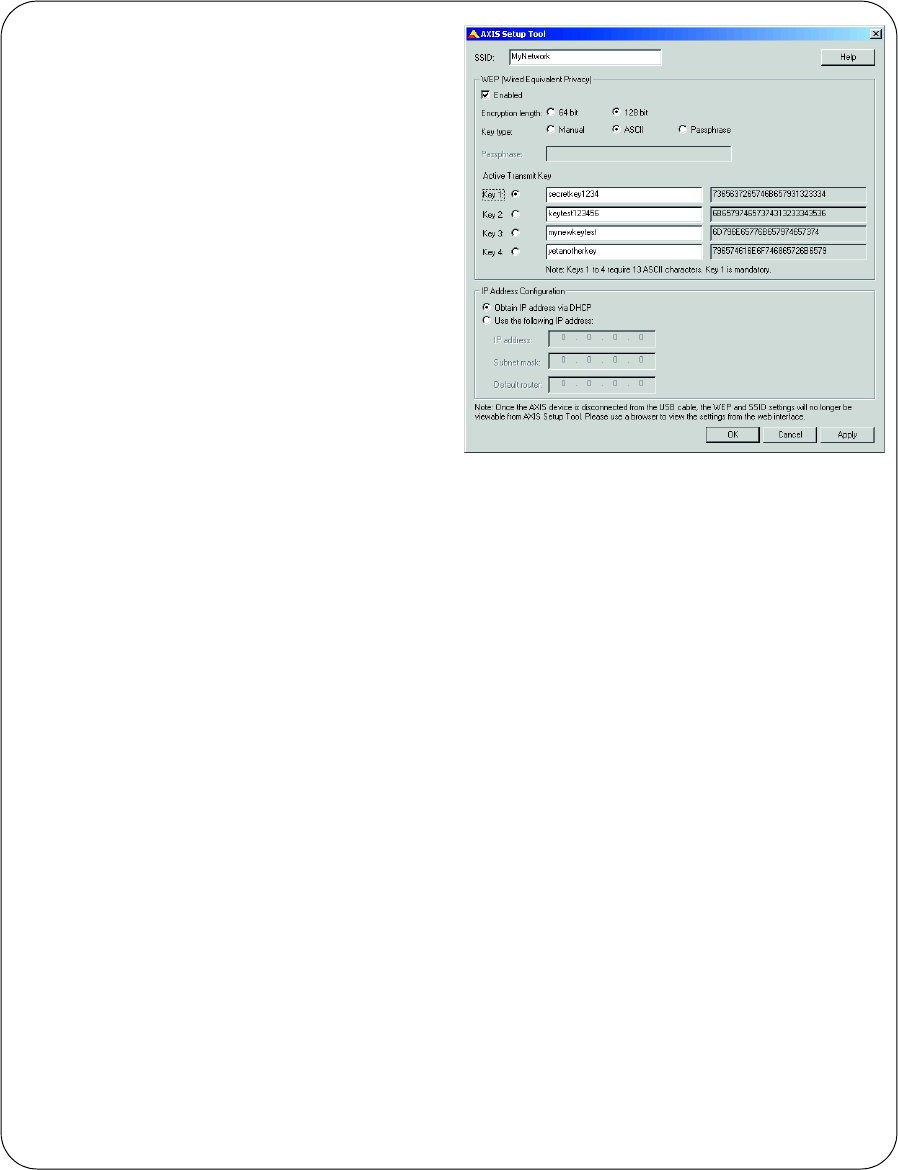
6. Specify the type of IP address to use. See
the online help for more information.
7. Click OK, close the AXIS Setup Tool and
disconnect the USB cable.
8. Wait at least 10 seconds for the settings to
take effect and then restart the camera.
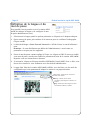
Accessing the AXIS 206W
If you set the IP address manually, you can now access the camera’s web interface simply by
starting a browser and entering the IP address.
If you selected Obtain IP address via DHCP, you have several options:
• Reconnect the USB cable, browse to the camera as before, and restart the AXIS Setup Tool. The
DHCP-assigned address will be displayed in the tool.
• If you are using e.g. a home broadband router, you may find it convenient to view the router’s
administration pages to discover which IP address has been assigned to your AXIS 206W.
Please consult the router’s documentation for further information.
• If your network has an Internet connection (with no HTTP proxy), use the AXIS Dynamic DNS
Service to assign your camera a DNS name, which is then used to access the camera. See page
7 for more information.
• If your network uses automatic IP addressing (DHCP) and your computer uses the UPnP
TM
service, the AXIS 206W will automatically be detected and displayed on your screen. (UPnP
TM
is
a certification mark of the UPnP
TM
Implementers Corporation.)
•Use AXIS IP Utility 2.0 to discover the IP address. See the CD included in this package.