


AXIS Q604 Series
1
2
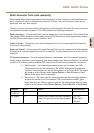
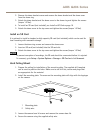
1
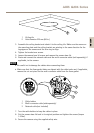
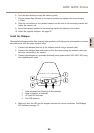
Ceiling tile
2
Hole diameter 225 mm (8.9 in.)
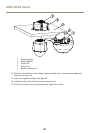
3. Assemble the ceiling bracket and attach it to the ceiling tile. Make sure the arrows on
the mounting plate and the ceiling bracket are pointing in the same direction for the
logotypes on the camera and the trim ring to align.
4. Tighten the bracket arm screws.
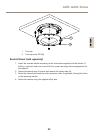
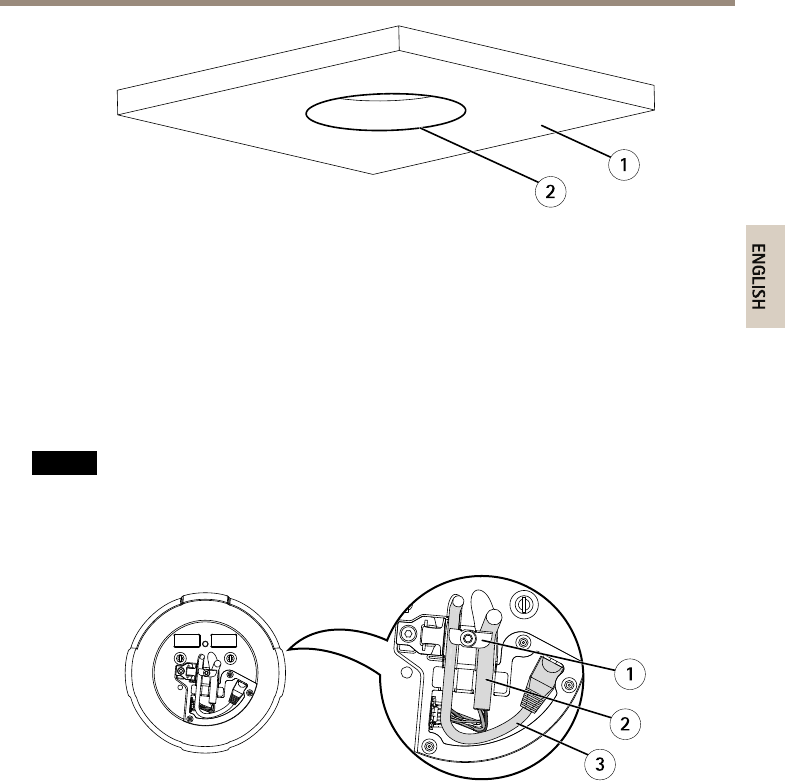
5. Loosen the camera base lid screws and remove the camera base lid.
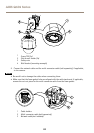
6. Route and connect the network cable and the multi-connector cable (sold separately), if
applicable, to the camera.
NONO
NO
TICETICE
TICE
• Be careful not to damage the cables when connecting them.
• Make sure that the foam gasket holes are aligned with the cable tracks and, if applicable,
remove the cut-out piece for the multi-connector cable from the foam gasket.
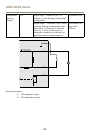
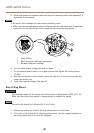
1
2
3
1
Cable holders
2
Multi-connector cable (sold separately)
3
Network cable (not included)
7. Turn the cable holders to keep the cables in place.
8. Put the camera base lid back in its original position and tighten the screws (torque
1.5 Nm).
9. Secure the camera using the supplied safety wire.
21
ENGLISH