


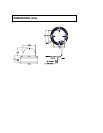
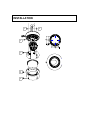

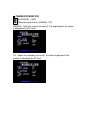

INSTALLATION
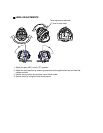
1 Use the supplied security tool to remove the four
fixing screws (B) of dome ring (A).
2 Align the supplied mounting template with the surface to be
mounted to, make marks on the surface in the places
where the screw holes and cable hole are to be located.
3 Drill holes for the screws and cable hole in the surface
1inch (25mm) in diameter, for routing the cables.
Alternatively the cables can pass through the side entry
via the 1/2 inch NPT cable entry, ensure unit is
appropriately sealed with any method used.
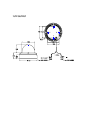
4 Pass the power cable (E) and video cable (F) or
UTP cable (*F) from the camera unit through
the cable hole in the surface or out the side entry.
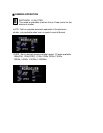
5 Align the four screw holes in the camera unit (D) with
the screw holes on the mounting surface, and then secure
the camera in place by fastening the four screws (C)
through the camera unit into the surface.
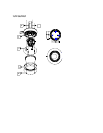
6 Carry out the settings and adjustments for the camera as
covered in the next sections.
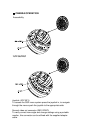
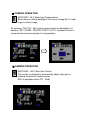
7 Secure the dome ring (A) by tightening the screws (B) into
the camera unit (D). Ensure the rubber ring between the
lens and the dome cover is in place and forms a tight seal
against the inside of the dome.