


10
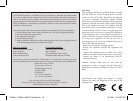
After setting the start hour for “Day”, press ENTER and the “Star&Moon” icon
will blink. Press ENTER and set the hour to dene the start of “Night”. During
the Night, photos and videos will be taken using the infrared LED lamp array to
light the scene. This allows you to take night photos without startling animals or
revealing the camera position, as infrared light is invisible to the eye. During the
time period you dened as “Night”, an internal lter which blocks infrared light
from reaching the digital image sensor is automatically deactivated, so that the
IR LED lamps can work. During the day, the infrared lter is reactivated, so that
only normal visible light strikes the sensor and affects the image. After setting the start hour for Day and Night, press
ENTER.
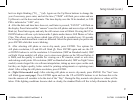
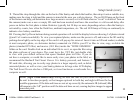
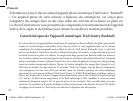
7. The “key” icon will ash next (h), press ENTER and enter any four digit password
of your choice (to keep using the default “0000”, just press ENTER 4 times) by
using the UP/DOWN buttons to change each digit and using ENTER to step to the
next digit (i). When nished, press ENTER if you want to return to the date/time
setup menu, or press and hold the MENU button at any time to exit all setup menus
and return to normal operation.
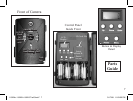
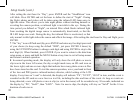
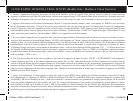
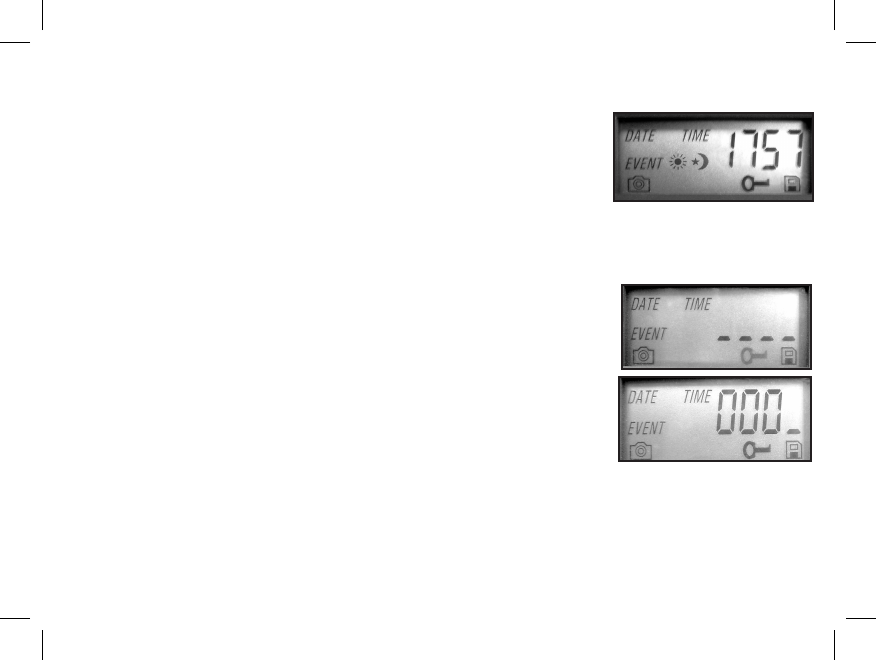
8. In normal operating mode, the display will only show the still photo or movie
clip icon in the lower left corner, the day or night mode icon, an SD card icon on
the lower right, and one or more digits that indicate how many photo or movie les
have been stored on the card. To test the camera operation, wave your hand in front
of the lens and PIR (passive infrared/motion) detector, while looking at the LCD
display. Every time an “event” is detected, the display will indicate “Plr”, “EVNT”, “rECd” in turn, and the event is
recorded on the SD card as a new line in a text le, including the date and time of the event. As long as events are
being detected, a new still photo or movie clip (as set in the menu) will be recorded every 30 seconds, indicated on
the display by “Plr”, “SnAP”, then “SAVE”. Note: for movie clips, the display will stay on “SnAP” for the 14 sec
duration of each movie.
Setup Guide (cont.)
h
i
g
119204+119305+119505 Trail Sentr10 10 3/17/08 11:53:56 PM