


10
11
Setup and Operation Guide
1. Open the Sentry by pulling out on the two latches on the right side. Install 4 “D” cell batteries (flat
base of all batteries contacting springs), and insert an SD card (not included, use any capacity from
16MB to 1GB. Do not substitute MMC cards.) in the slot to the right of the 5 buttons as indicated on the
slot cover (upside down, with the notched corner of the card on the left and metal contacts of the card
facing the back of the slot). Press the card down until you hear it click into place. If the Sentry is turned
on without a card in place, it may not turn off-reset it by pulling one of the batteries out partway, insert a
new or empty SD card, and put the battery back in place. Only remove or insert cards with power off.
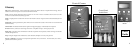
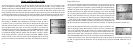
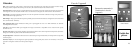
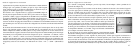
2. Press and release the Power switch. The display will show four “dashes”,
then change to “HHHH” with a blinking key icon below it (Fig
a). This is
a prompt to enter your password, which can be changed in the setup menu.
The first time the camera is turned on, the password is the default, “0000”.
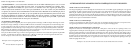
Press the Enter button four times to enter four zeros (
b) (if you previously
changed the password in the setup menu, use the UP/DOWN buttons to enter
your password digits, pressing ENTER after each one.), then press it again
to confirm-the display indicates “PASS” and the camera is ready to operate.
If the wrong password is entered, the display will flash “ERRO” and the
camera will not work or allow the password to be changed. After an incorrect
password is entered for the third time, the Sentry will automatically turn off.
a
b
Setup Guide (cont.)
Power must be turned on again before beginning a new password entry cycle.
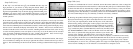
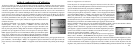
3. If you are using the camera for the first time, you should set the date and
time so your photos will be “stamped” correctly. Briefly press the Menu button-
”DATE” will blink on the display. Press Enter to confirm you want to change
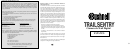
the date, then the first two digits will flash, prompting you to enter the month
(c). Use the Up/Down buttons to set the current month, then press Enter. Set
the day of the month the same way, and press Enter again. The display will
then change to let you set the year, with only the last two digits blinking (“20_
_”) (
d). Again use the Up/Down buttons to change the year if necessary, press
enter, and set the time (“TIME” will flash, press enter and use Up/Down to set
the hour and minute. The time display uses the 24 hr standard, so 2:00 PM is indicated as “1400”, etc).
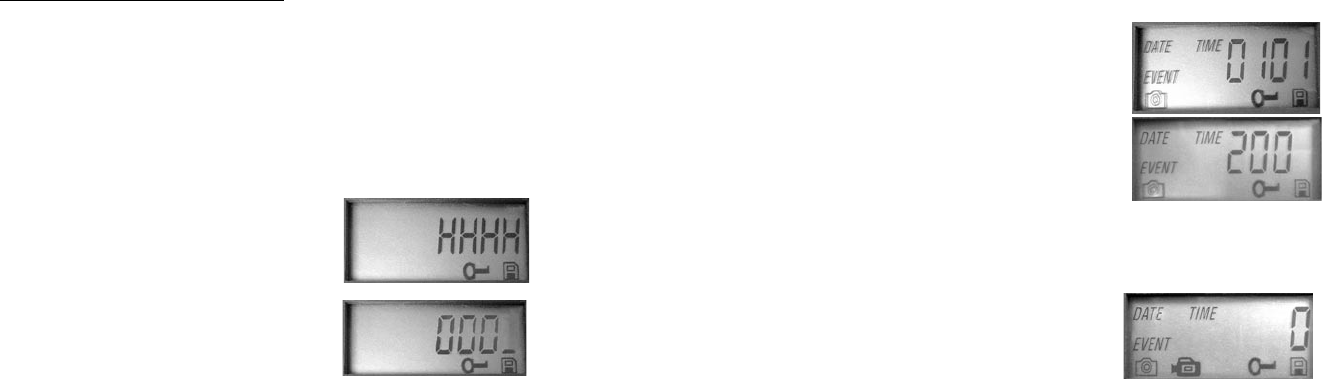
4. After the date and time have been set, and Enter is pressed, “EVENT” will
flash on the display. Press Enter and the “camera” icons for still photos and
movie clips will both blink (
e). This allows you to choose which type of file
will be recorded every 30 seconds for as long as motion and heat events are
detected. Press Enter again, and only the still photo icon will blink. Pressing
the UP and DOWN buttons will now let you alternate between flashing movie
camera and still photo icons. Select the image file mode you prefer (keep in mind that movie clips may
be dark at night because the flash does not fire during movies) and press ENTER while that icon is
blinking.
c
d
e