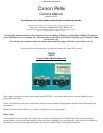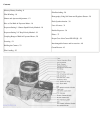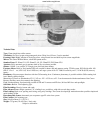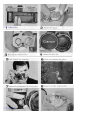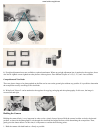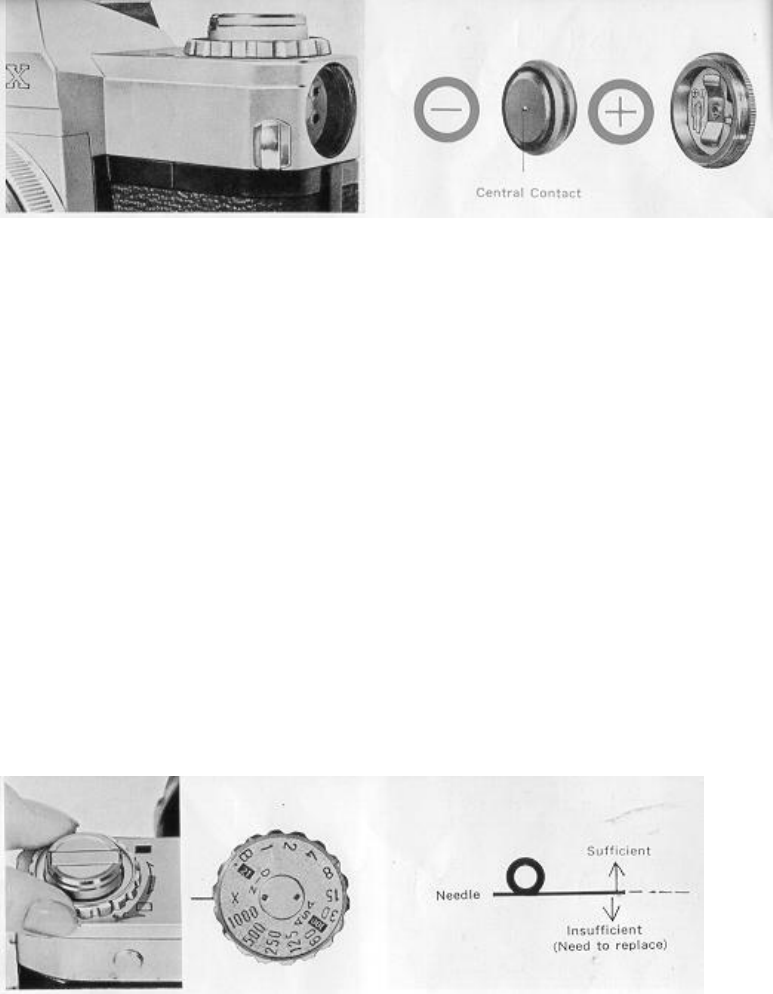
Mercury Battery Loading
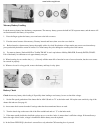
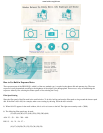
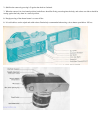
Load the mercury battery into the battery compartment. The mercury battery powers the built in CdS exposure meter, and the meter will
not function unless the battery is in position.
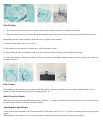
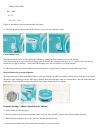
1. Press the finger against the battery cover and turn to the left to remove.
2. Face the central contact of the mercury 2 battery inwards and insert, then screw the cover back in.
è Before insertion, clean mercury battery thoroughly with a dry cloth. Perspiration or finger marks may cause corrosion and may
prove particularly harmful to center of contact. Un. clean battery may also damage the contact point of the camera.
è For mercury battery, National M-ID or Toshiba TM-MC is used -equivalent to Mallory RM-625R, Eveready E625N, GE #625.
Life of the battery in continuous use is approximately one year.
è When inserting, do not confuse the (+) ( - ) Not only will the meter fail to function in case of reverse insertion, but the cover cannot
be screwed in properly.
è When not in use for a long period, remove the battery and keep in a dry place.
Battery Check
Check the mercury battery after loading it. Especially when loading a new battery, be sure to check the voltage.
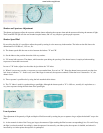
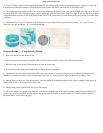
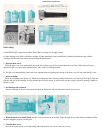
1. Set the film speed graduation of the shutter dial at ASA 100 and set "X" et the index mark. Lift up the outer sensitivity ring of the
shutter dial and turn. See page 16.
è An accurate check cannot be made if settings other than those mentioned above are used.
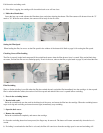
2. Turn the check ring on the outer side of the film rewind knob and set " C" at the index mark.
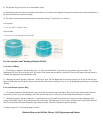
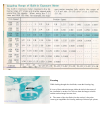
3. If the meter needle inside the viewfinder swings up to or over the c index, it means there is sufficient voltage. If the needle stays
below the edge of the 0 index, voltage is insufficient and the battery must be replaced.
è In the Canon PELLIX QL, the electric current flows only when the CdS actuating lever is pressed.
www.butkus.org/chinon


