


97
Before Use
Basic Guide
Advanced Guide
Camera Basics
Auto Mode / Hybrid
Auto Mode
Other Shooting
Modes
P Mode
Playback Mode
Wi-Fi Functions
Setting Menu
Accessories
Appendix
Index
Before Use
Basic Guide
Advanced Guide
Camera Basics
Auto Mode / Hybrid
Auto Mode
Other Shooting
Modes
P Mode
Playback Mode
Wi-Fi Functions
Setting Menu
Accessories
Appendix
Index
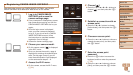
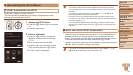
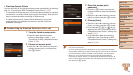
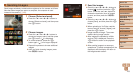
5 Choose [WPS Connection].
Press the <o><p> buttons to choose
[WPS Connection], and then press the
<m> button.
6 Choose [PBC Method].
Press the <o><p> buttons to choose
[PBC Method], and then press the <m>
button.
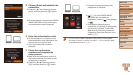
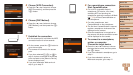
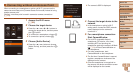
7 Establish the connection.
On the access point, hold down the WPS
connection button for a few seconds.
On the camera, press the <m> button to
go to the next step.
The camera will connect to the access
point.
If you have selected [
{
], [2], or [ ] in
step 3, devices connected to the access
point are listed on the [Select a Device]
screen displayed next.
If you have selected a Web service in
step 3, go to step 12.
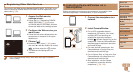
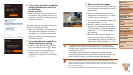
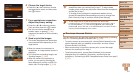
8 For a smartphone connection:
Start CameraWindow.
For an NFC-compatible Android
smartphone (OS version 4.0 or later),
activating NFC and touching the
smartphone against the camera’s N-Mark
(
, =
91) will start CameraWindow on
the smartphone.
For other smartphones, start
CameraWindow on the smartphone.
The rst time CameraWindow is opened,
register a smartphone nickname to be
displayed on the camera.
Once the smartphone is recognized on
the camera, the device connection screen
will be displayed on the camera.
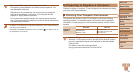
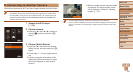
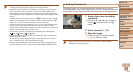
9 To connect to a smartphone,
printer, or computer:
Choose the target device.
Press the <o><p> buttons to choose
the target device name, and then press
the <m> button.
If you have selected a smartphone, go to
step 11.
If you have selected a printer or
Macintosh computer, go to step 12.