


12
■
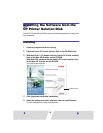
With Mac OS X
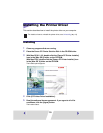
Continuing from the above procedure, do the following:
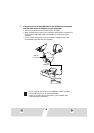
1) Turn the printer’s power on. (➡ p.16)
2) After your computer restarts, connect the printer to computer with the USB
cable.
For information on how to connect the printer, see Connecting the Printer to
Your Computer (➡ p.17).
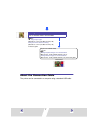
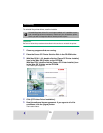
3) Double-click the hard disk icon where Mac OS X is installed.
4) Double-click the [Applications] folder.
5) Double-click the [Utilities] folder.
6) Double-click the [Print Center] icon.
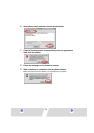
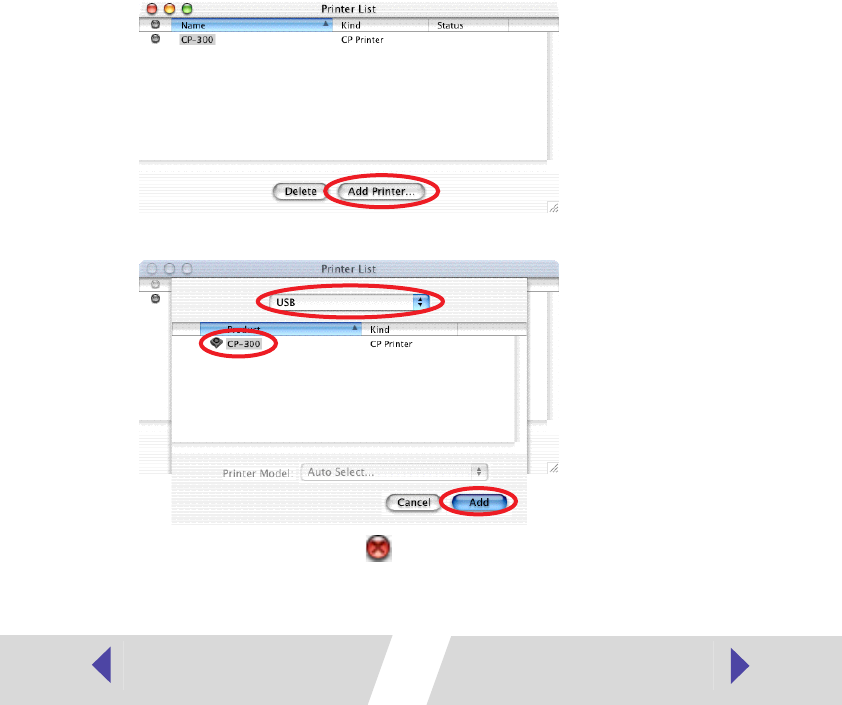
The Printer List window appears.
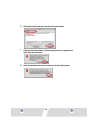
7) Click the [Add Printer] button. For Mac OS X v10.2, click the [Add] button.
8) Select [USB], select the printer name, and then click the [Add] button.
9) Close the window by clicking in the upper left-hand corner.