12
CLOSING THE HOUSING
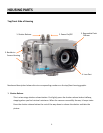
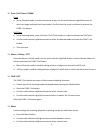
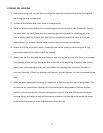
1. Place the housing back over the front and align the complete mating surface of the housing and
the O-ring, forming a proper seal.
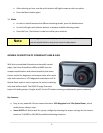
2. Position all four latches over latch hooks in ready position.
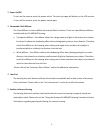
3. Close one of the bottom latches first, maintaining pressure on the other side. Proceed by closing
the other side's top latch. Then close the remaining bottom latch and the remaining top latch.
Test all latches carefully to make sure that they are completely locked into place and not just
pushed down. Try to open them to make sure that they cannot open accidentally.
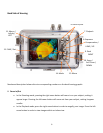
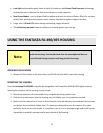
4. Inspect the O-ring for proper closure. A complete seal can be visually confirmed by the O-ring
around the complete circumference of the housing.
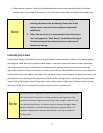
5. Always take the first dive without your camera in the housing just to make sure there is no leakage
from damage to the housing. During the dive, especially at the beginning of descent, take special
care to look at the housing to make sure no bubbles are escaping from it and that no water is
entering. Generally, if there is a problem with the seal, you will discover it in the first seconds of the
dive.
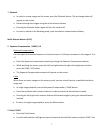
6. After use, when opening the housing, it is important to hold it so the lens port is facing down. This
will prevent the camera from slipping out of the housing while being opened. Release the four
latches in the same order described for closing them in step 3, and take off the back side of the
housing. Gently pull both the tray and the camera outside of the housing and unscrew the tripod
screw out of the camera in order to disconnect it from the tray.


