Tagging Images as Favorites
127
Select Range
Choose [Select Range].
∆Follow Step 2 on p. 126 to choose [Select
Range] and press the m button.
∆Follow Steps 2 and 3 on pp. 121
- 122 to
choose images.
∆Press the op buttons, choose the item
and press the qr buttons, or turn the Â
dial to choose a type.
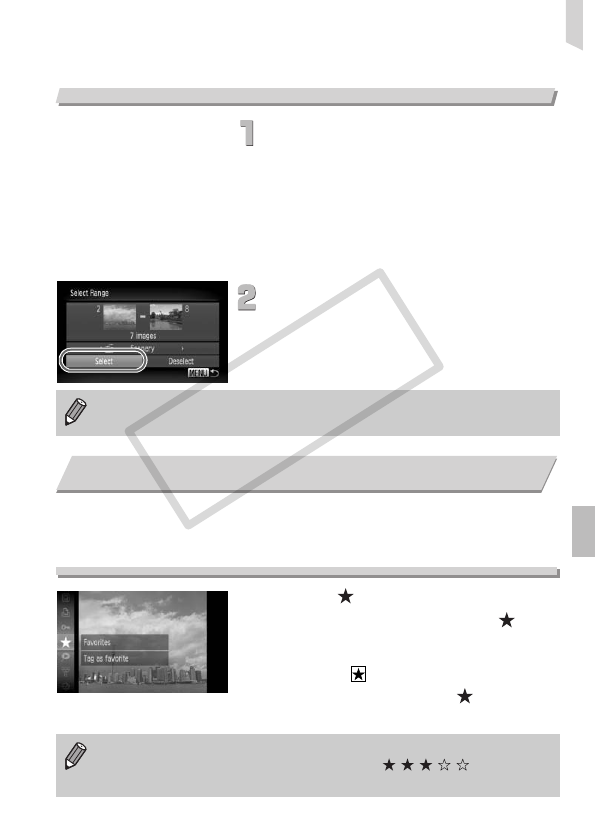
Make the setting.
∆Press the op buttons to choose [Select]
and press the m button.
When you tag images as favorites, you can easily categorize just those
images. You can also filter out just those images for viewing, protecting or
erasing (p. 111).
Choose
∆Press the m button and choose in the
ø menu, then press the m button
again.
Once set, will appear on the screen.
∆
To untag the image, choose in the
ø
menu again, then press the
m
button.
If you choose [Deselect] in Step 2, you can deselect all of the images in
the [Select Range] category.
Tagging Images as Favorites
If you use Windows 7 or Windows Vista and transfer tagged images to the
computer, they will be given a star rating of 3 ( ) (except for
movies).
