


37
Snapshot Tutorial
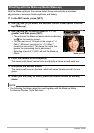
6. Use [4] and [6] to select the priority level you want and then press
[SET].
• You can set the priority to one of four levels: q (Disabled: no detection),
and from þ (Low) to v (High).
7. To complete the setting procedure, press [MENU] twice.
NOTE
• To delete pre-recorded face data, perform steps 1, 2, and 3 of the above procedure
and then press [MENU]. You can use the menu to select one face data record or all
face data records (page 22).
• Formatting the camera’s built-in memory (page 135) deletes all the recorded face
data.
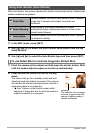
To add a face data shot to an existing pre-recorded family member
Face recognition efficiency can be improved by recording three or four face data
shots under various conditions for a single individual.
1. In the REC mode, press [SET].
2. Use [8] and [2] to select the sixth Control Panel option from the top
(Face Recognition).
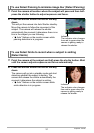
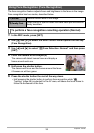
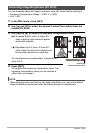
3. Use [4] and [6] to select “J Edit Family” and then press [SET].
4. Use [8], [2], [4], and [6] to select the thumbnail of face data to which
you want to add another face data shot, and then press [MENU].
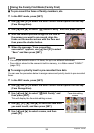
5. Use [8] and [2] to select “Add”, and then press [SET].
6. Perform steps 4 and 5 under “To pre-record the faces of family
members, etc.” (page 36) to add the face data shot.
NOTE
• Camera memory can store face data for up to six individuals, and up to 12 face
data items.