En
40
CONNECTING THE CAMERA TO THE COMPUTER
USING ARCSOFT PHOTOIMPRESSION
1. Connect the camera to the computer.
2. Launch ArcSoft PhotoImpression
software by clicking on Start-
Programs-ArcSoft Camera Suite and
choosing PhotoImpression from the
application list on your screen.
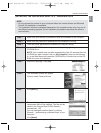
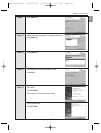
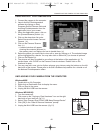
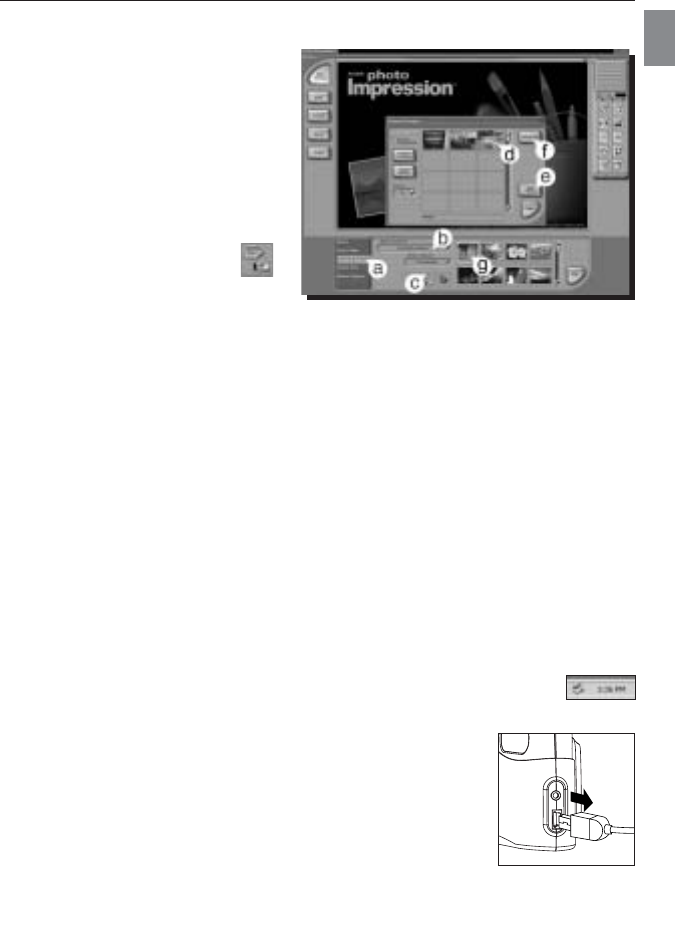
3. When the Application opens, click on
the [Camera/Scanner] button. (a)
4. Click on the drop-down list under
Select Source and choose Concord
Camera. (b)
5. Click on the Camera/ Scanner
Icon. (c)
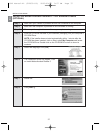
•Asecond window will appear
showing the contents (pictures) in
the memory card, and options on how to handle them. (d)
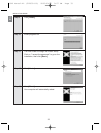
6. Select the picture you would like to view, edit or save by clicking on it. The selected image
will be highlighted by a border. You may also click on Select All (f) to choose all pictures.
7. Click on Get Photos (e).
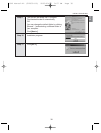
8. The pictures will then be added to your album at the bottom of the application (g). To
access these, click CLOSE on the Camera Controls windows. Double click on the
thumbnail to open.
9. You may now edit, save, print or further enhance your pictures using the buttons on the left
hand side of the screen. Please refer to ArcSoft's Software help section for a tutorial on all
the features PhotoImpression offers.
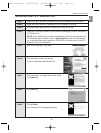
UNPLUGGING YOUR CAMERA FROM THE COMPUTER
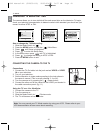
Windows98SE:
1. Double-click on My Computer
2. Right-click on Removable Disk to display the menu.
3. Click on Eject in the menu.
4. Unplug the Mini-USB from the camera.
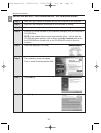
Windows ME/2000/XP:
1. Turn the camera off.
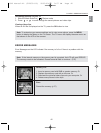
2. Click once on the "Unplug or Eject Hardware" icon on the right
hand side of your task bar. (fig.1.1)
3. Select “Stop Concord Eye-Q 2040 USB Mass Storage Device”
4. Click [OK] in the “Safe to Remove Hardware” prompt.
5. Unplug the Mini-USB from the camera. (fig.1.2)
fig.1.1
fig.1.2
2040 Manual-4L (512950-00) 2003:09:06 2:07 PM Page 40


