CCDS Acquisition Camera User’s Manual
6
3. Normal Acquisition Operation
Once a link is established with the camera and the temperature regulation is turned on,
you are ready to use the system.
Under most circumstances you will want to use the “Focus” mode of the camera. This
mode quickly reads out the entire CCD (unbinned or binned 2x2 or 3x3) and auto-
displays it to the screen. You can choose an integration time from 0.12 to 600 seconds.
Note that there will generally be substantial dark current in a 600 second exposure.
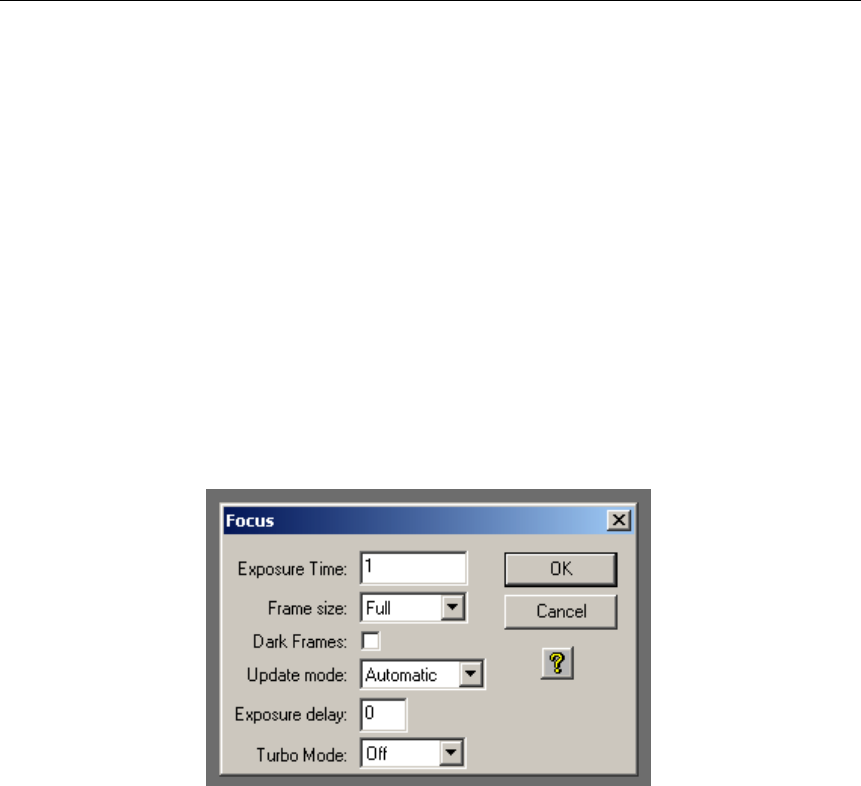
To begin taking images, click on the “Focus” button on the CCDOps Toolbar. This will
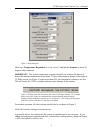
open a dialog box in which you may enter the exposure length:
Figure 4. Focus Dialog Box
Normally you should leave the other settings in this dialog box as they are shown in
Figure 4.
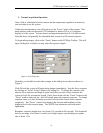
Click OK and the system will begin taking images immediately. Stop the focus sequence
by clicking on “Focus” in the Toolbar or by hitting Esc. To change the exposure time,
stop the focus sequence and begin it again; each time you start a focus sequence the
system will ask for an exposure length. Pause focus mode with the “Pause” button in the
“Focus” window that pops up—this will simply pause the exposure sequence. To change
exposure times or to save an image you must exit out of the current focus sequence
completely. The “Focus” window also displays the location and brightness of the
brightest pixel in the current image. The NSEW slew buttons are not used in this
application.
Reminder: exposure lengths may vary from 0.12 seconds to 600 seconds. The download
time for an image is less than 1 second, so for bright objects you should get an update
rate of about 1 Hz.


