


Q-SEE QUICK INSTALLATION GUIDE
M
M
O
O
D
D
E
E
L
L
N
N
U
U
M
M
B
B
E
E
R
R
Q
Q
S
S
2
2
1
1
8
8
-
-
4
4
1
1
1
1
8 | Page
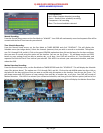
PART 10 - BACKING UP THE VIDEO ON THE DVR
Attach a USB flash drive or USB hard drive to the USB backup port and follow the instructions in Part 9 to go to the File List
in the Search menu.
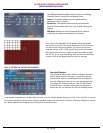
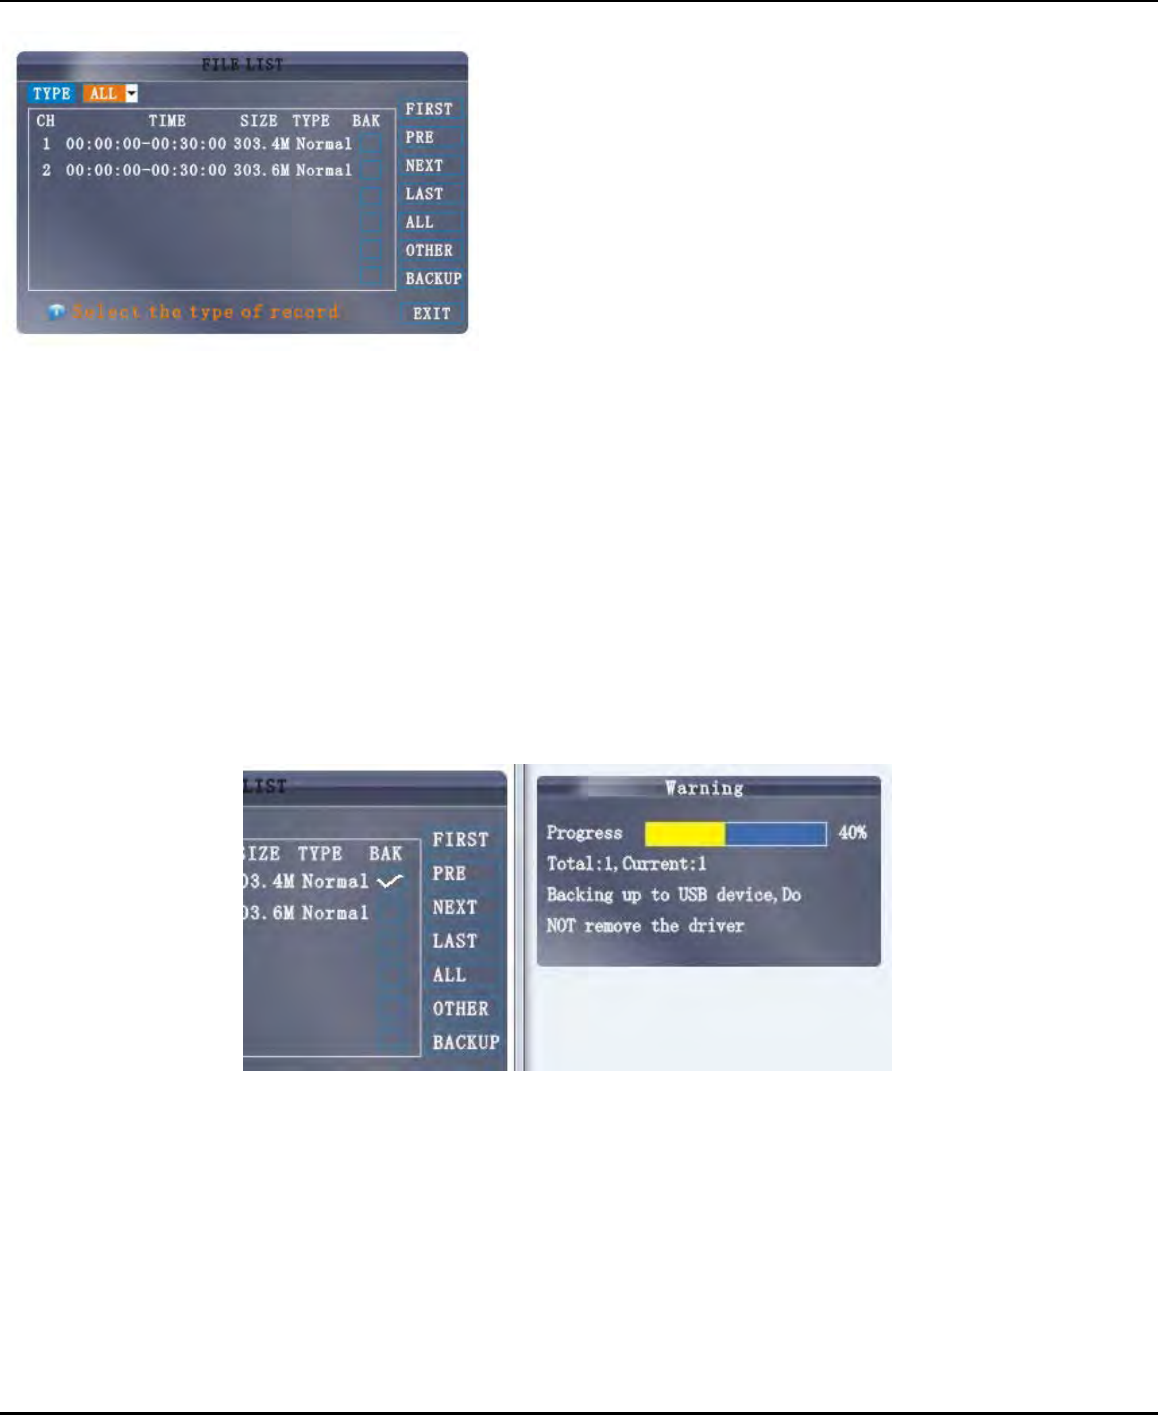
If you want to backup a single recorded file from the file list, from the File List dialog box pictured above, select the file you
wish to back up by placing a check mark in the BAK box and hit the [BACKUP] button on bottom of the screen. You will then
receive a pop up screen as illustrated below showing you the progression of your backup. Once backup is complete, you will
then receive a pop up message informing you that you have backed up your files successfully. Note that all files will be in an
H264 format that can be converted to AVI using the playback software that comes with the DVR or through the remote
viewer program. Once converted, you can then view these files through any program that supports an AVI format.
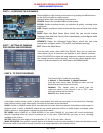
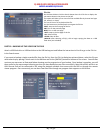
File List:
On the Search Menu click the Search button then click File list to display the
sub-menu shown in the picture on the left.
This option will allow you to view all of the available files by channel and type
(all, normal, or alarm).
You can click on a file to playback the file.
Use the buttons on the side panel to navigate the file list:
FIRST: Jump to the first page of the list
PRE: Turn to the previous page
NEXT: Turn to the next page
LAST: Jump to the last page of the list
ALL: Select all files
OTHER: Clear all files
BACKUP: After selecting a file(s), click to begin copying the data to a USB
flash drive (not included)