


25
More on Photography
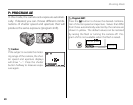
Shooting Mode
3 Cautions
• Panoramas are created from multiple frames. The
camera may in some cases be unable to stitch the
frames together perfectly.
• The desired results may not be achieved with mov-
ing subjects, subjects close to the camera, unvarying
subjects such as the sky or a eld of grass, subjects
that are in constant motion, such as waves and wa-
terfalls, or subjects that undergo marked changes in
brightness. Panoramas may be blurred if the subject
is poorly lit.
For Best Results
For best results, be careful not to tilt the camera back-
ward or forward or to either side and try not to move
the camera while y and + are aligned to form a solid
circle.
Printing Panoramas
Depending on the page size and the size of the
panorama, panoramas may print with their edges
cropped out or with wide margins at the top and
bottom or at both sides.
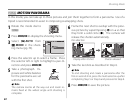
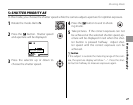
Framing Panoramas Manually
Follow the steps below if the desired results are not
achieved with C AUTO selected for P MODE:
1
Select D MANUAL for P MODE in the shooting
menu.
2
Select a frame and take the rst shot.
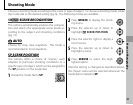
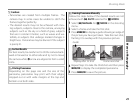
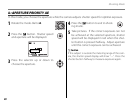
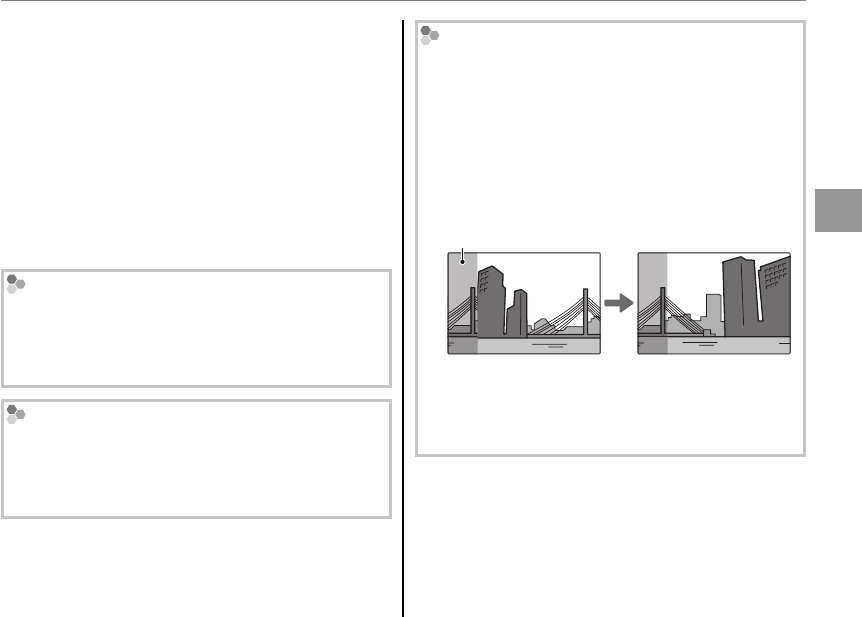
3
Press MENU/OK to display a guide showing an edge of
the picture you have just taken. Take the next shot,
framing it to overlap with the previous picture.
Guide
Display after 1st shot Frame next shot
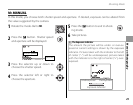
4
Repeat Step 3 to take the third shot and then press
MENU/OK to display the completed panorama.
5
Press MENU/OK to save the picture.