


31
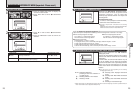
Advanced Features
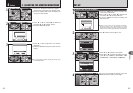
3
30
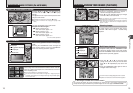
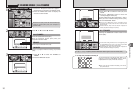
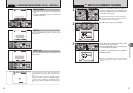
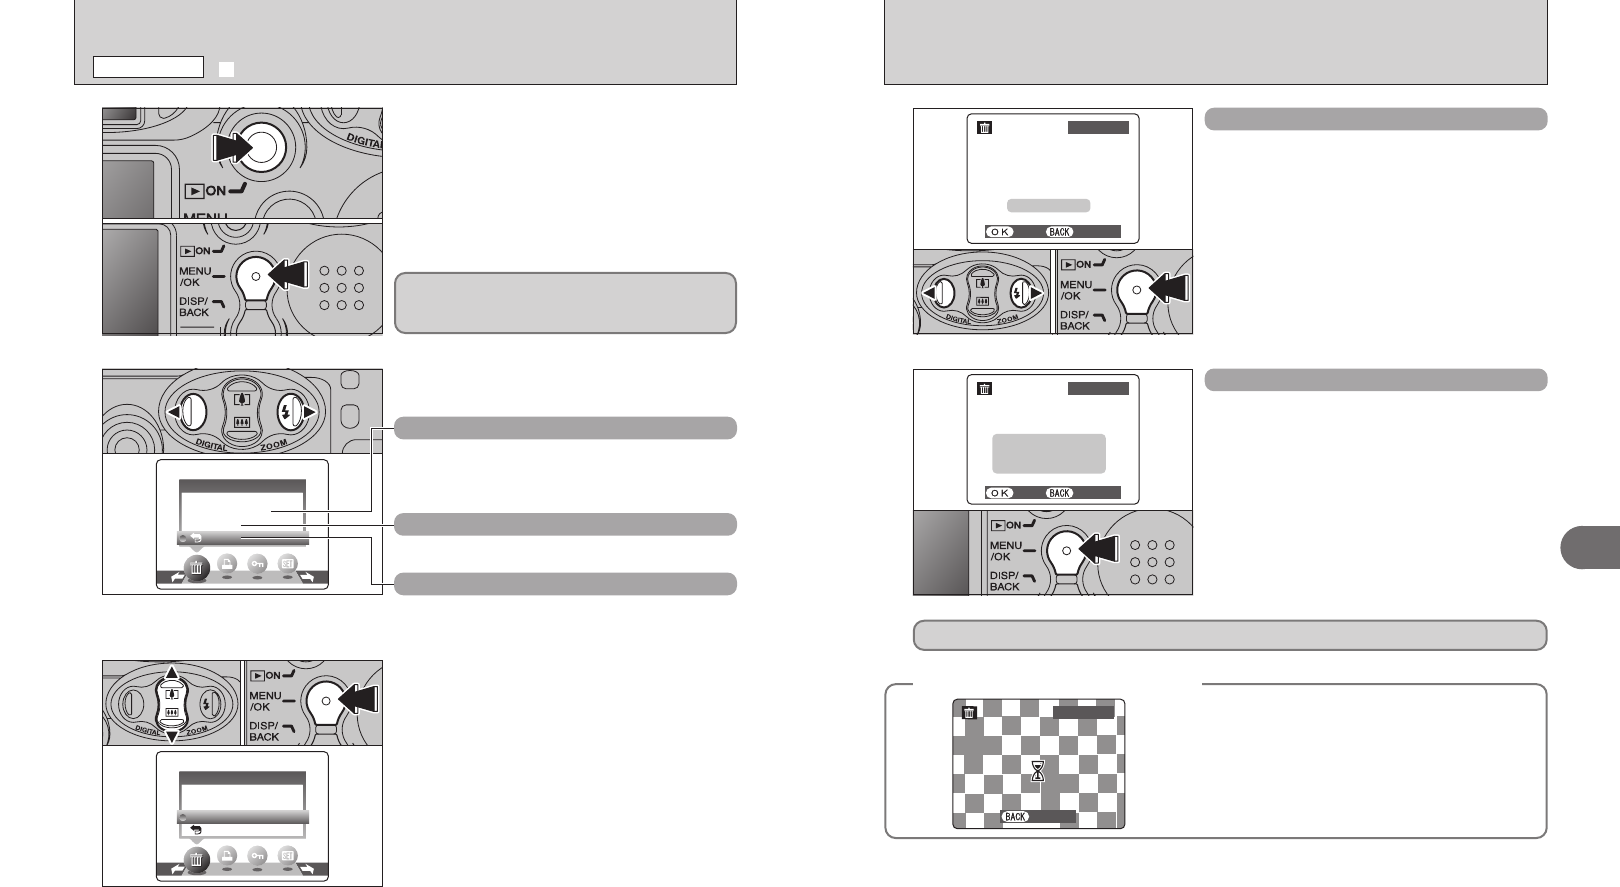
FRAME
1Press “d” or “c” to select the frame (file) to be
erased.
2Press the “MENU/OK” button to erase the
currently displayed frame (file).
To erase another frame (file), repeat steps 1 and 2.
When you have finished erasing frames (files),
press the “DISP/BACK” button.
●
!
Pressing the “MENU/OK” button repeatedly erases
consecutive frames (files). Take care not to erase an frame
(file) by mistake.
●
!
Protected frames (files) cannot be erased. Unprotect the
frames (files) before erasing them (➡P.35).
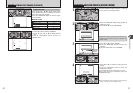
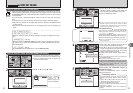
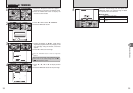
ALL FRAMES
Pressing the “MENU/OK” button erases all the
frames (files).
●
!
To cancel the erasing of frames once it is in progress, press
the “DISP/BACK” button. Even if you stop the procedure
immediately, some frames (files) will be erased.
●
!
Protected frames (files) cannot be erased. Unprotect the
frames (files) before erasing them (➡P.35).
◆
To stop the procedure mid-way
◆
To cancel erasing of all the frames (files) while it is in
progress, press the “DISP/BACK” button. Some
unprotected frames (files) will be left unerased.
01 02
If “†” appears, press the “MENU/OK” button again to erase the frames (files).
●
!
Even if you stop the procedure immediately, some frames
(files) will be erased.
o ERASING SINGLE / ALL FRAMES
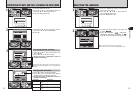
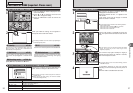
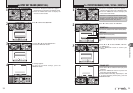
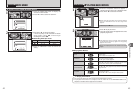
PLAYBACK MENU
1
1Press the “Playback” button for approx. 1
second to turn the camera on in Playback mode.
2Press the “MENU/OK” button to display the
menu on the LCD monitor.
1Press “a” or “b” to select “ALL FRAMES” or
“FRAME”.
2Press the “MENU/OK” button.
Erased frames (files) cannot be recovered. Back up
important frames (files) outo your computer or
another media.
2
Press “d” or “c” to select “o” ERASE.
ALL FRAMES
Erase all unprotected frames (files).
Back up important frames (files) onto your
computer or another media.
FRAME
Erase only the selected frame (file).
¡ BACK
Return to playback without erasing any frames
(files).
3
01
02
01 02