


33
Advanced Features
3
32
4
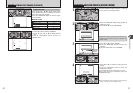
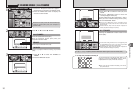
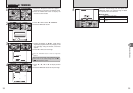
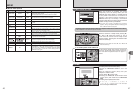
1Press “d ” or “c” to display the frame (file) for
which you want to specify DPOF settings.
2Press “a” or “b” to set a value up to 99 as the
number of copies of the frame (file) to be printed.
For frames (files) that you do not want printed,
set the number of prints to 0 (zero).
To specify more DPOF settings, repeat steps 1
and 2.
●
!
Prints of up to 999 image frames (files) can be ordered on the
same xD-Picture Card.
●
!
DPOF settings cannot be specified for movies.
●
!
When selecting the “WITH DATE” setting, the date is
imprinted on your shots using the Print Service or a DPOF-
compatible printer (depending on the printer specifications,
the date may not be printed in some cases).
5
Total number of prints
01 02
3
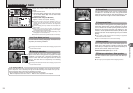
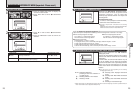
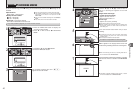
1Press “a” or “b” to select “WITH DATE” or
“WITHOUT DATE”. Selecting “WITH DATE” will
cause the date to be imprinted on your prints.
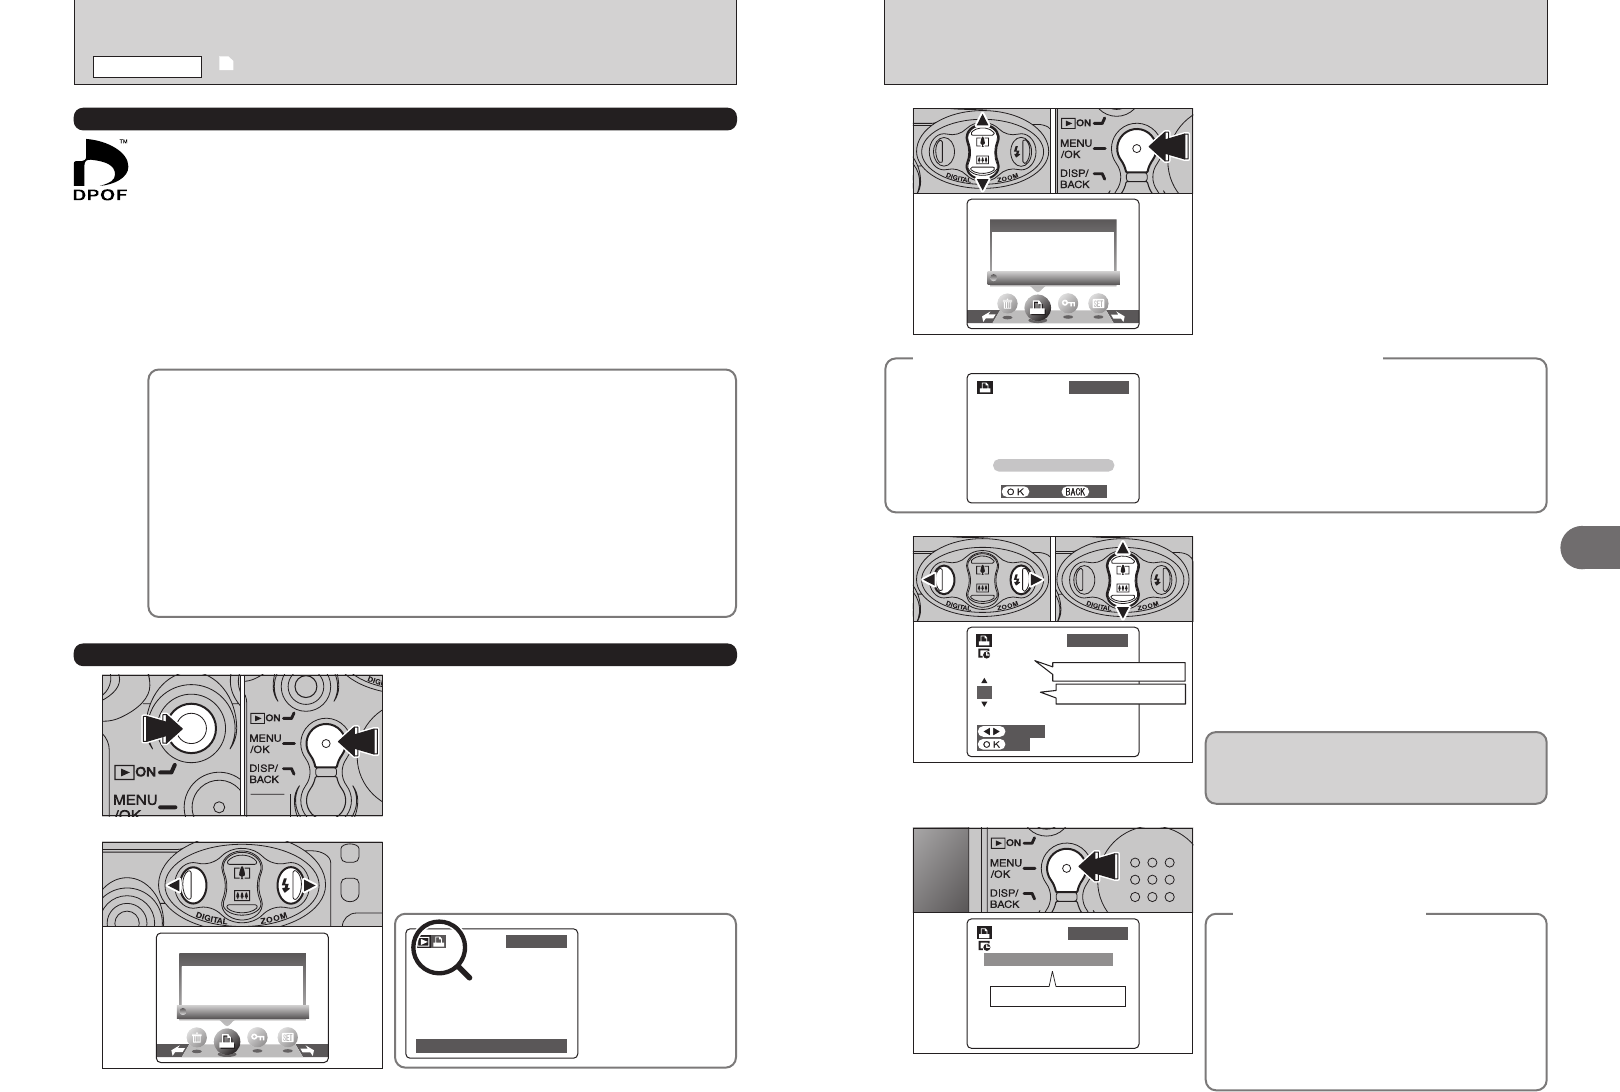
2Press the “MENU/OK” button.
01 02
Pressing the “DISP/BACK” button during the
settings, all the new settings are cancelled. If there
were previous DPOF settings, only the
modifications are cancelled.
◆
When DPOF settings were specified on another camera
◆
When the data includes a frame (file) with DPOF
setting that were specified on another camera,
“
¥” appears.
Pressing the “MENU/OK” button erases all of the
DPOF settings already specified for each frame (file).
Specify the DPOF setting for each frame (file) again.
●
!
Press the “DISP/BACK” button to leave the previous
settings unchanged.
Always press the “MENU/OK” button to
complete the settings.
Pressing the “DISP/BACK” button, no DPOF
settings are specified.
◆
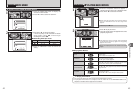
Canceling a frame
◆
To cancel the DPOF setting for a frame you have
specified (cancel frame), perform steps
1 to 3 and
then:
1Press “d” or “c” to select the frame (file) with
the DPOF setting you want to cancel.
2Set the number of prints to 0(zero).
To cancel the DPOF setting for another frame (file),
repeat steps 1 and 2.
Press the “MENU/OK” button to complete the
settings.
Setting for that frame
Total number of prints
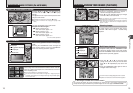
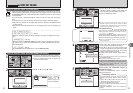
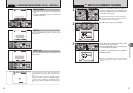
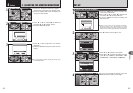
1Press the “Playback” button for approx. 1
second to turn the camera on in Playback mode.
2Press the “MENU/OK” button to display the
menu on the LCD monitor.
2
Press “d” or “c” to select “u” DPOF.
HOW TO SPECIFY PRINT OPTIONS
(
FRAME SET/RESET
)
1
01 02
u DPOF SET FRAME
PLAYBACK MENU
DPOF stands for Digital Print Order Format and refers to a format that is used for
recording printing specifications for images shot using a digital camera on media such as
an xD-Picture Card. The recorded specifications include information on which frames
are to be printed.
This section gives a detailed description of how to order your prints with the FinePix
A120.
On the FinePix A120, you can specify only one print per image in the DPOF settings.
✽ Note that some printers do not support date and time imprinting or specification of the
number of prints.
✽ Note that the warnings shown below may be displayed while you are specifying the
prints.
¬
…
(➡P.31)
When you erase the image, the DPOF setting for that image is deleted at the same
time.
¥ (➡P.33)
When you insert an xD-Picture Card that contains images specified for printing on
by another camera, those print specifications are all reset and replaced by the new
print specifications.
µ (➡P.74)
Up to 999 images can be specified on the same xD-Picture Card.
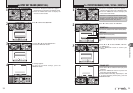
HOW TO SPECIFY PRINT OPTIONS
(
DPOF
)
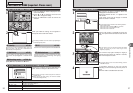
During playback,
check that “
u”
appears for the
DPOF settings that
have been specified.