53
3
52
=
SELF-TIMER PHOTOGRAPHY
PHOTOGRAPHY MENU
✽ Displaying the menus (➡P.50)
Bebeep
1 2
01
02 03
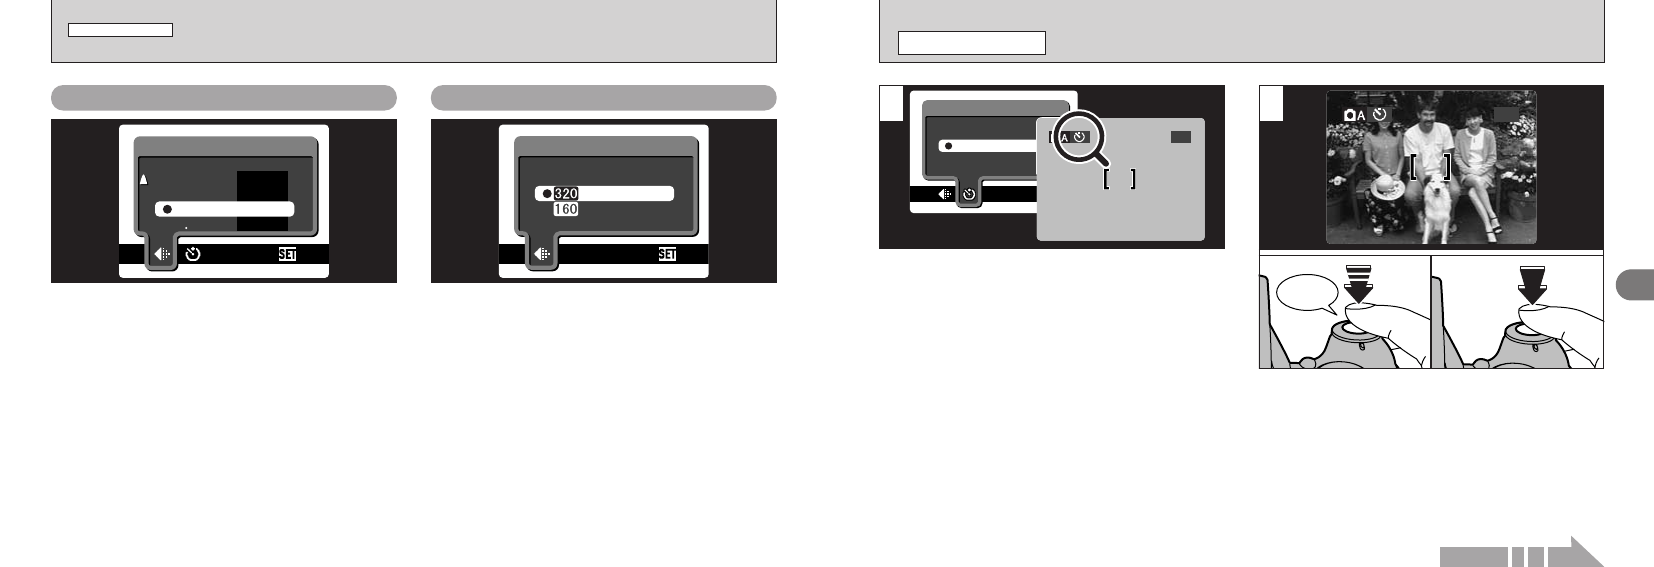
The self timer can be set in the “R”, “E” and
“W” modes.
When you set the self-timer to “ON”, “=” appears
on the screen.
In this mode, a timer runs for roughly 10 seconds
before the shutter is released. Use this mode for
shots such as photographs of yourself.
1Position the AF frame over your subject.
2Press the shutter button down half way to set
the focus.
3Without releasing the shutter button, press it
down fully. The self-timer then starts running.
●
!
The self timer is automatically switched off in the
following situations:
• When shooting ends
• When the Mode dial setting is changed
• When the mode is switched between photography
and playback
• When the camera is switched off
●
!
You can also use the AF/AE lock (➡P.29).
●
!
Be careful not to stand in front of the camera when
you press the shutter button as this can cause
focusing or exposure metering errors.
Continued on next page...
y
SETTING QUALITY MODE
(
NUMBER OF RECORDED PIXELS FOR IMAGES
)
✽ Displaying the menus (➡P.50)
PHOTOGRAPHY MENU
Still image
(
R · E · W
)
Any of 5 settings can be selected.
Choose the setting that best suits your needs.
<Examples>
iTo print at A4-size → 3M • F or 3M • N
✽ Select 3M • F for better quality and 3M • N for more
shots.
Normally the 3M
• N setting provides sufficiently
high quality for printing.
iTo print at A5 size → 2M
iTo print at A6 (postcard) size → 1M
iTo use the image as an e-mail attachment
→ 0.3M
Movie
(
u
)
You can select 2 levels of quality. For better
image quality, select “#”, and for longer
photography time, select “$”.


