EPSON Stylus Photo R200
8 - EPSON Stylus Photo R200 11/03
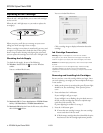
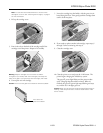
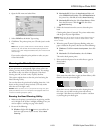
2. Make sure these settings are selected:
❏
Stylus Photo R200 as the Name
❏
Manual as the source
❏
A4 as the Paper Size
❏
CD/DVD as the Media Type
3. Click
OK.
4. Open the File menu and select
Print.
5. Click
OK. The printer prints your CD and ejects it on the
tray.
Note: After you print, handle the CD or DVD carefully. To allow
the ink to dry, wait at least 24 hours before playing the disc or
inserting it in a drive. Keep printed discs away from moisture and
direct sunlight.
If you need to adjust the print position or color, see your
Printer Basics book.
Macintosh OS X
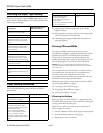
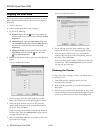
1. Open the File menu and select Page Setup.
2. Make sure
Stylus Photo R200 is selected as the Format for
option and the Paper Size is set to
A4.
3. Click OK.
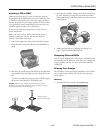
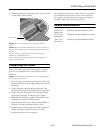
4. Open the File menu and select
Print.
5. Select these print settings:
❏
Stylus Photo R200 as the Printer
❏
Print Settings from the pull-down menu
❏
CD/DVD as the Media Type
6. Click
Print. The printer prints your CD and ejects it on the
tray.
Note: After you print, handle the CD or DVD carefully. To allow
the ink to dry, wait at least 24 hours before playing the disc or
inserting it in a drive. Keep printed discs away from moisture and
direct sunlight.
If you need to adjust the print position or color, see your
Printer Basics book.
Macintosh OS 8.6 to 9.x
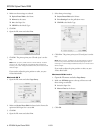
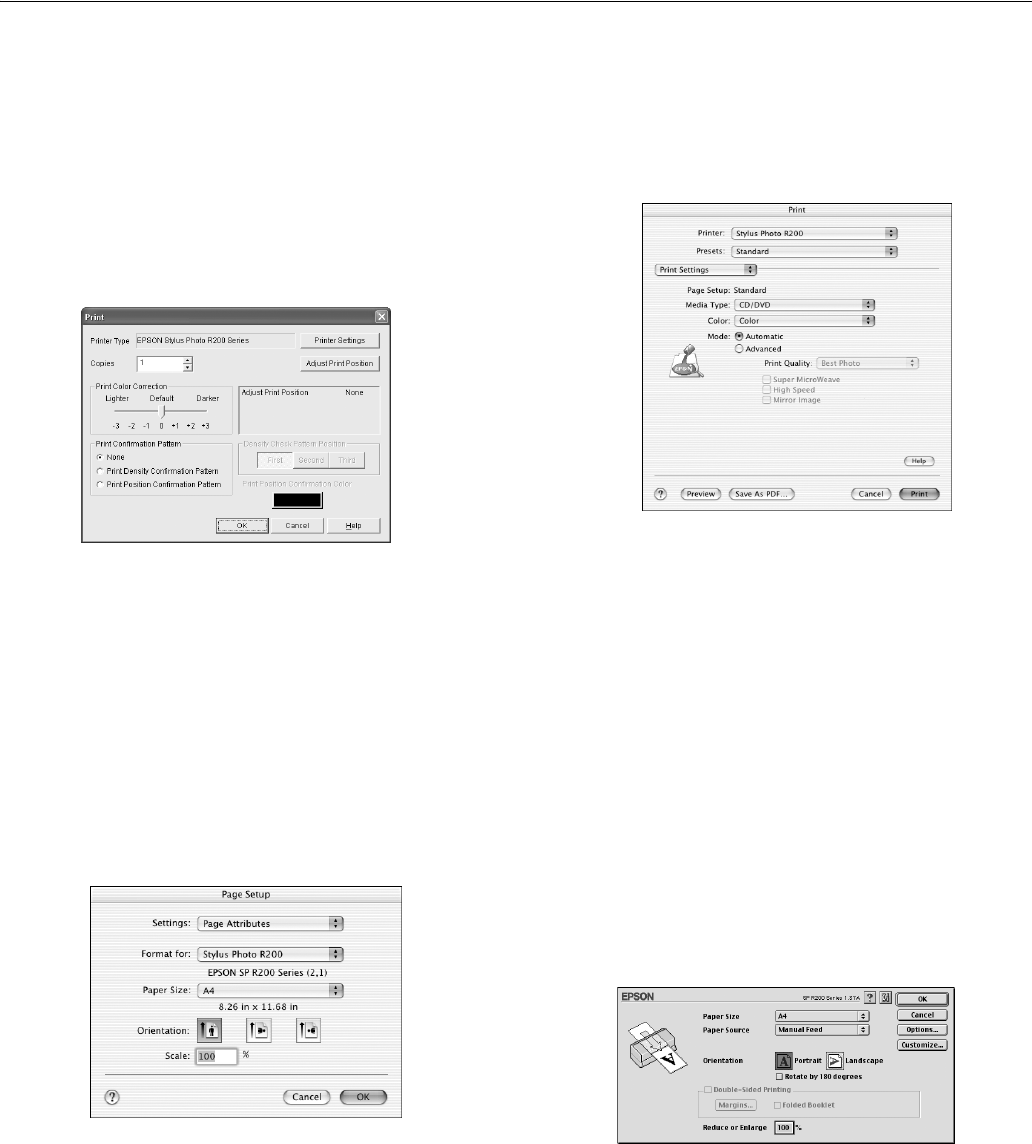
1. Open the File menu and select Page Setup.
2. Make sure
SP R200 appears at the top of the screen and
these settings are selected:
❏
A4 as the Paper Size
❏
Manual Feed as the Source
3. Click
OK.


